|
|
Import to Germany:
![]()
http://www.modellbau-koenig.de
 RPG 35019
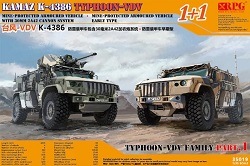
KAMAZ K-4386 Typhoon-VDV - Mine-protected armoured vehicle with 30mm cannon system + mine-protected armoured vehicle early type (Typhoon-VDV Family Part. 1)
The original:
The KAMAZ K-4386 Typhoon-VDV is an all-terrain, armored 4x4 truck for use by airborne troops. It only took 5 months from the start of development to the first test vehicle. The vehicle should be suitable for air landing (can be parachuted) and protect the 8 occupants from fire from handguns and from land mines. There are external cameras with which the crew can observe the surroundings without leaving the vehicle. With the 350 hp engine, it reaches over 100 km / h and can cover up to 1,200 km on one tank of fuel. Depending on the equipment, it is unarmed or equipped with a tuetrr in the roof with a 30mm cannon. In 2019 he was still in the troop trials by the Russian airborne troops. Unfortunately, it is not yet known whether it is now in use.
The kit:
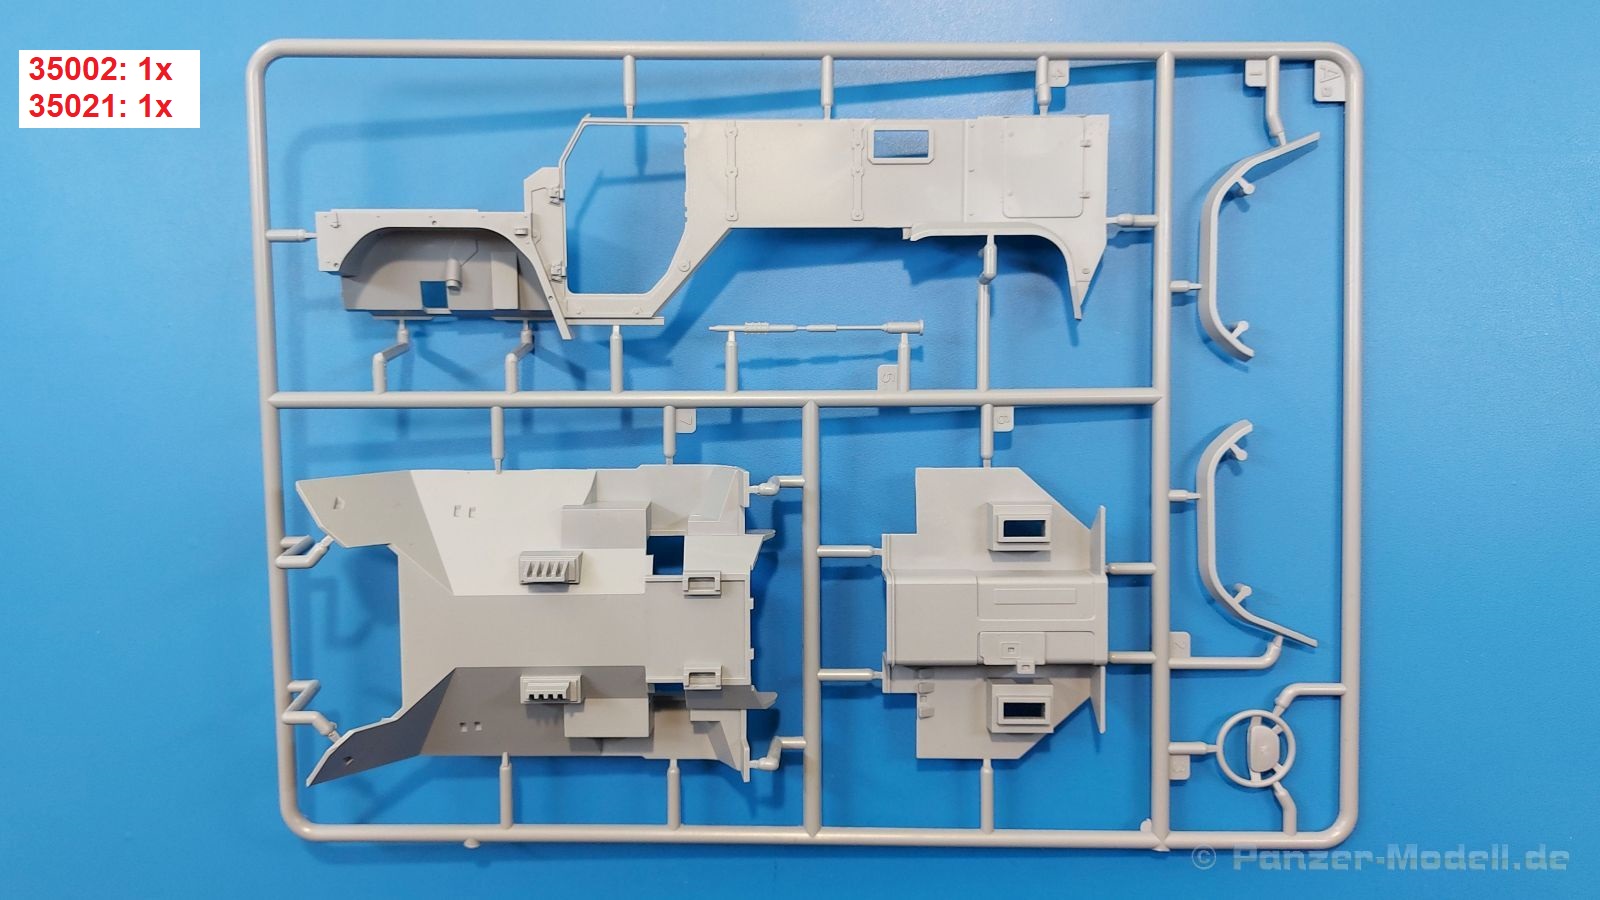
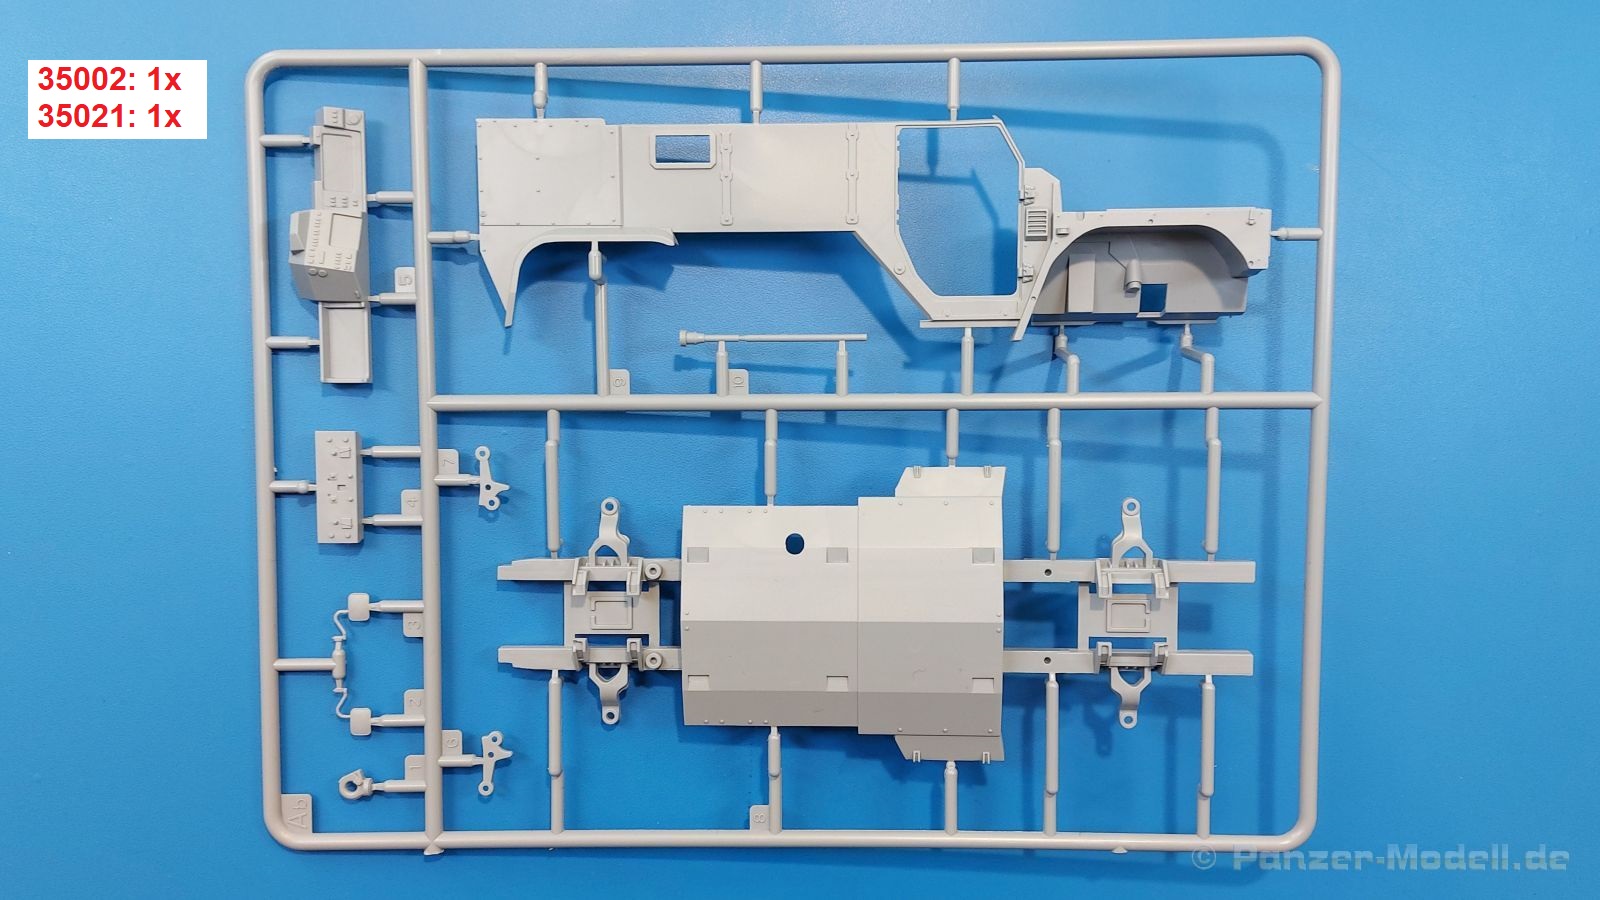
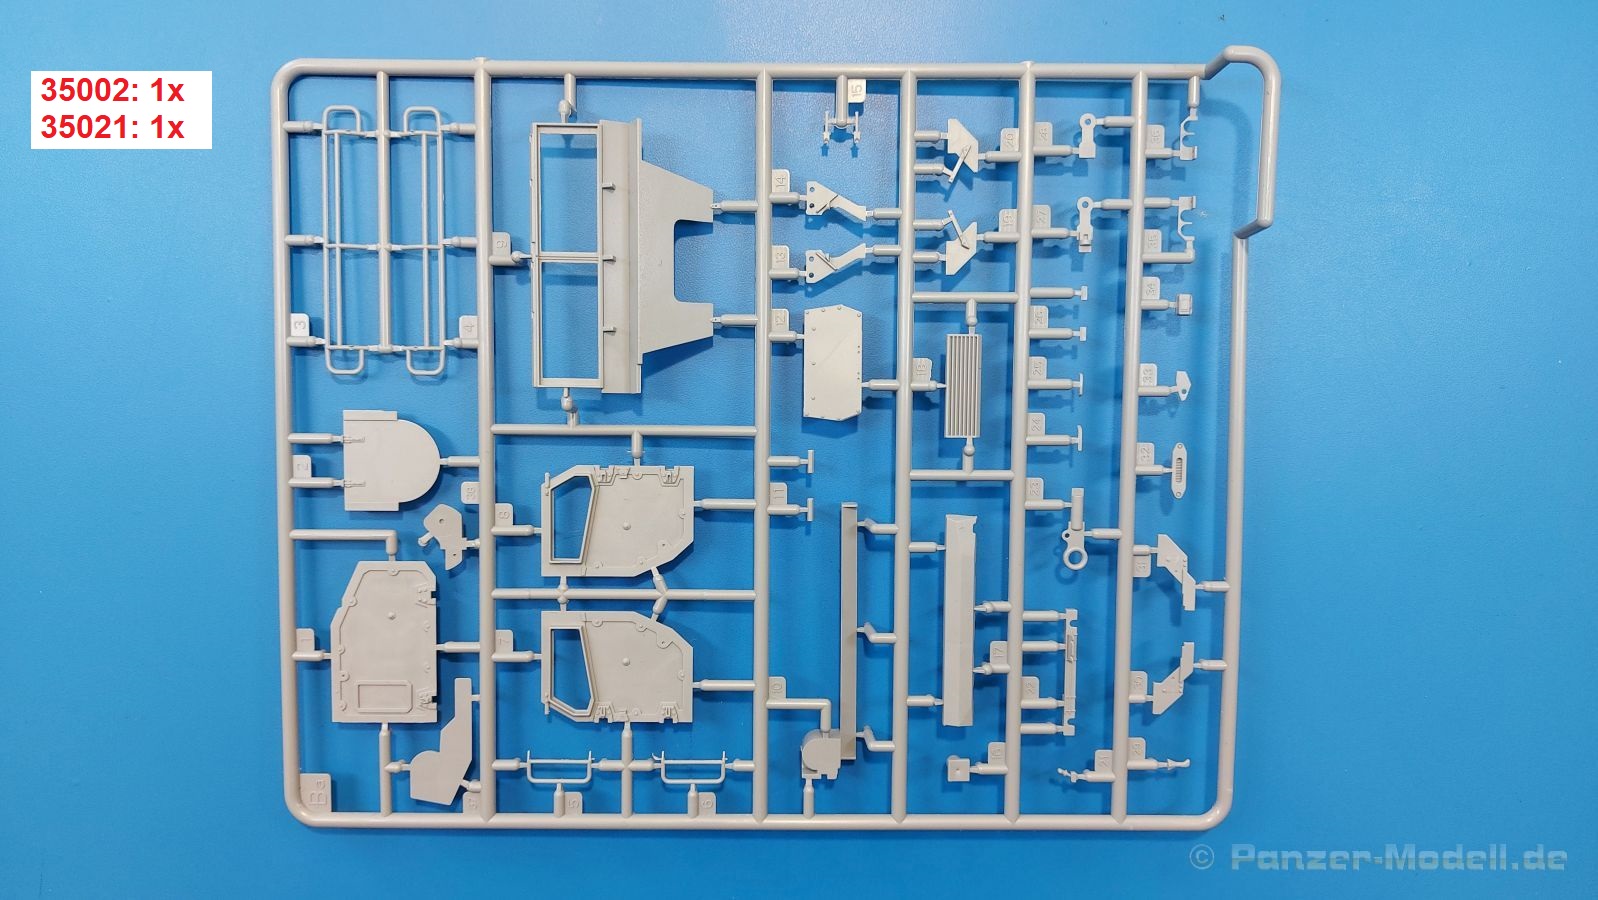
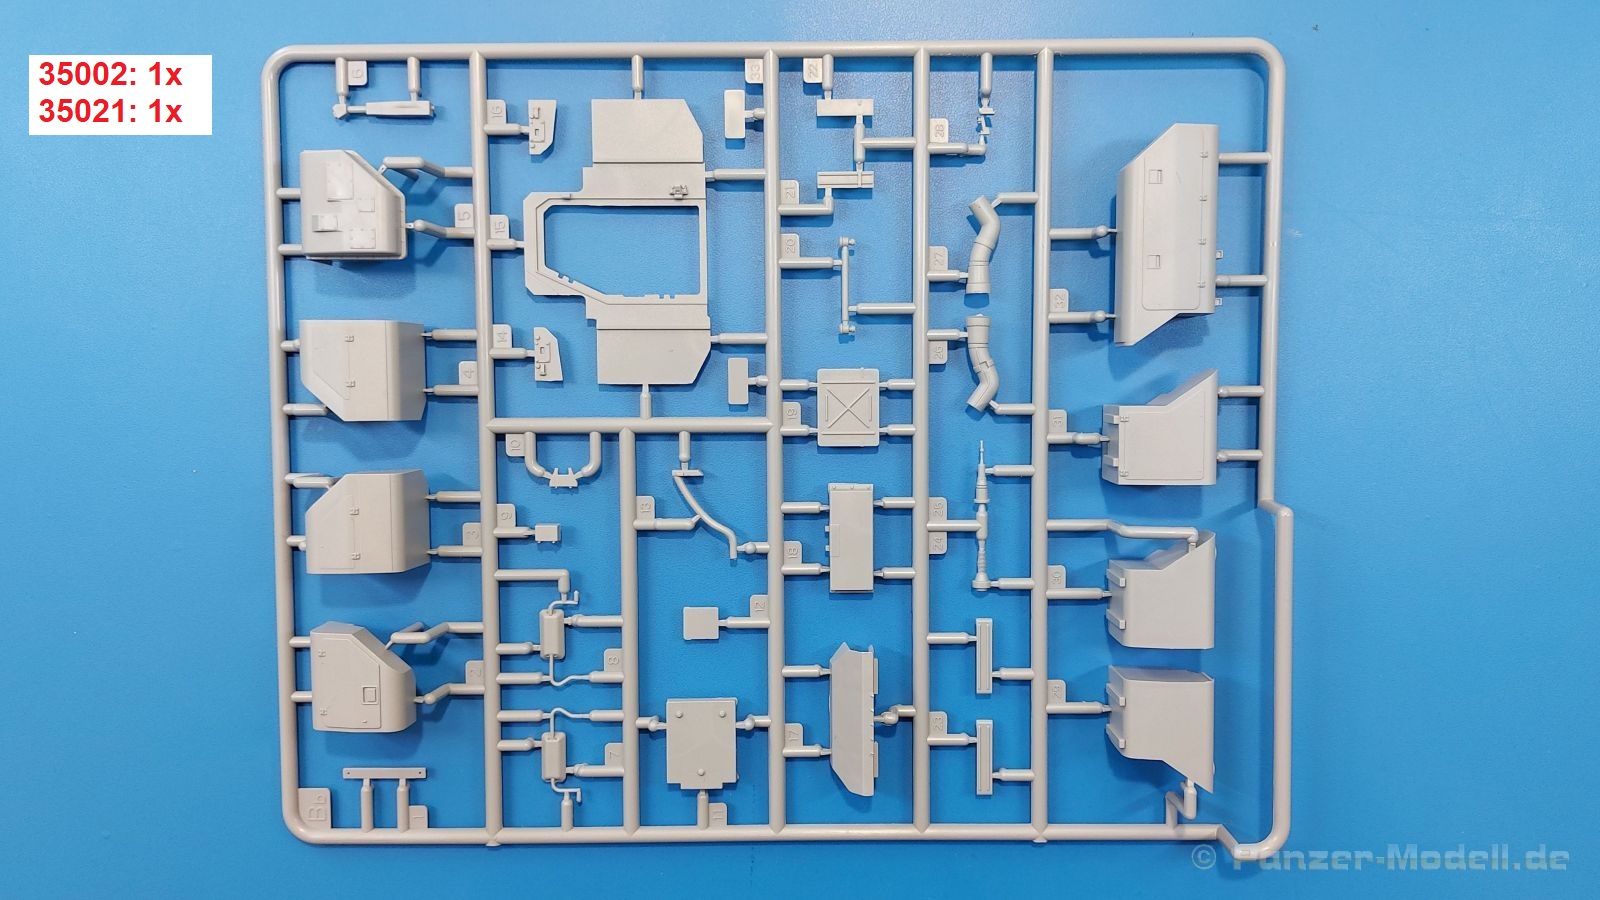
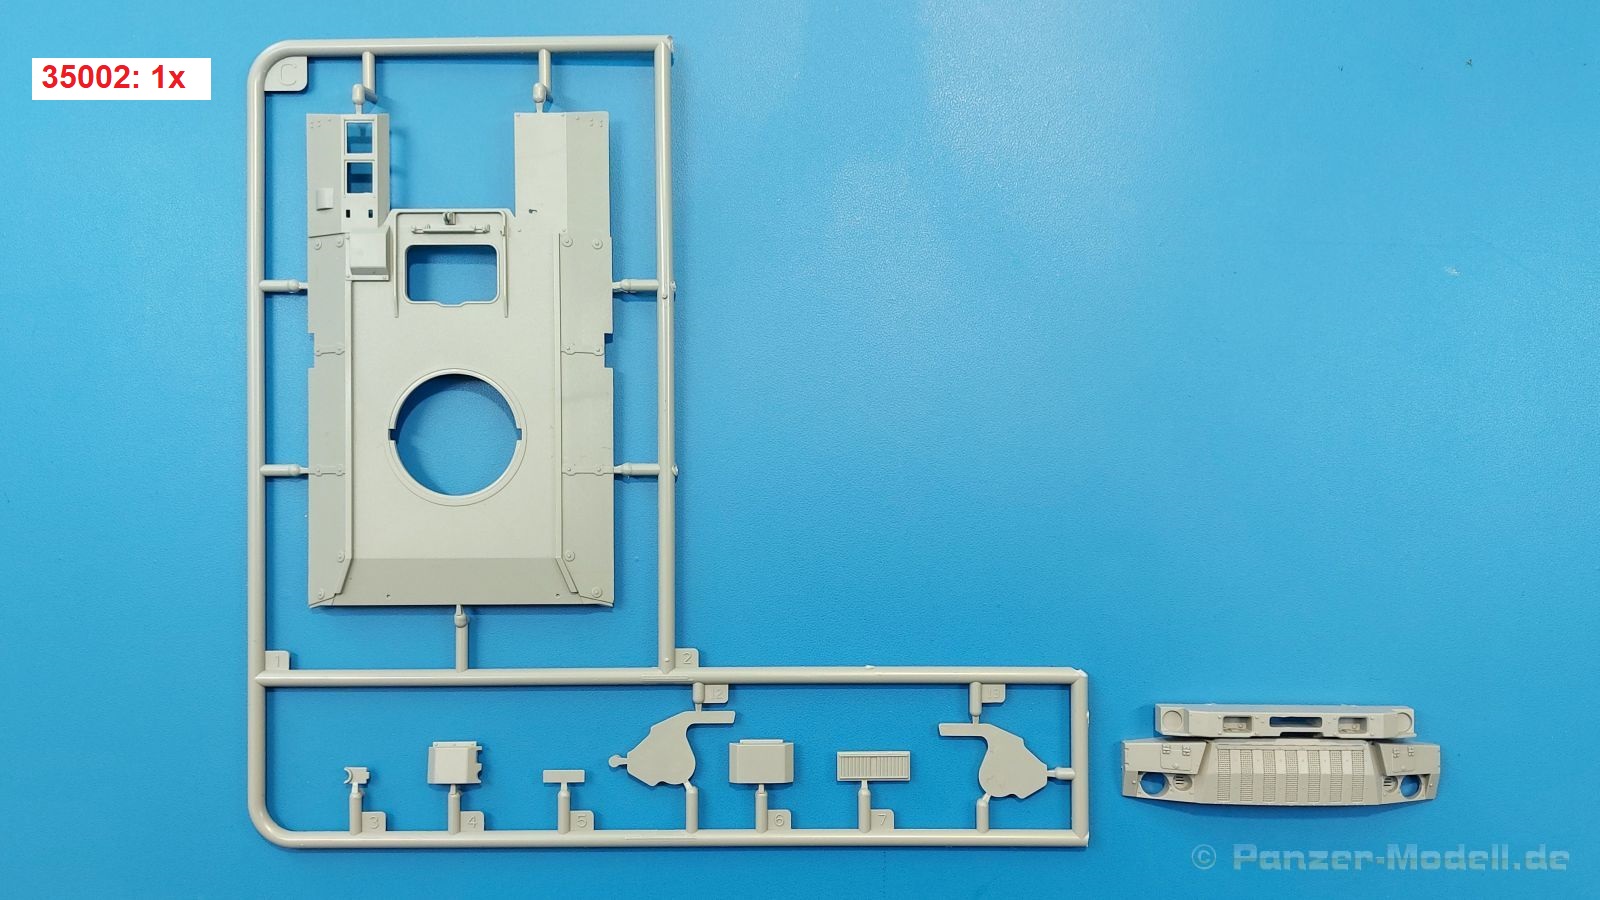
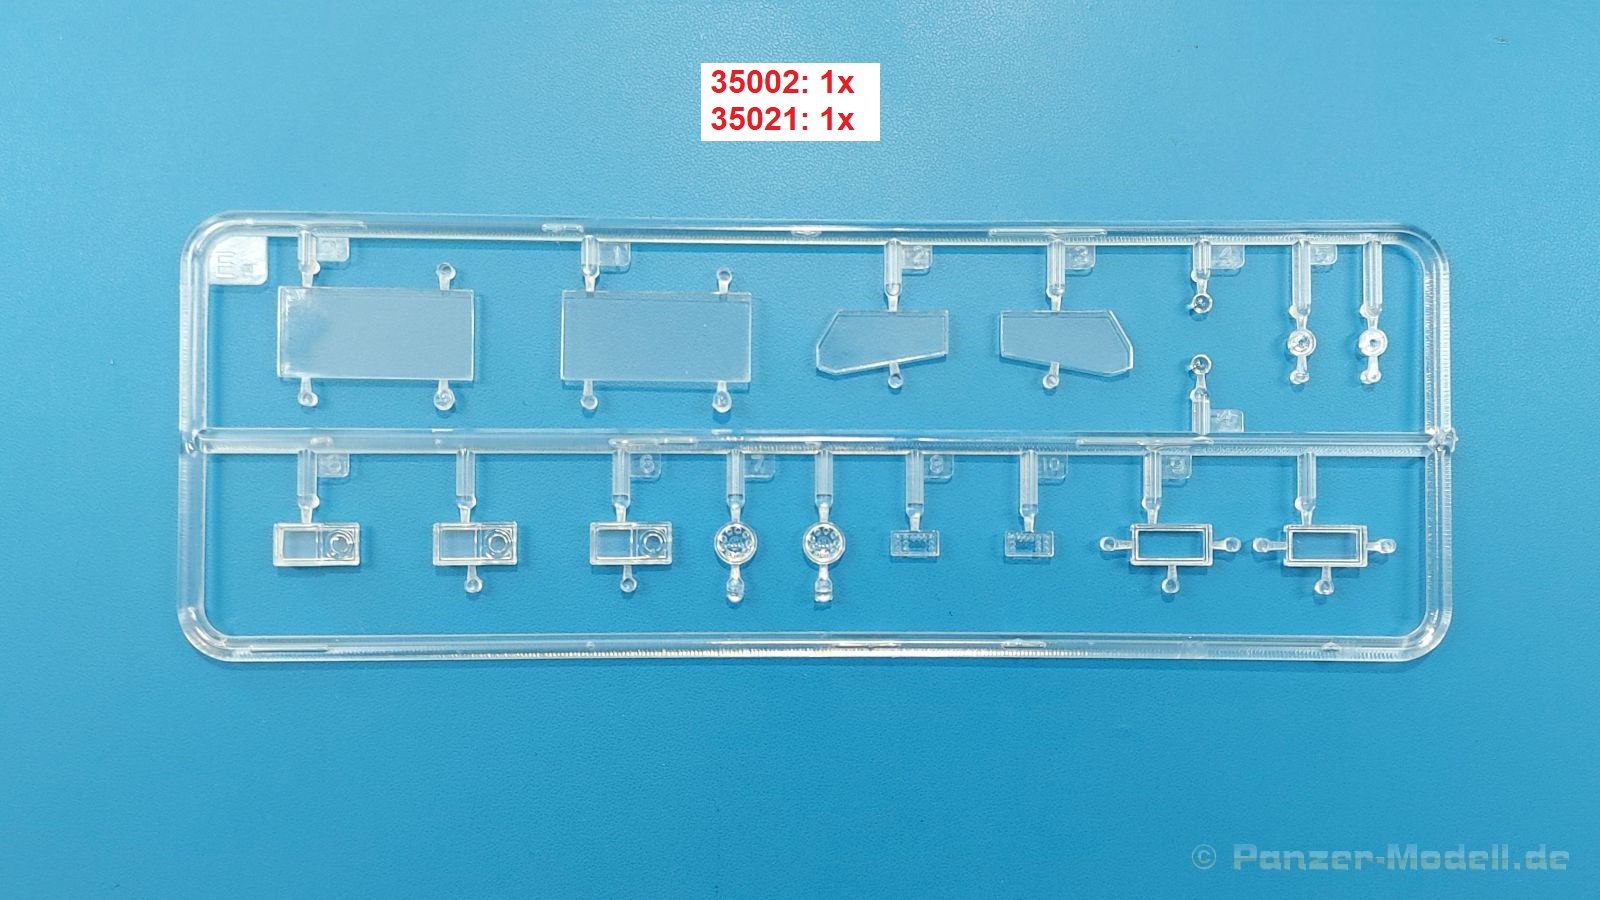
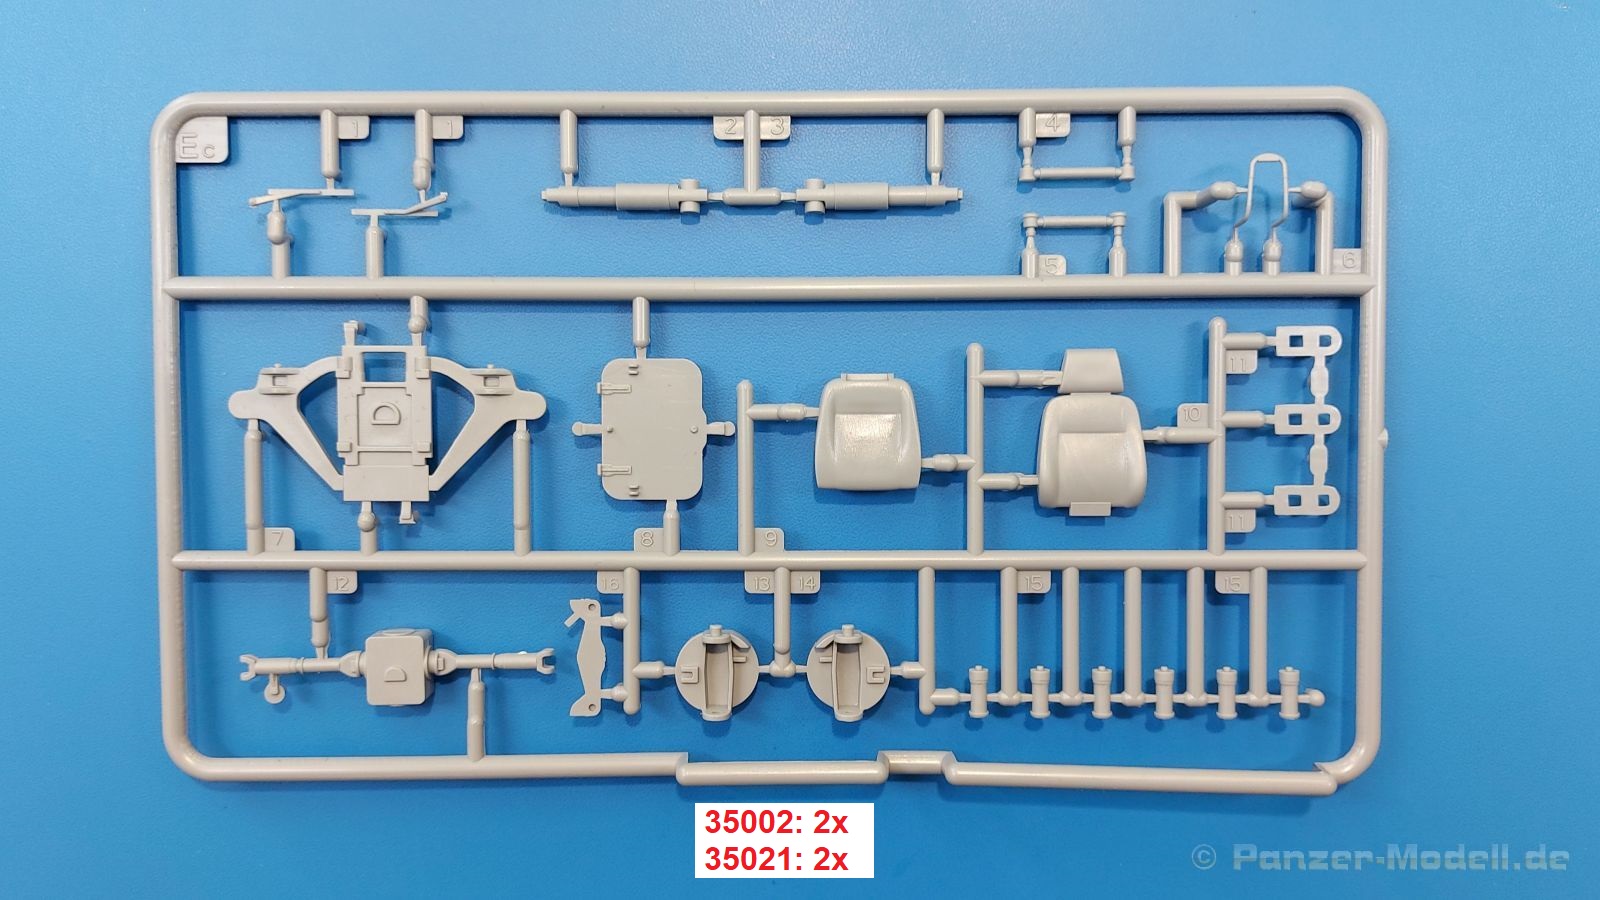
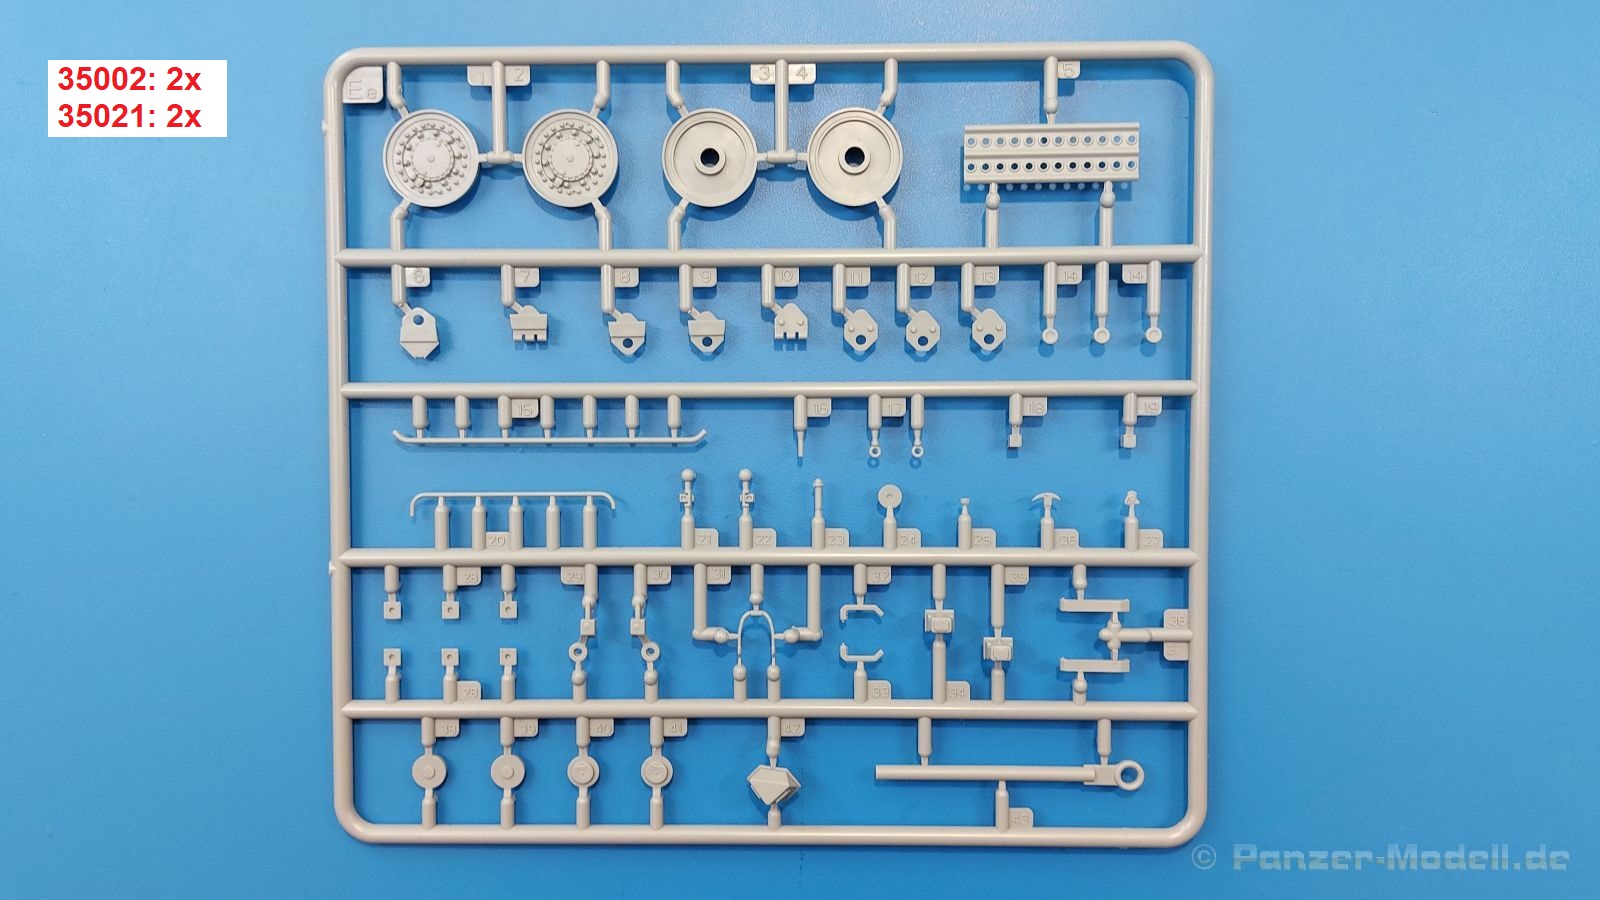
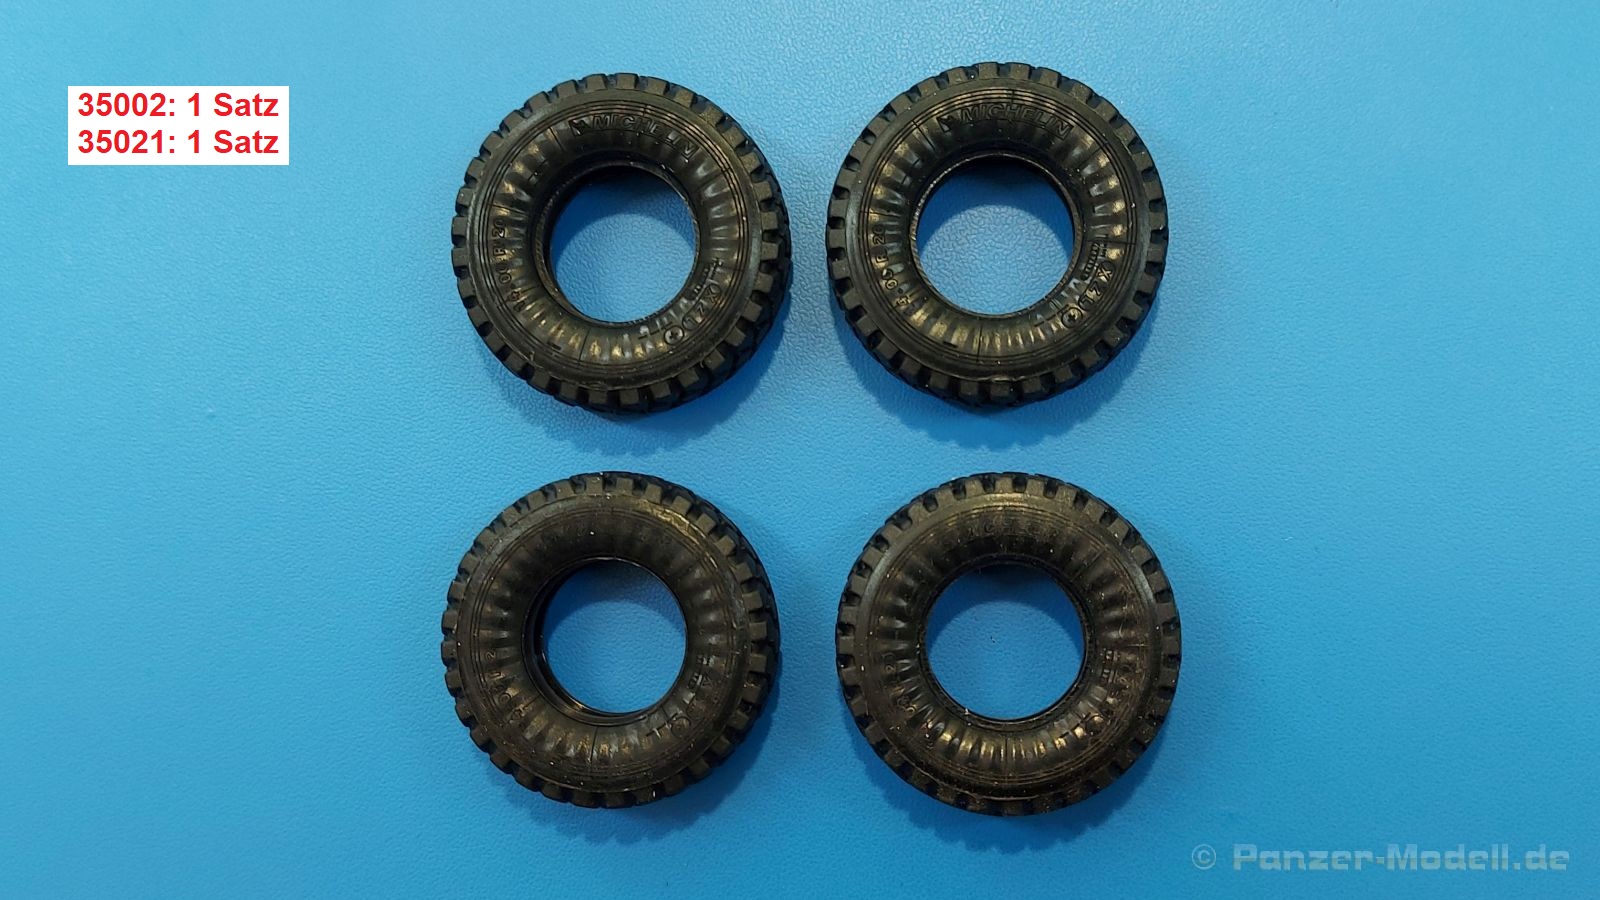
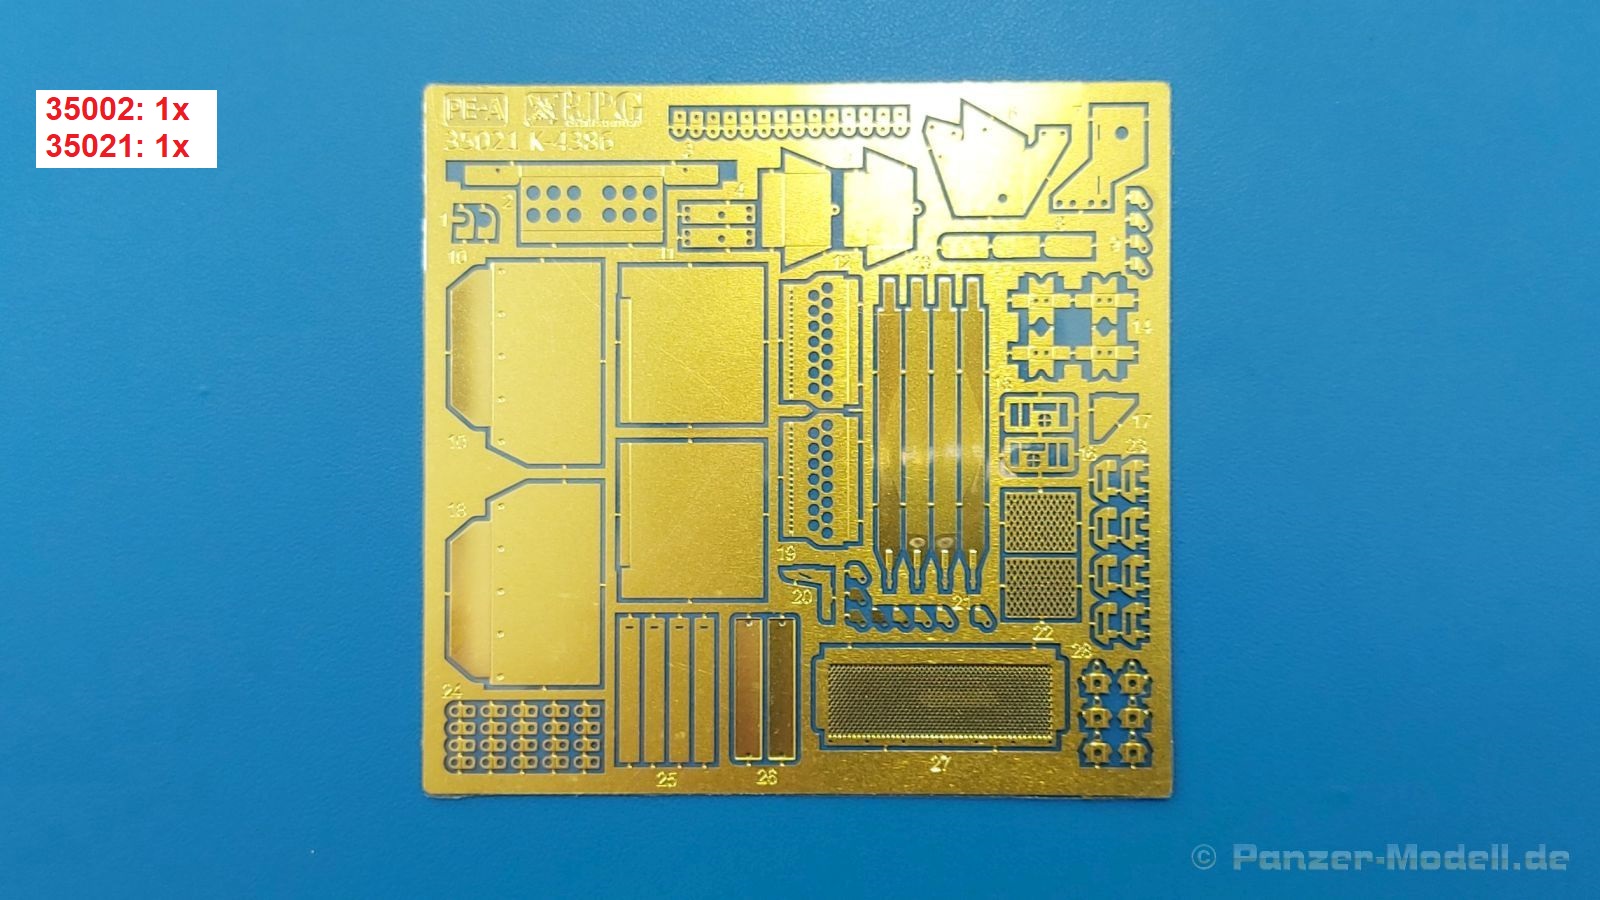
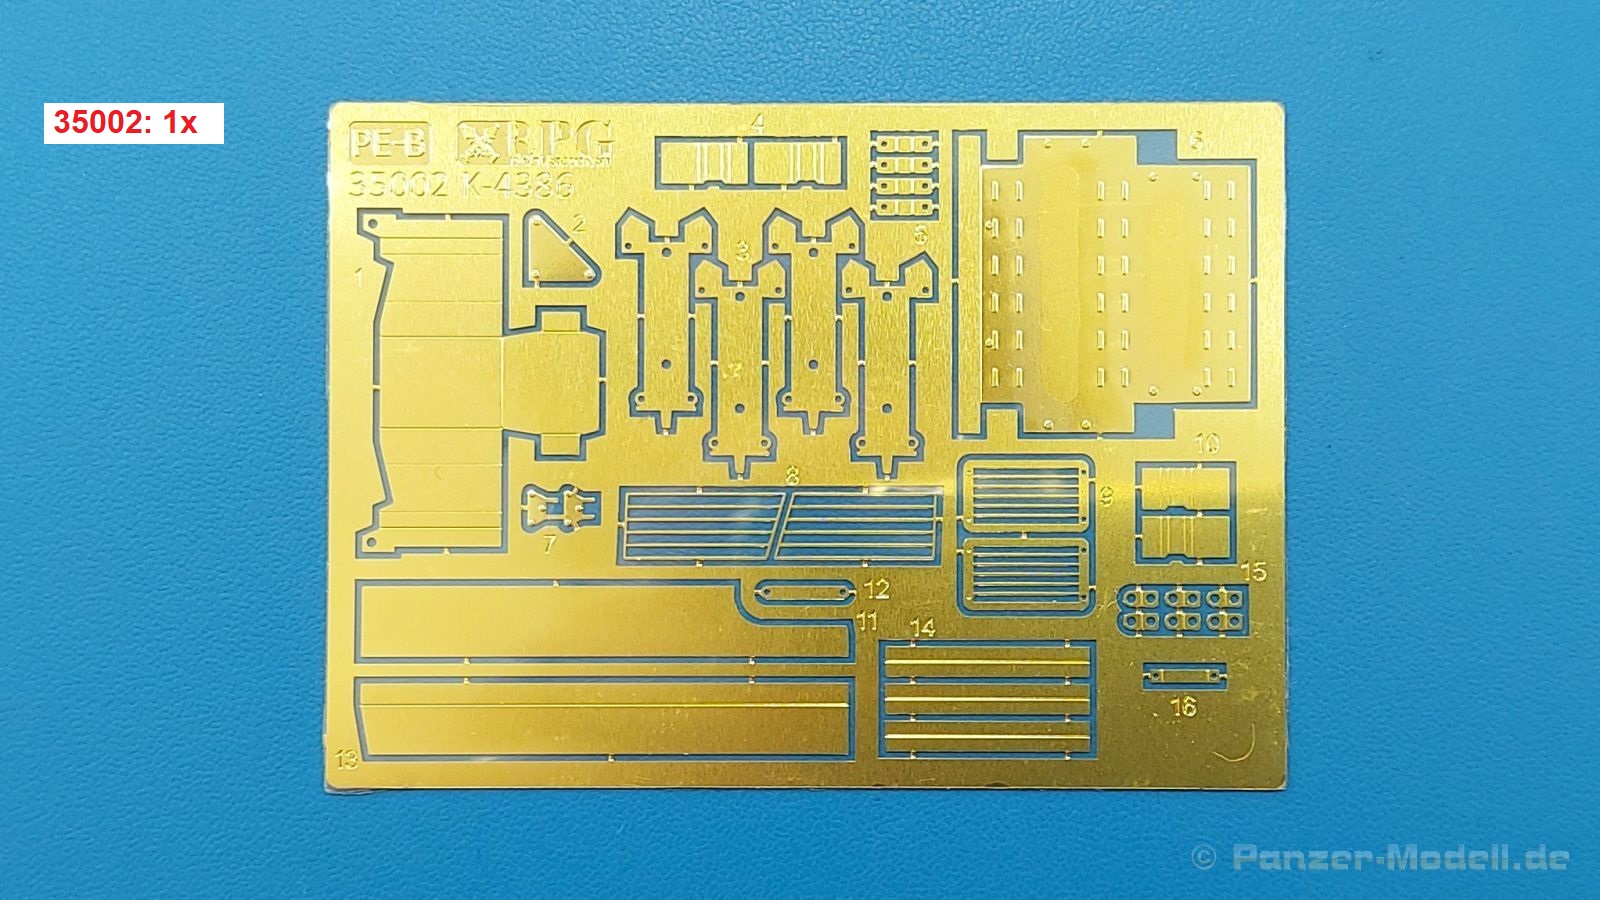
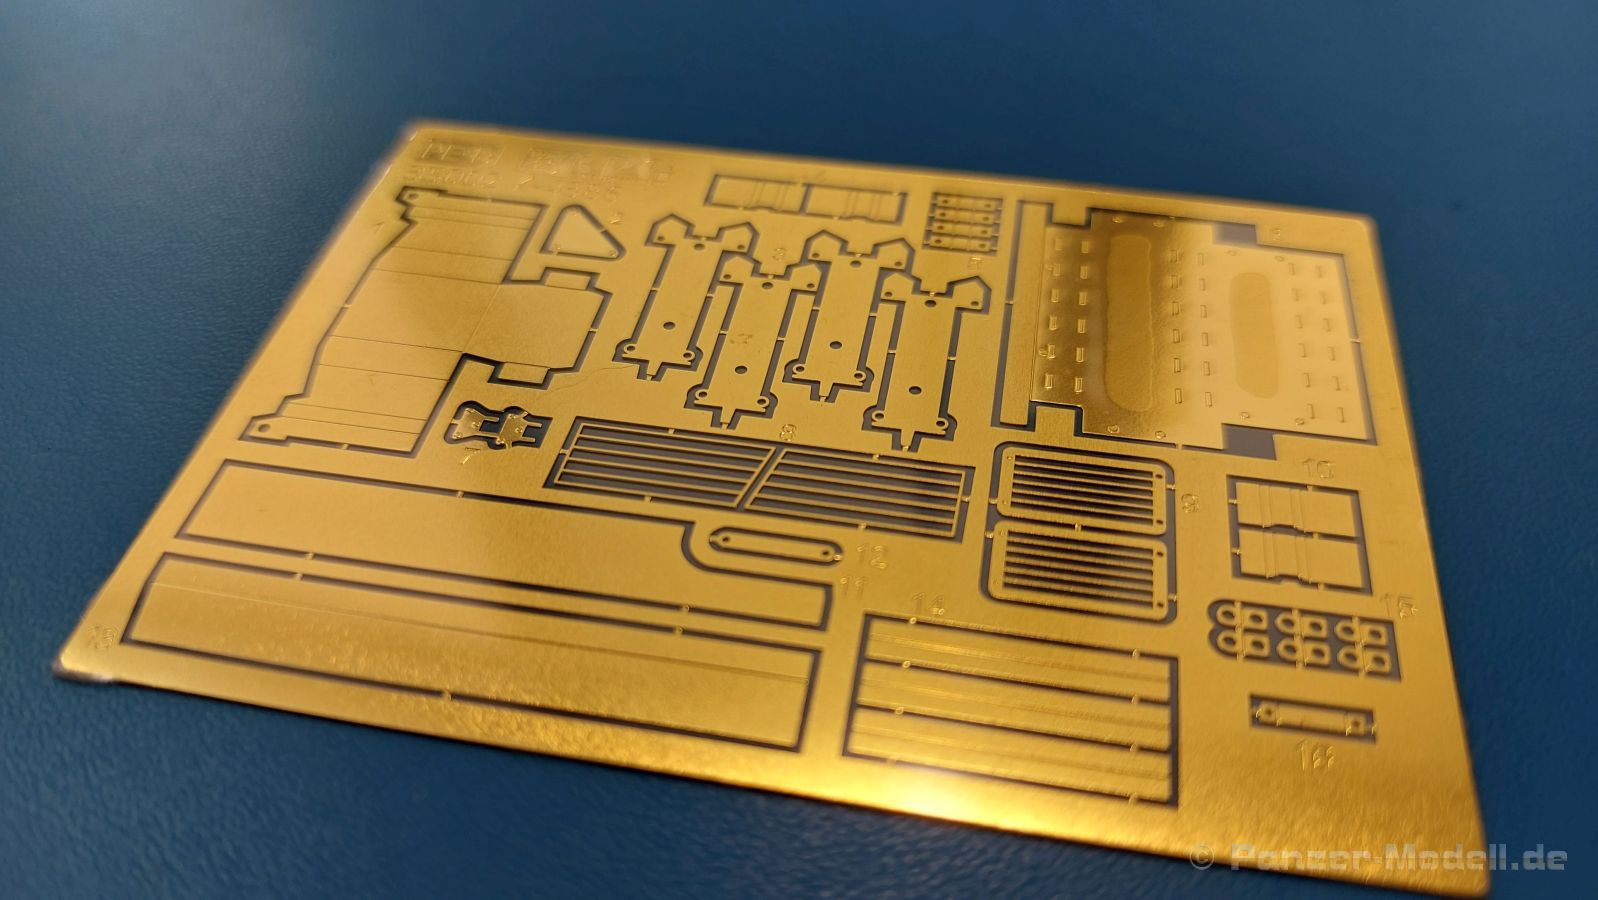
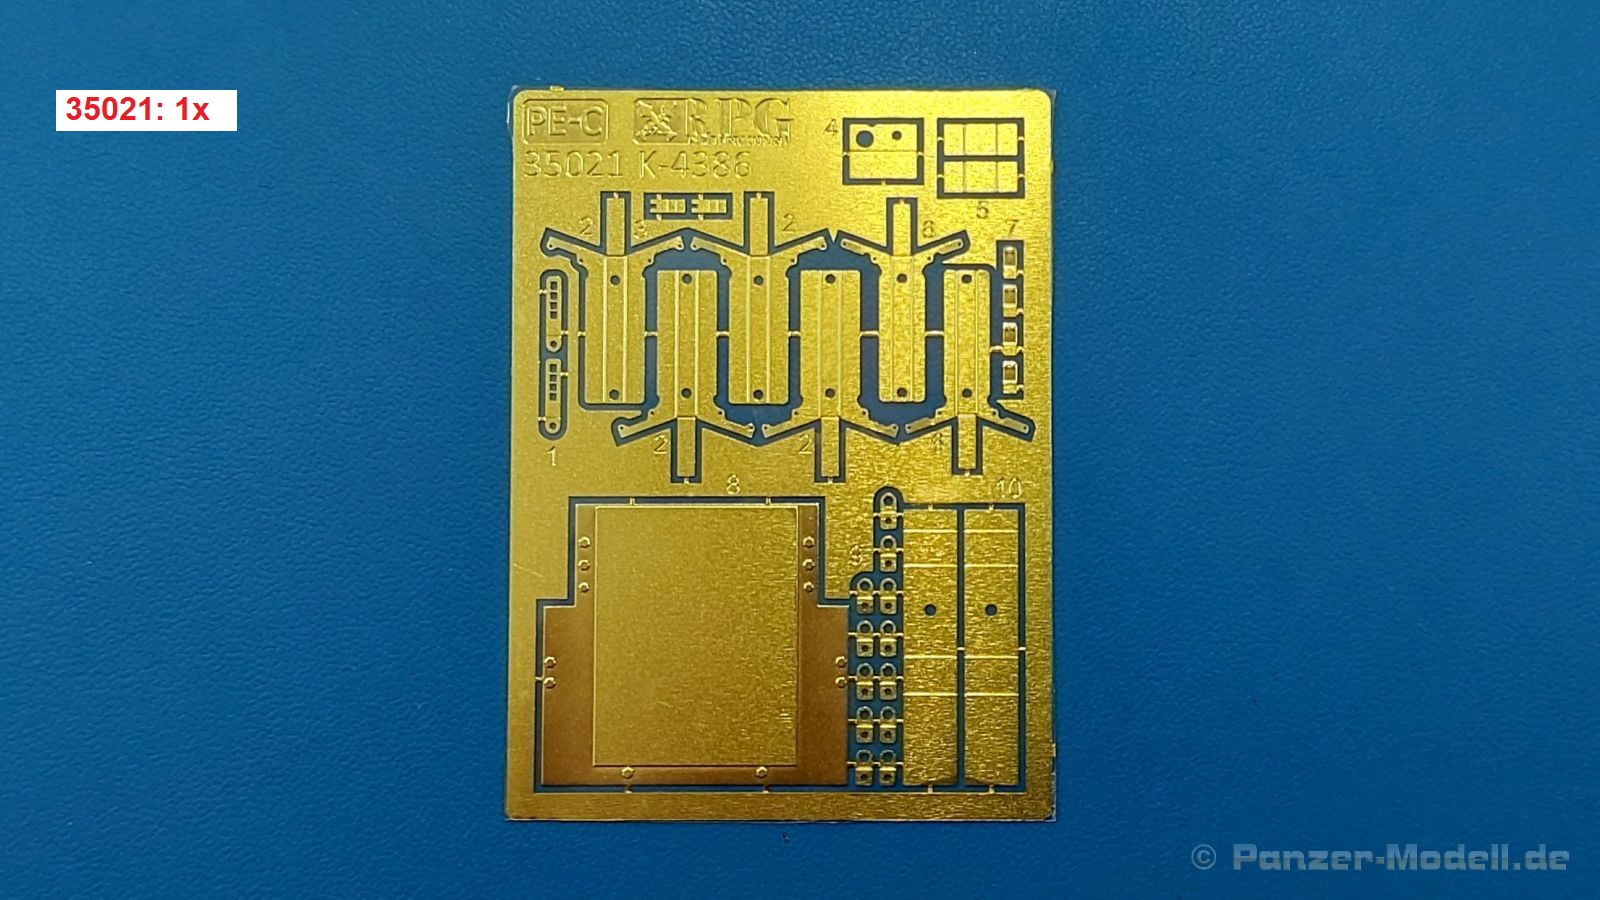
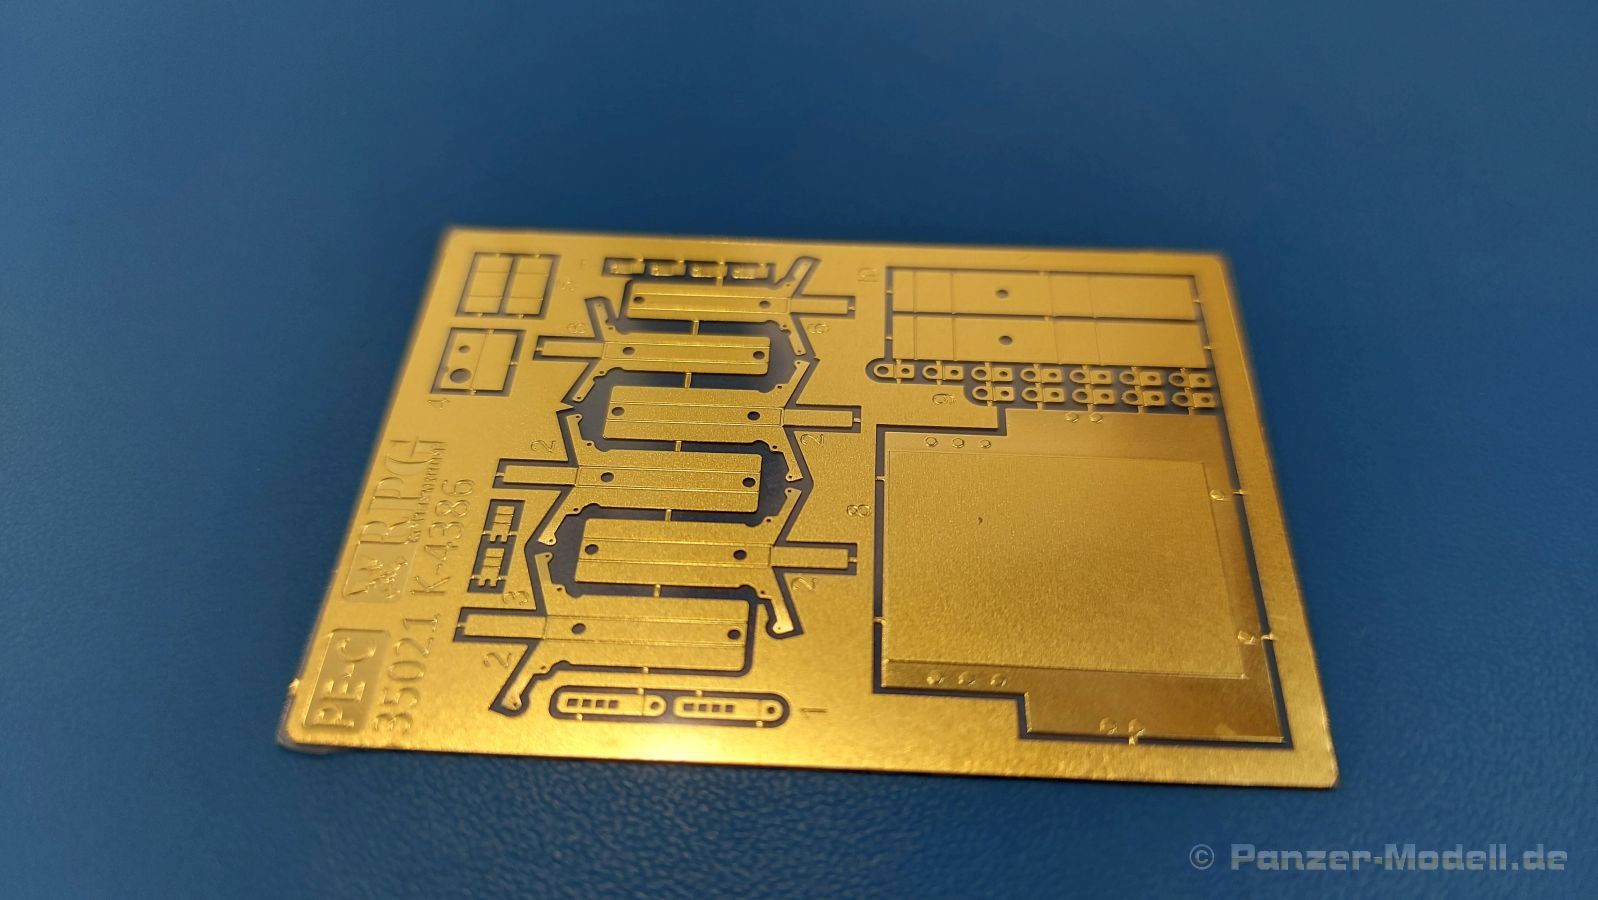
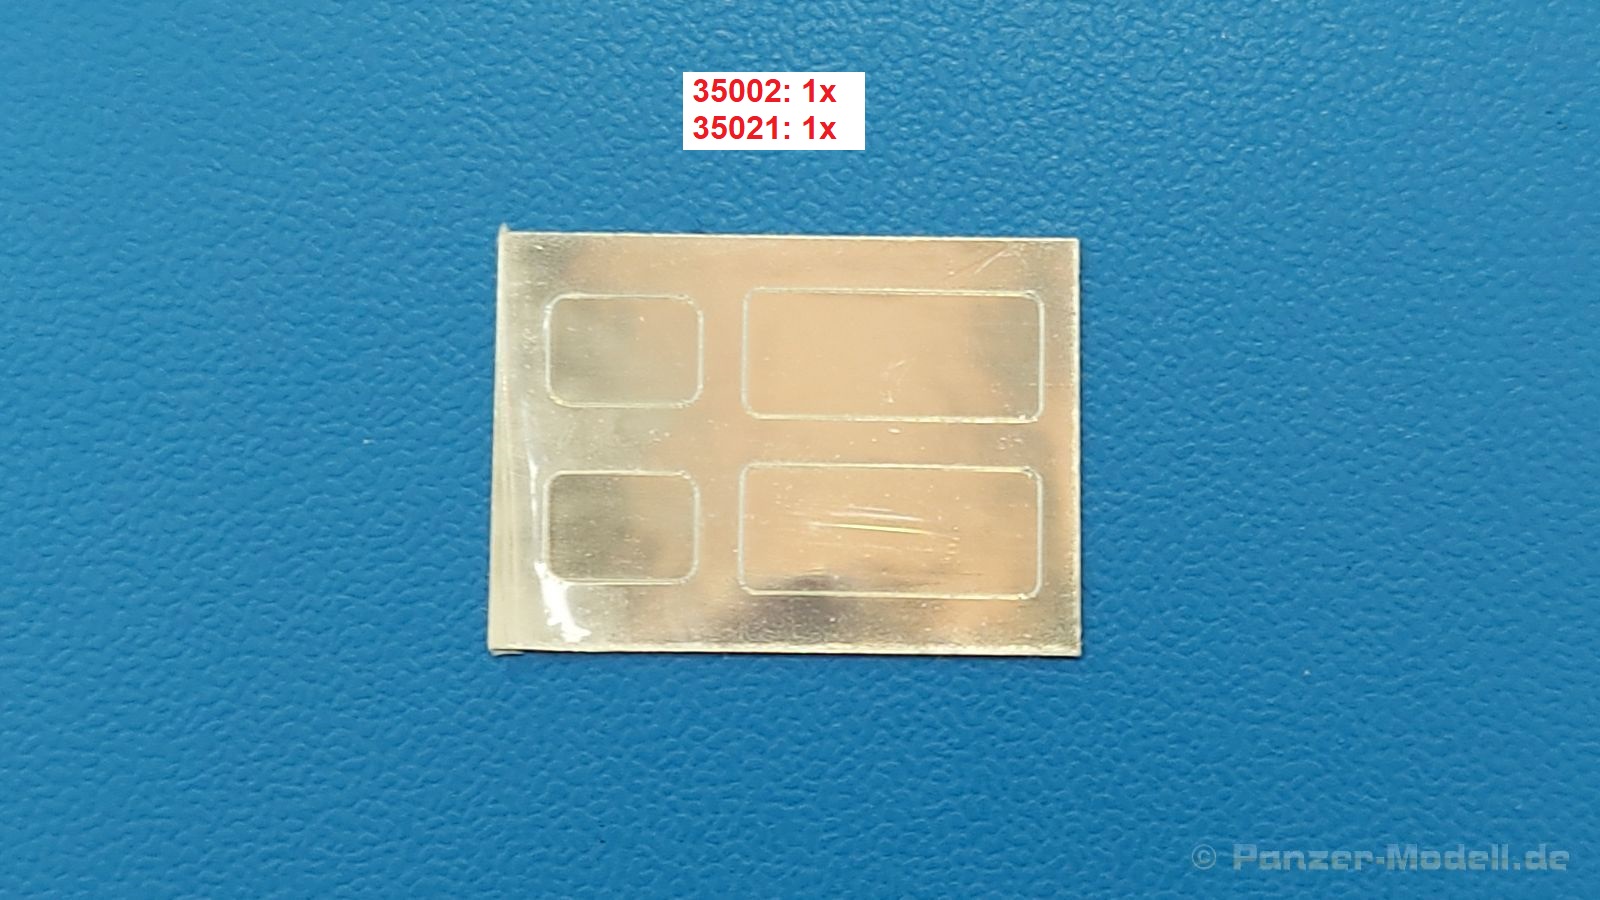
RPG gives the model builders a real 2-in-1 kit, because the contents of the box can be used to build two complete vehicles. The kits can also be purchased individually under the RPG numbers 35002 and 35021.
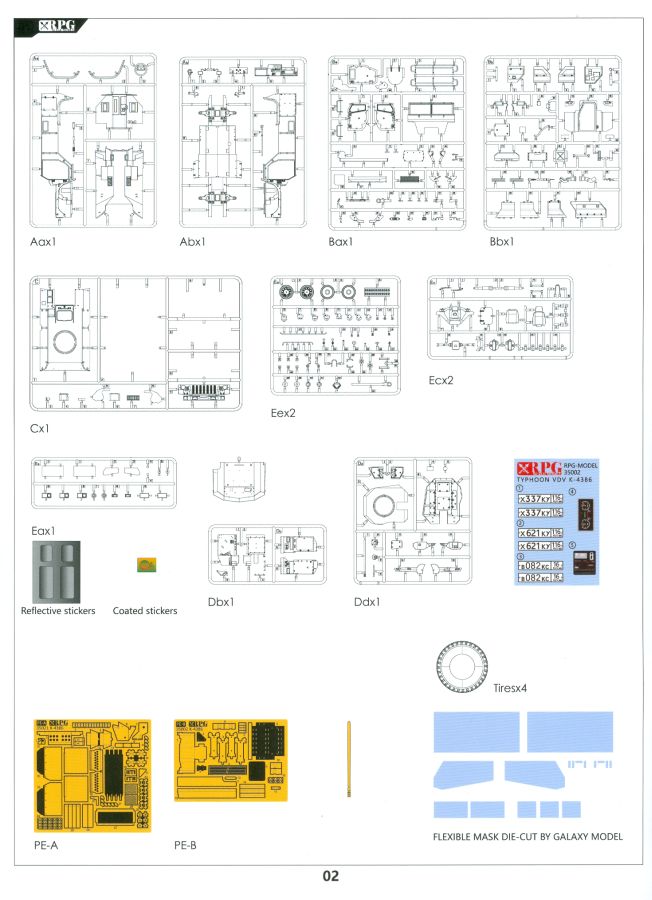
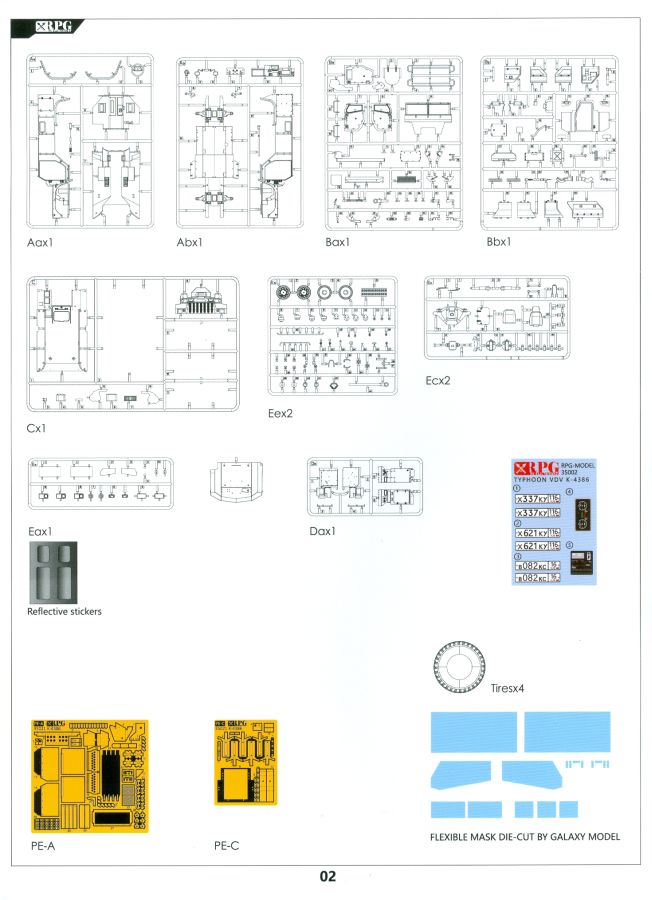
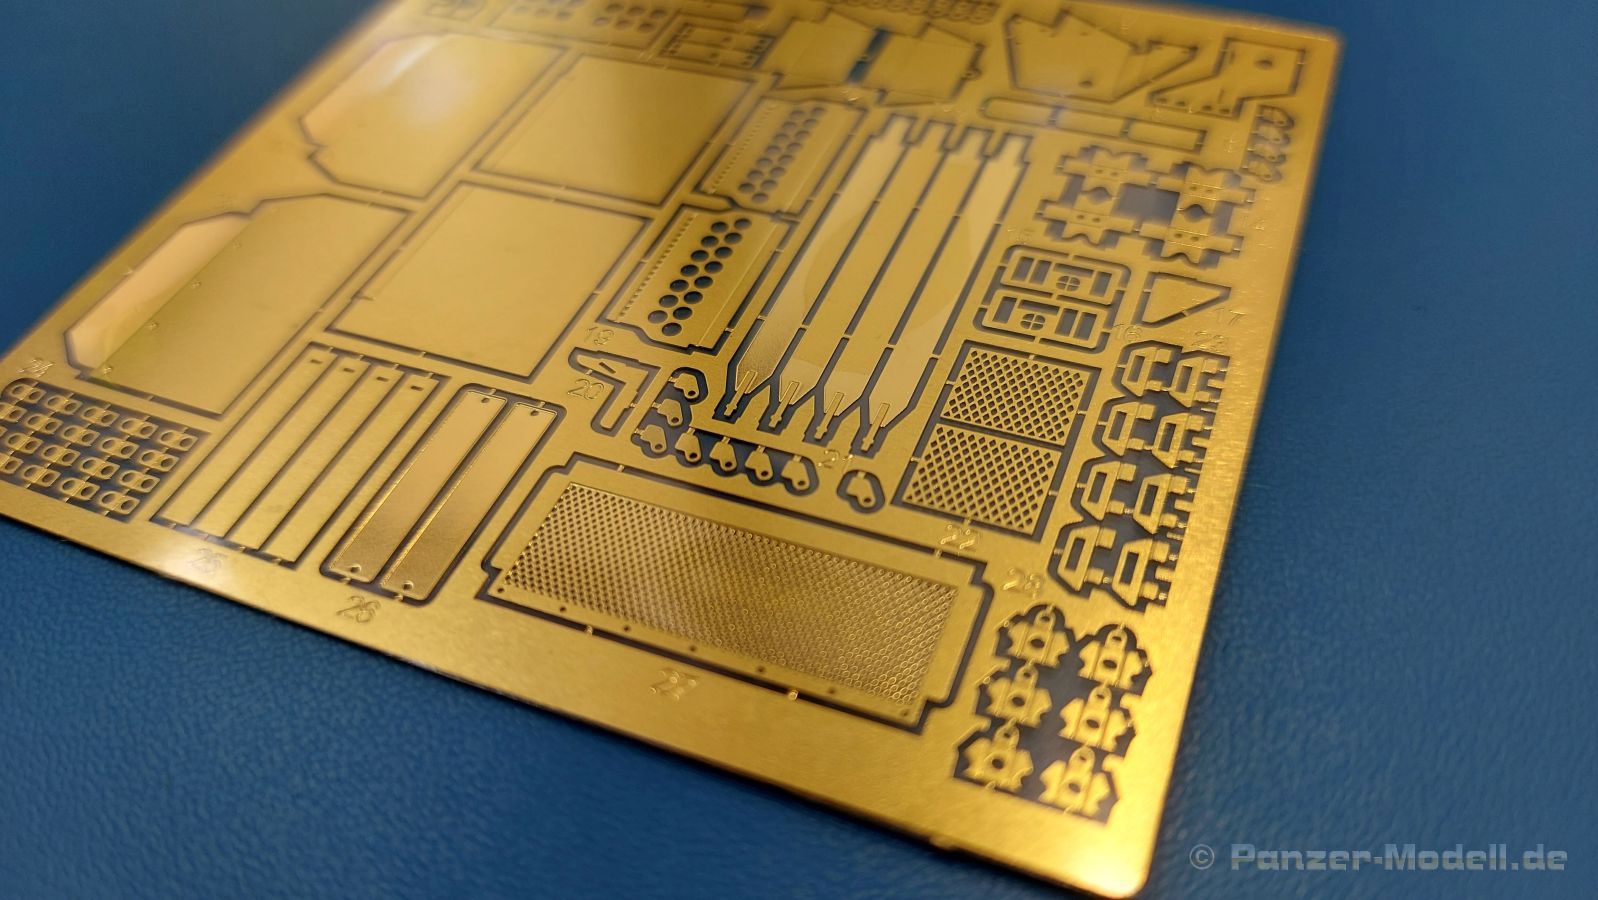
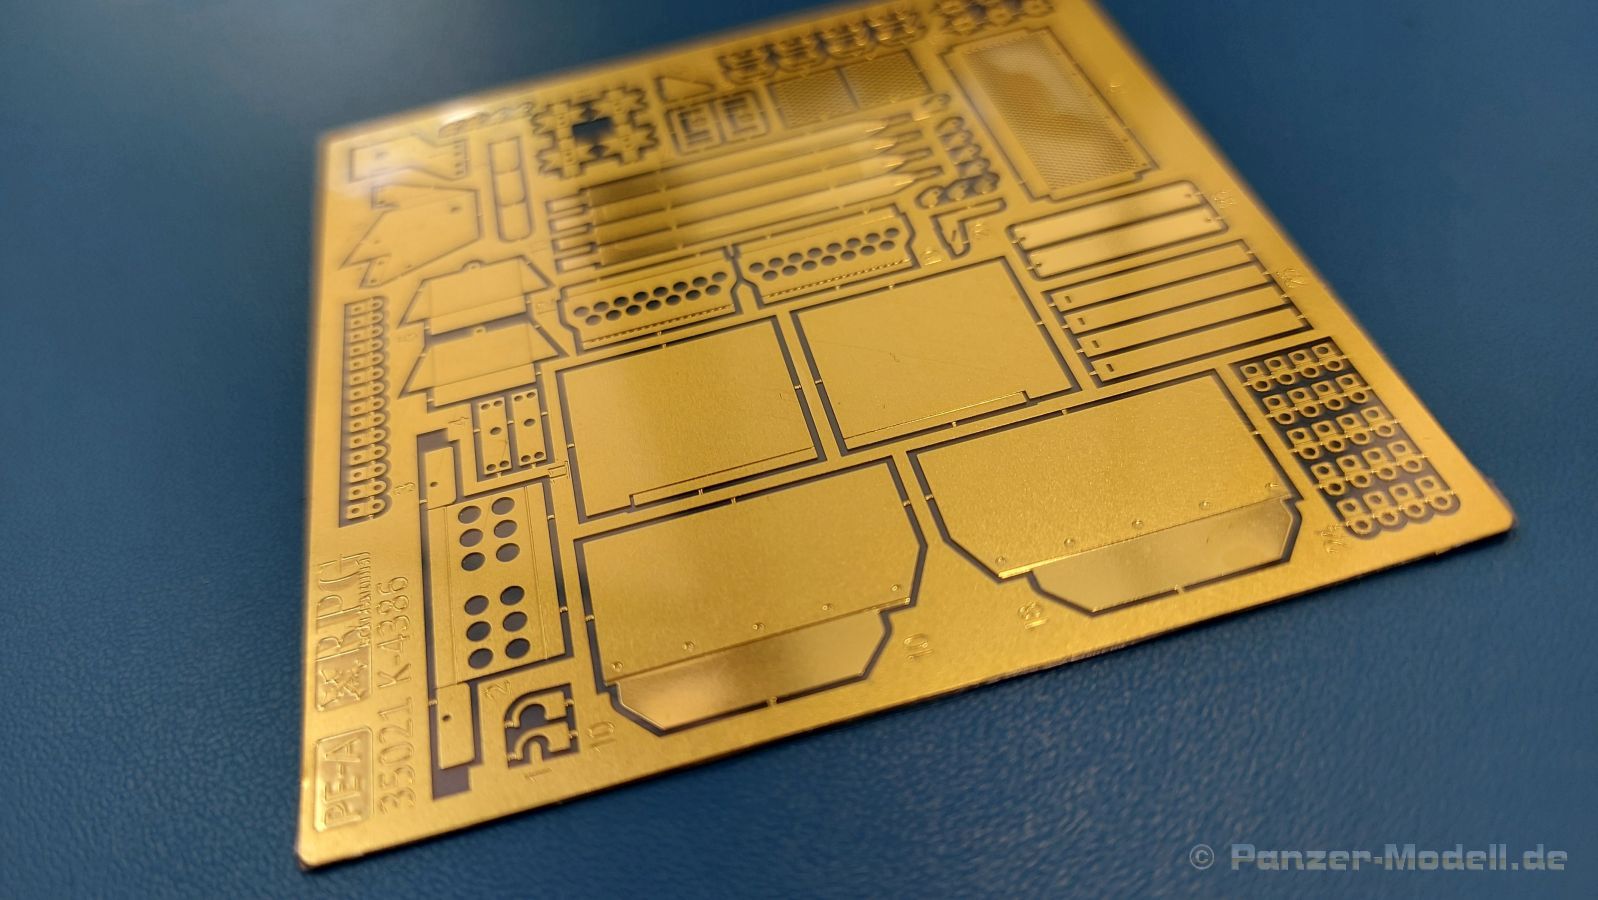
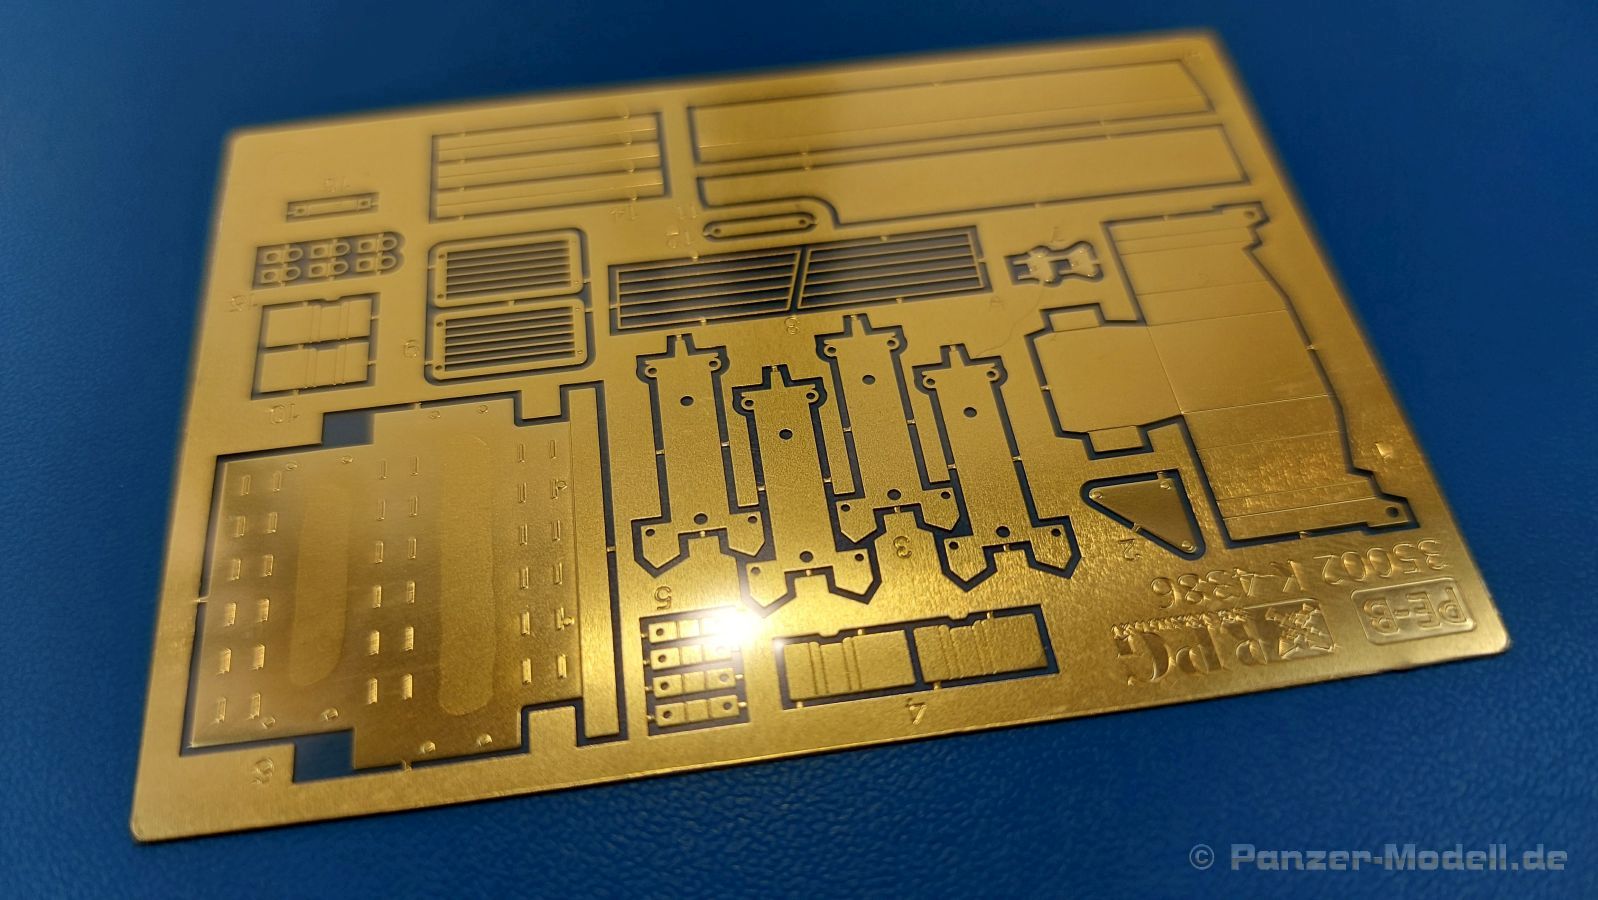
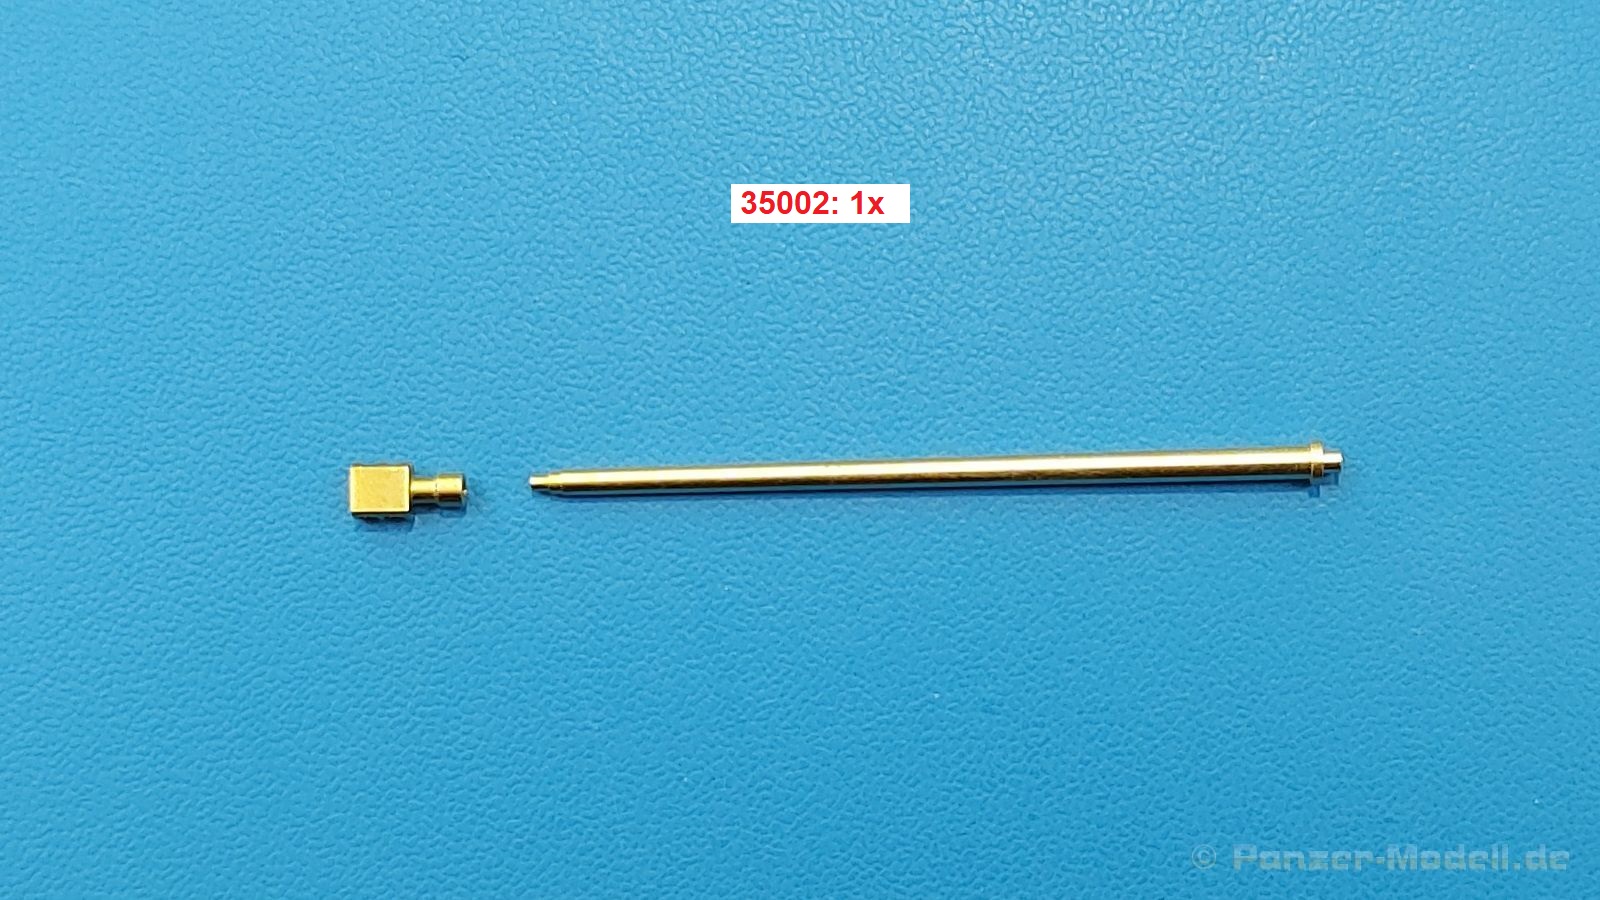
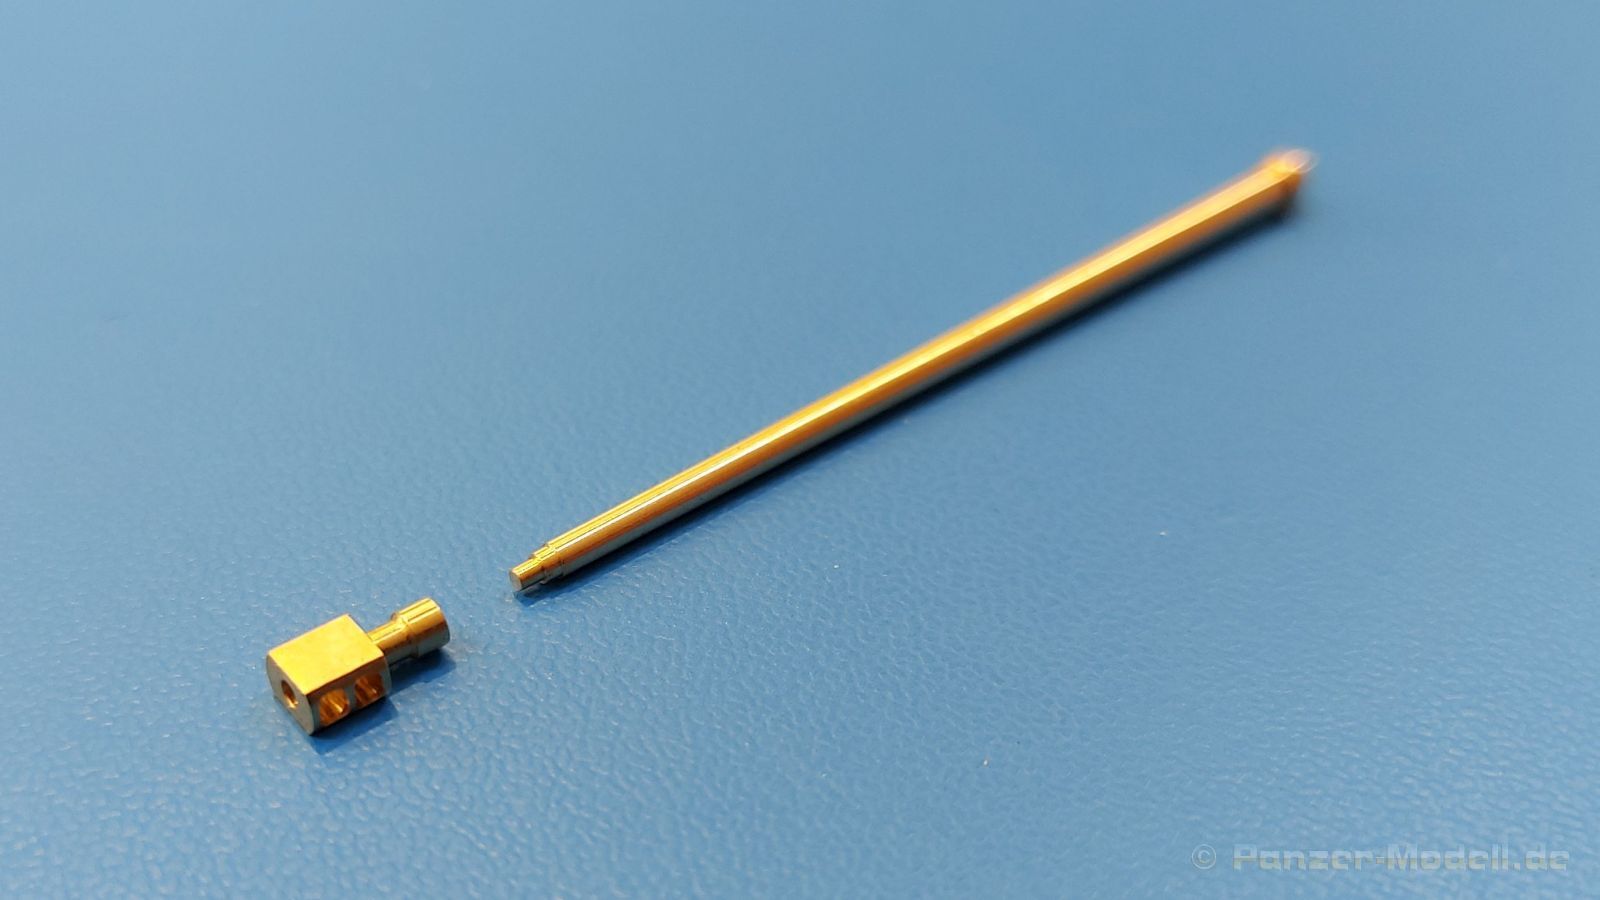
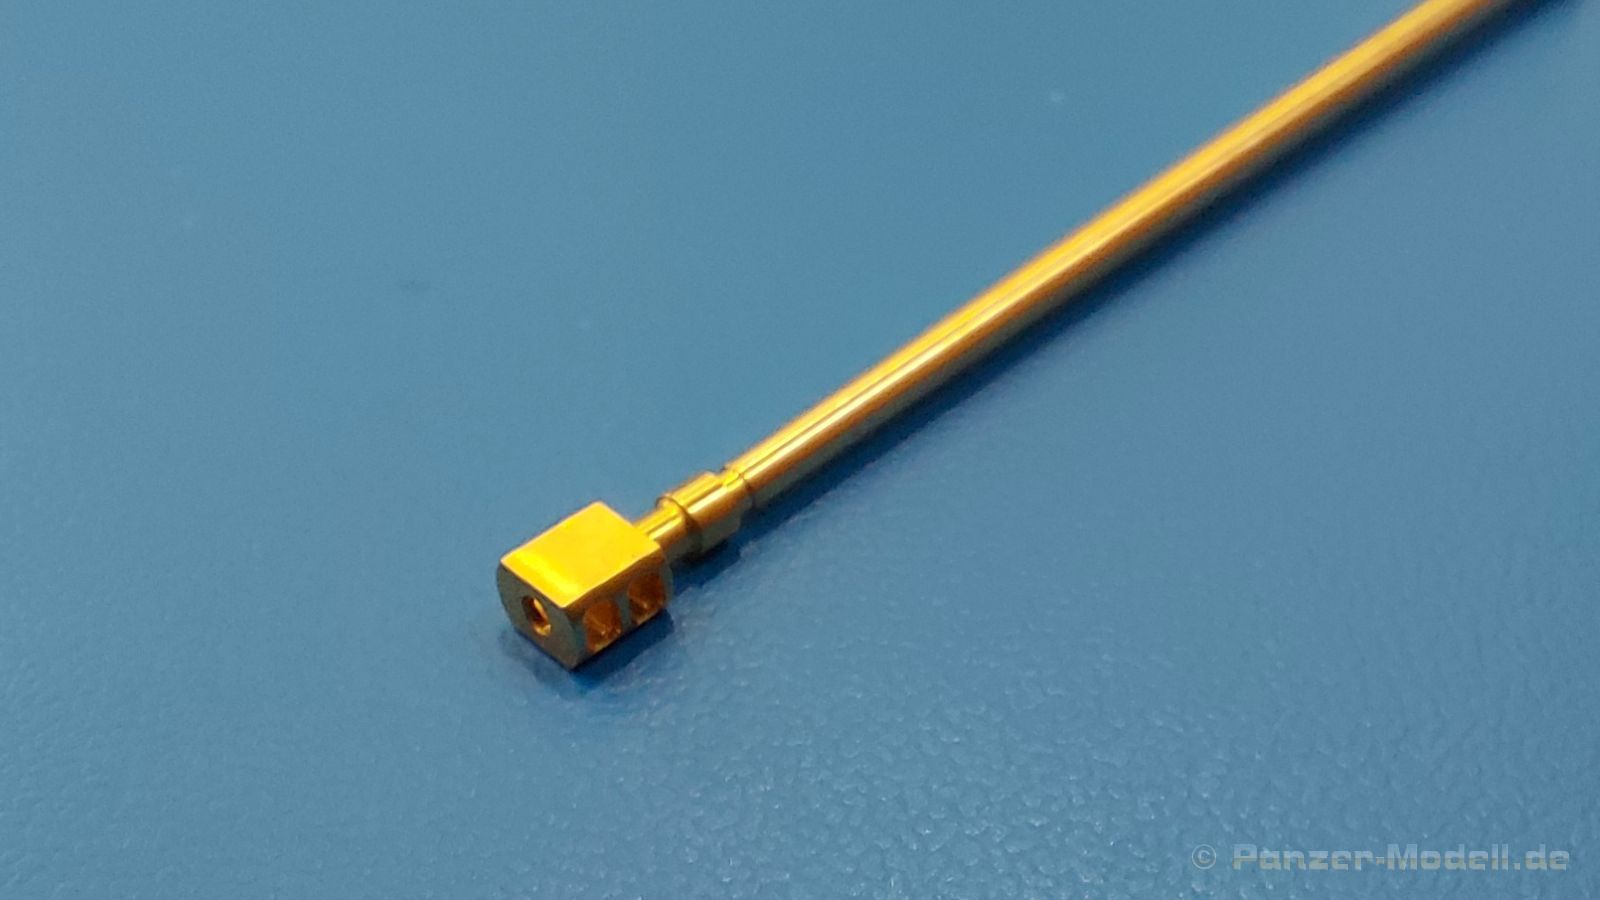
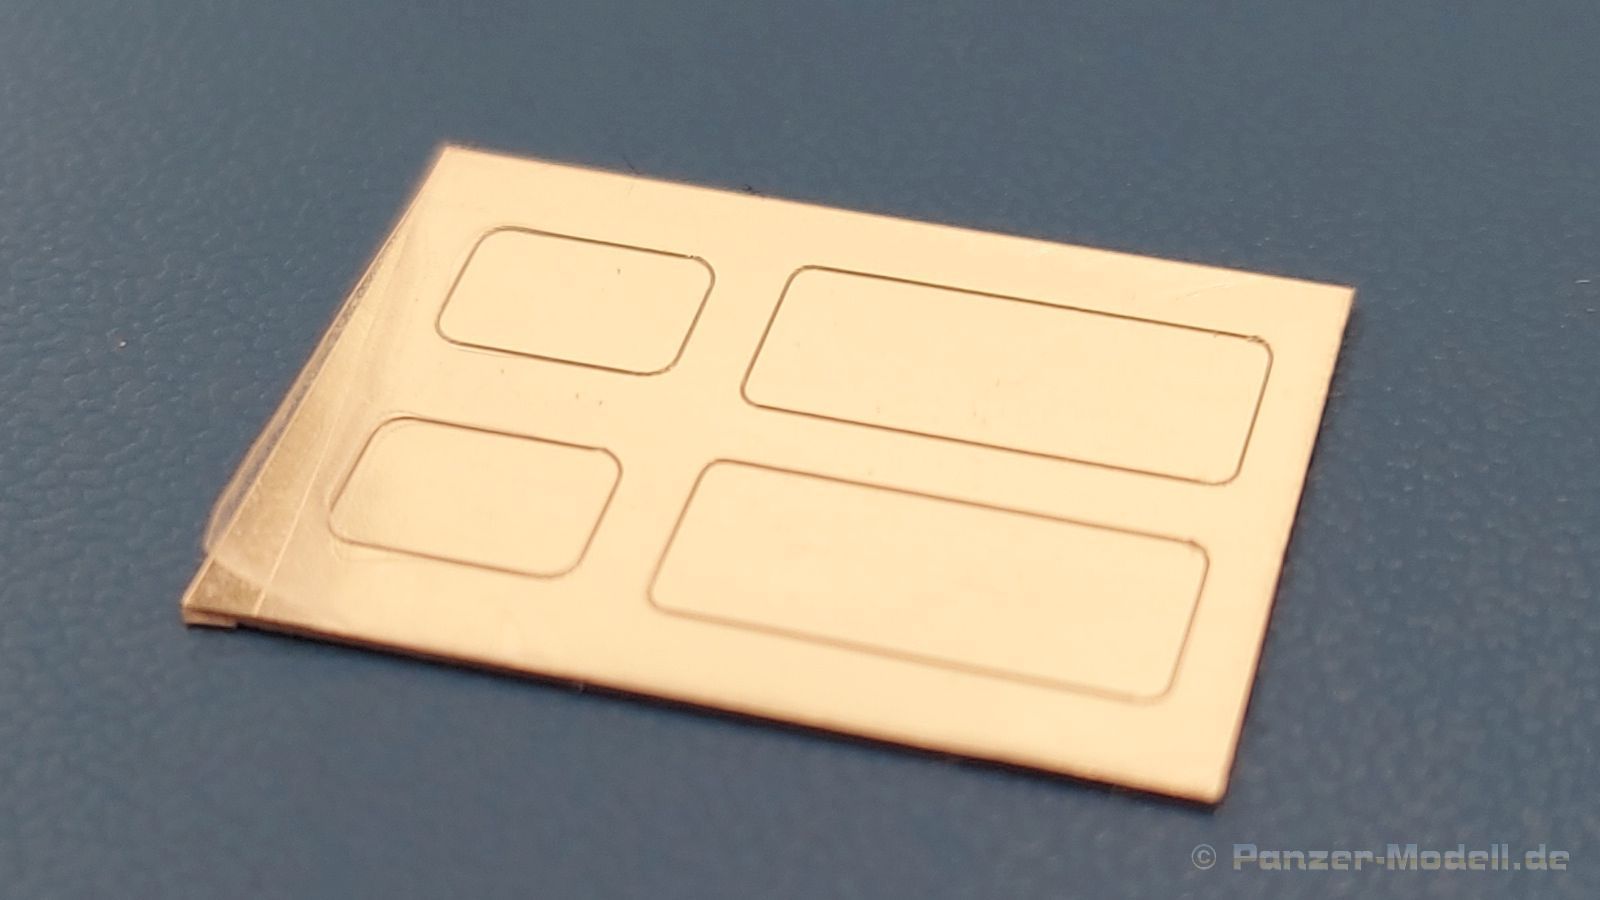
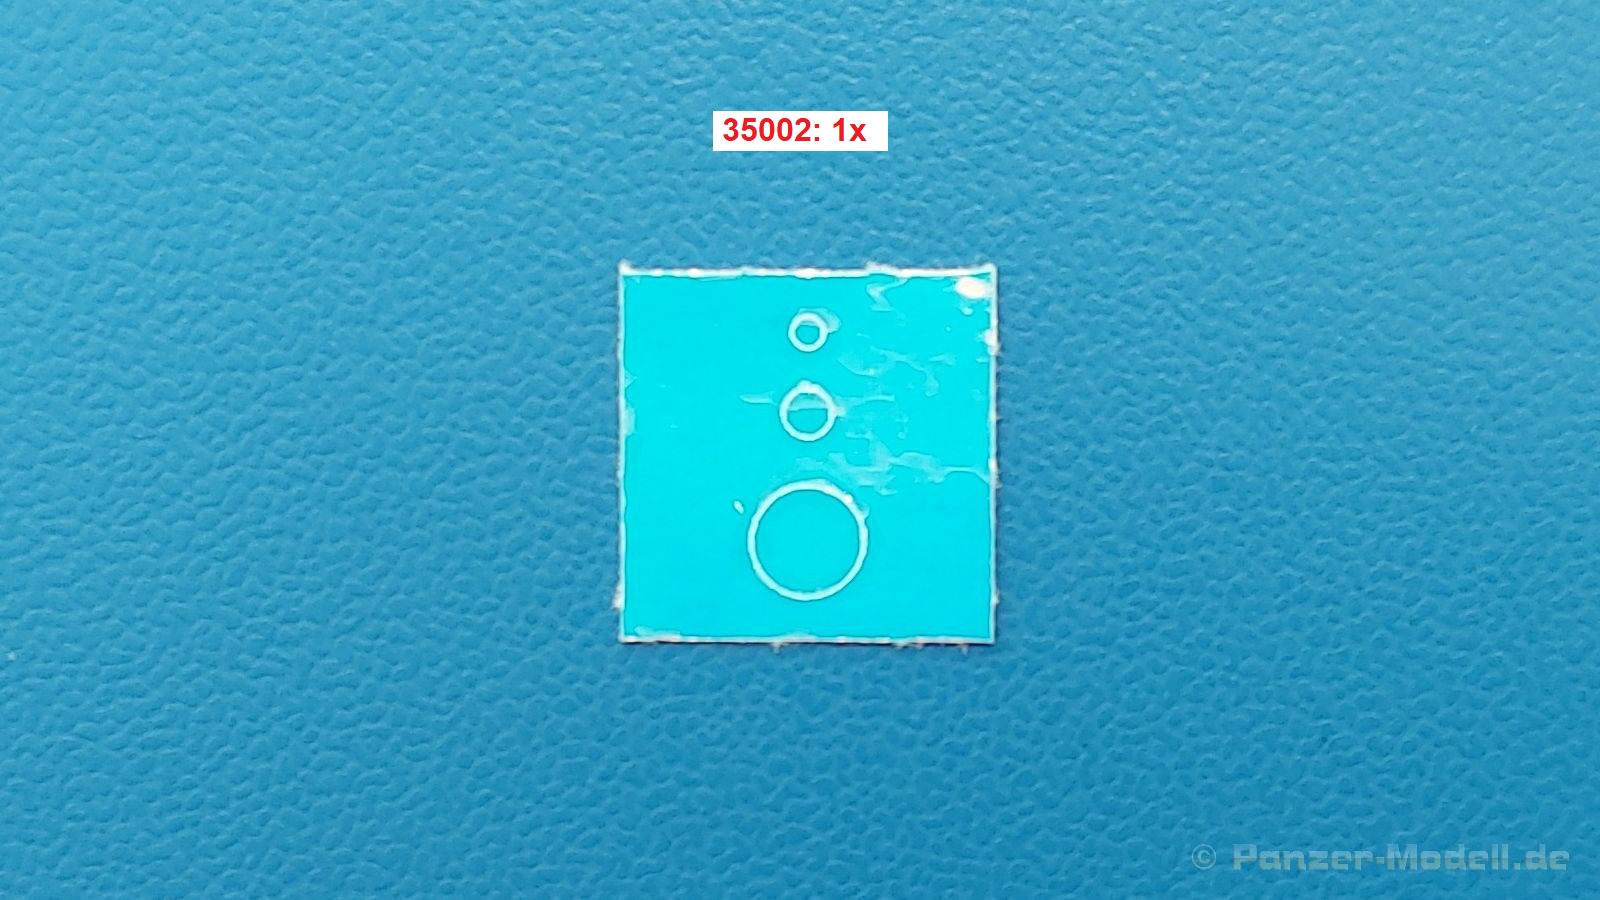
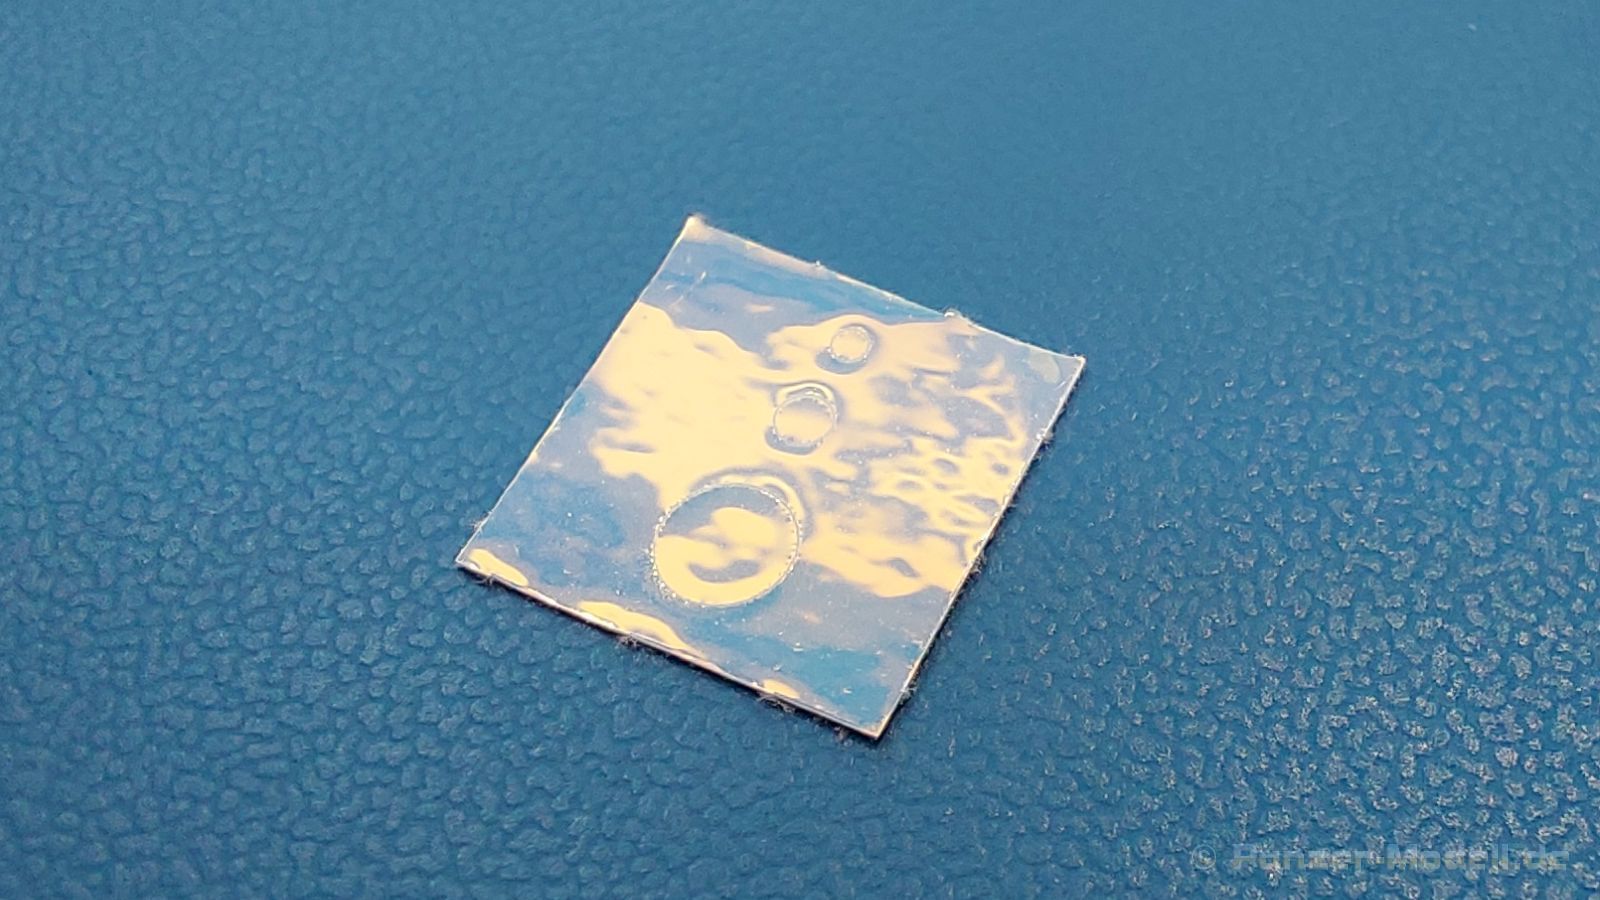
A 360 x 240 x 100 mm slip lid box contains a total of 21 light gray and 2 transparent injection molded sprues, 2 engine hoods, 8 black vinyl tires, 4 PE sheets, 1 turned brass tube with separate flash suppressor, 2 self-adhesive mirror film carriers, 1 sticker carrier for optics, 2 pre-cut painting masks sets, 2 decal sheets, a 12-page and a 16-page assembly instruction in A4 format.
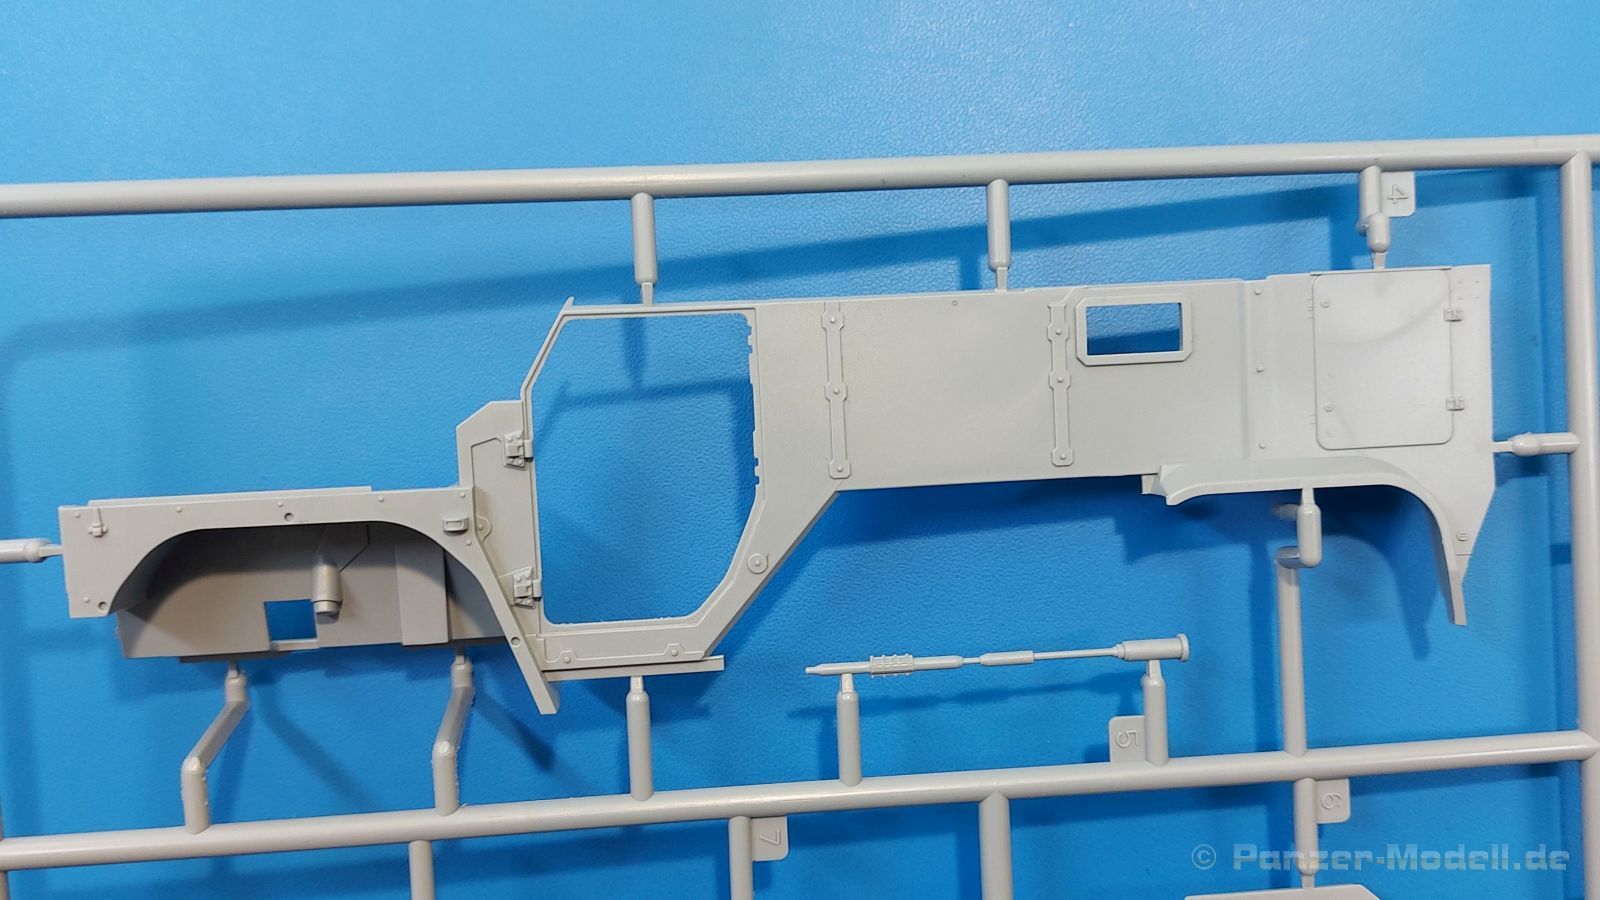
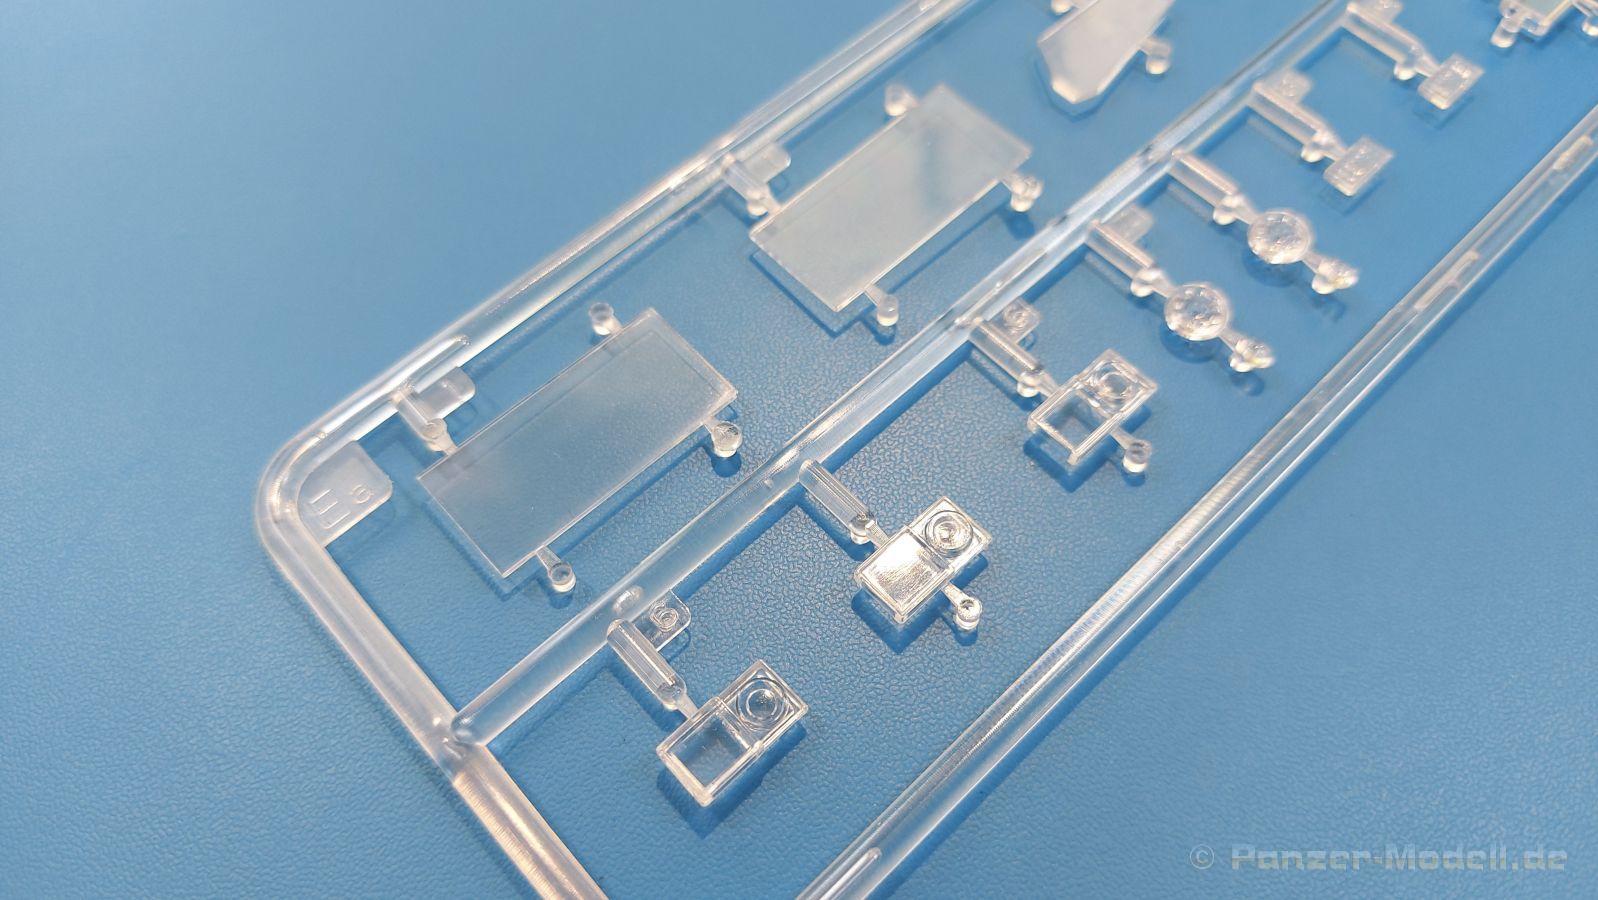
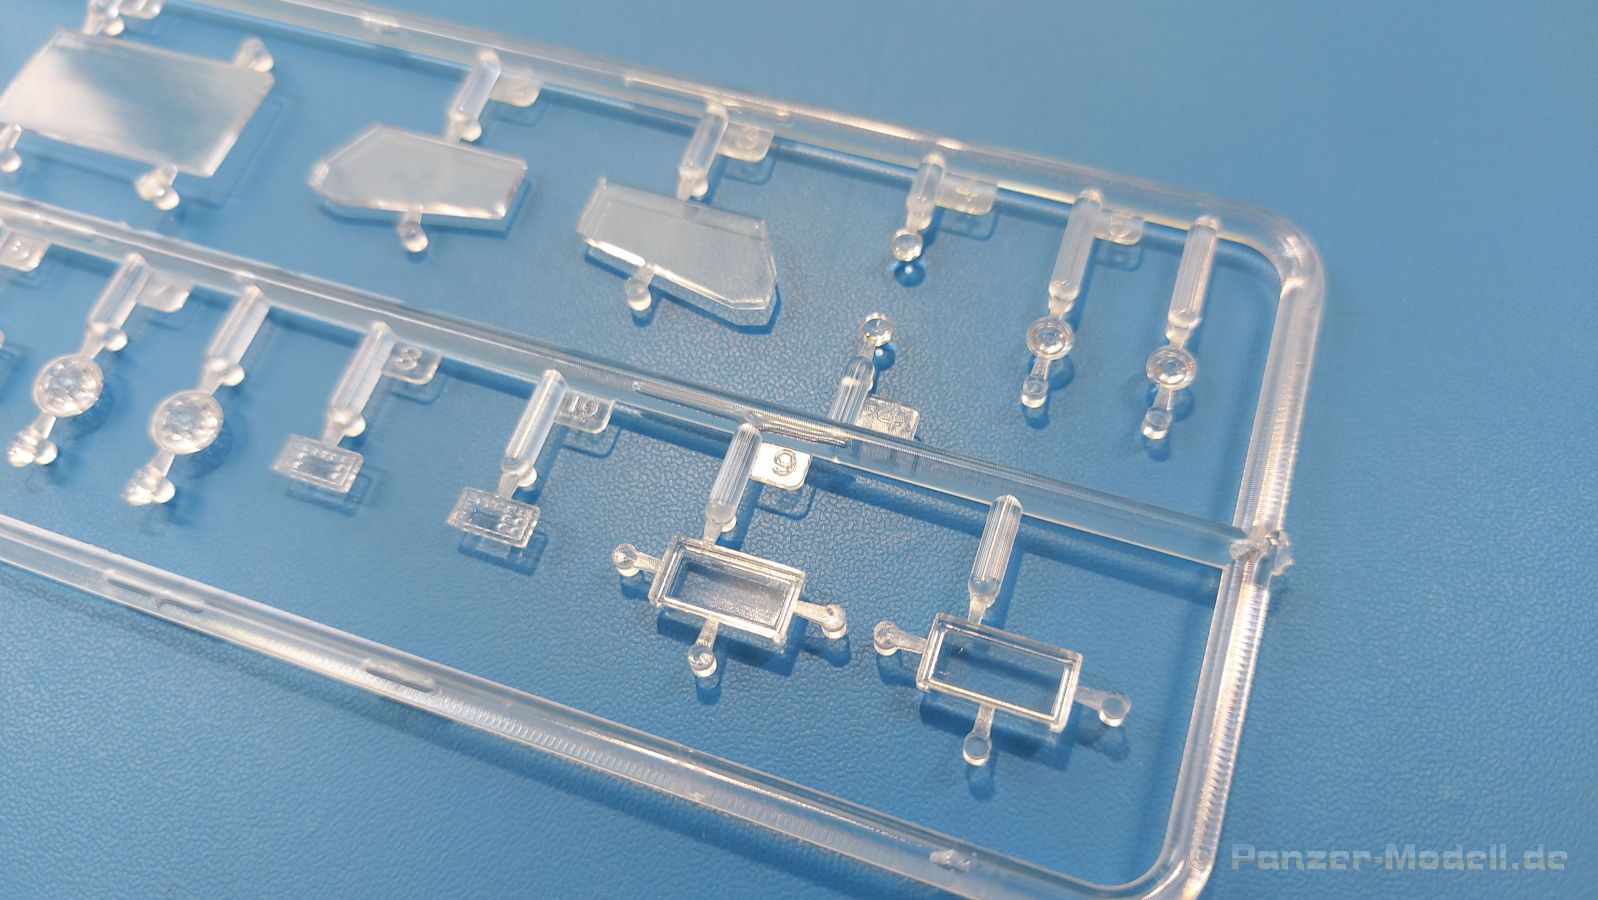
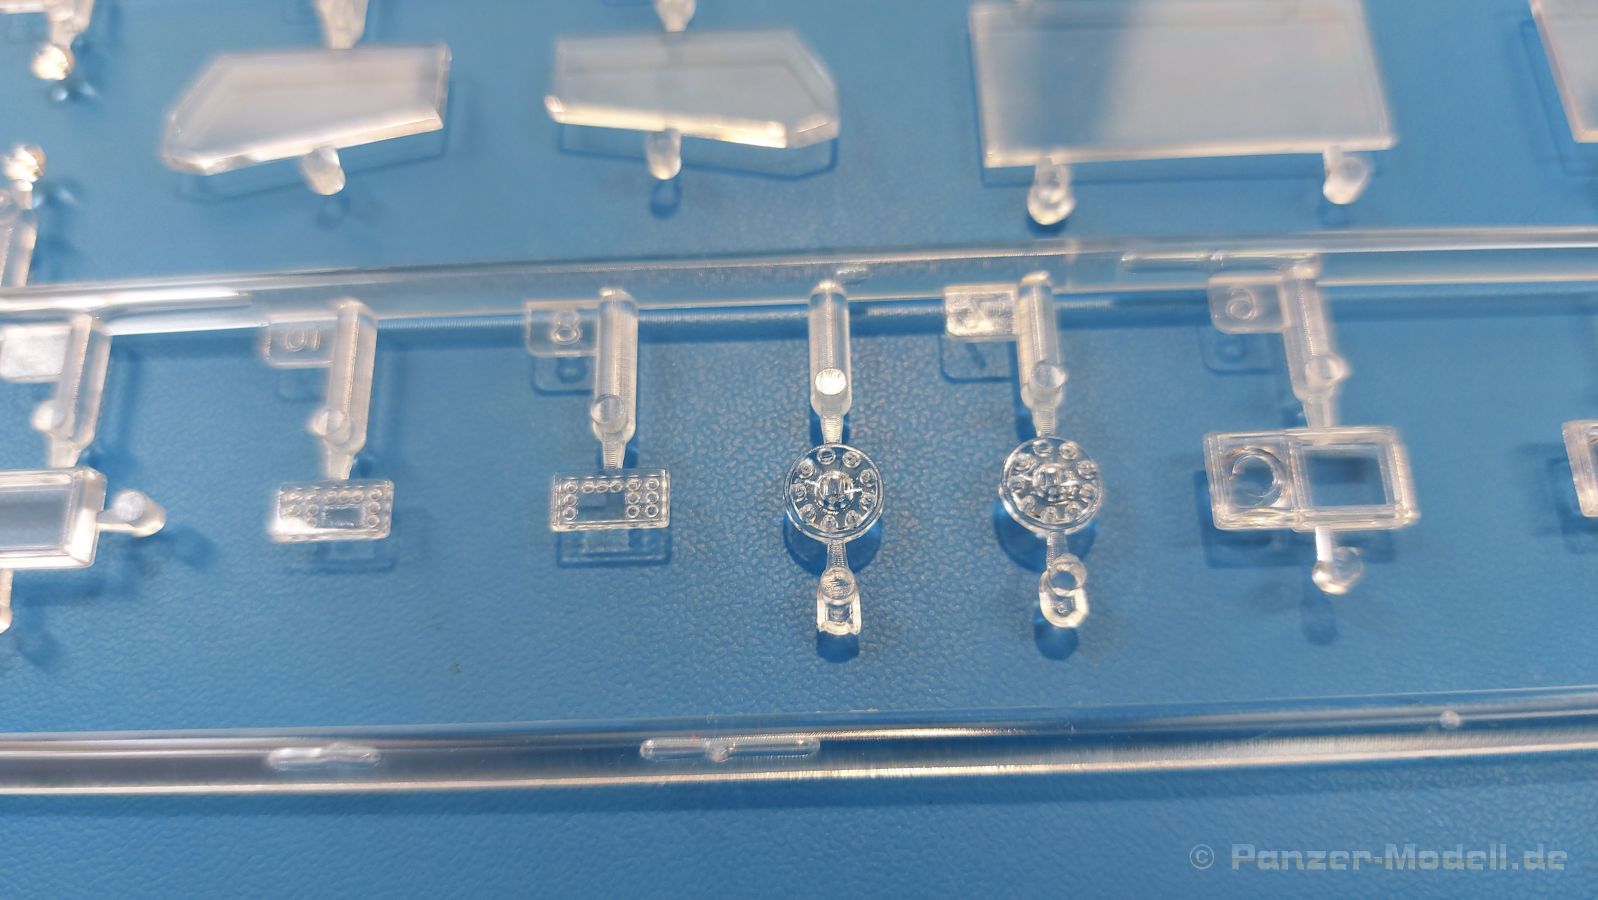
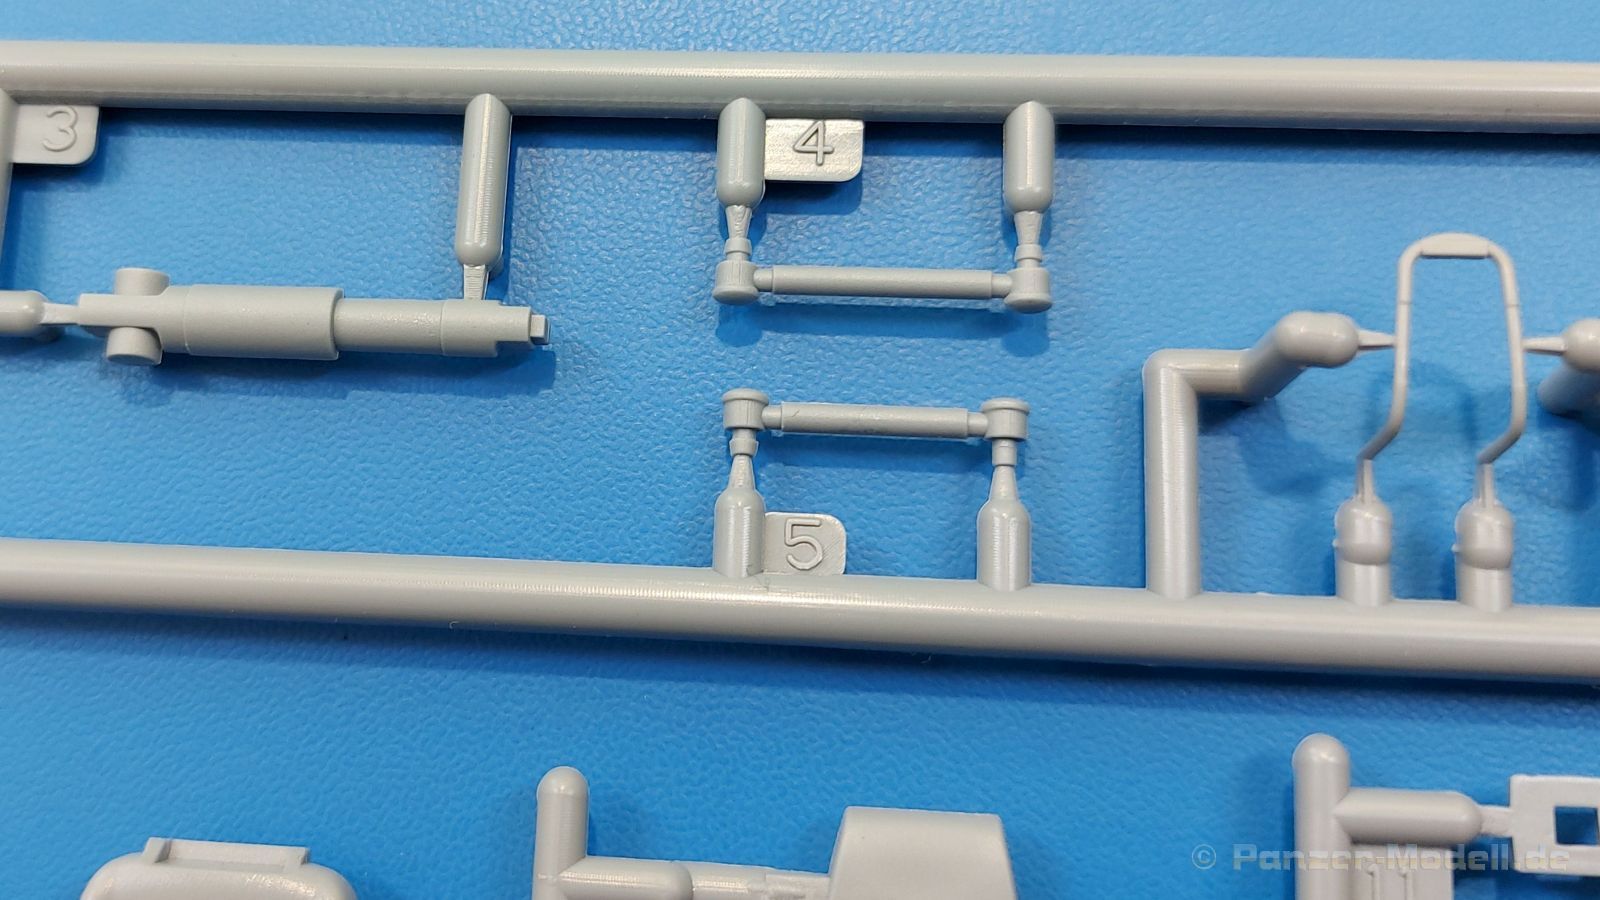
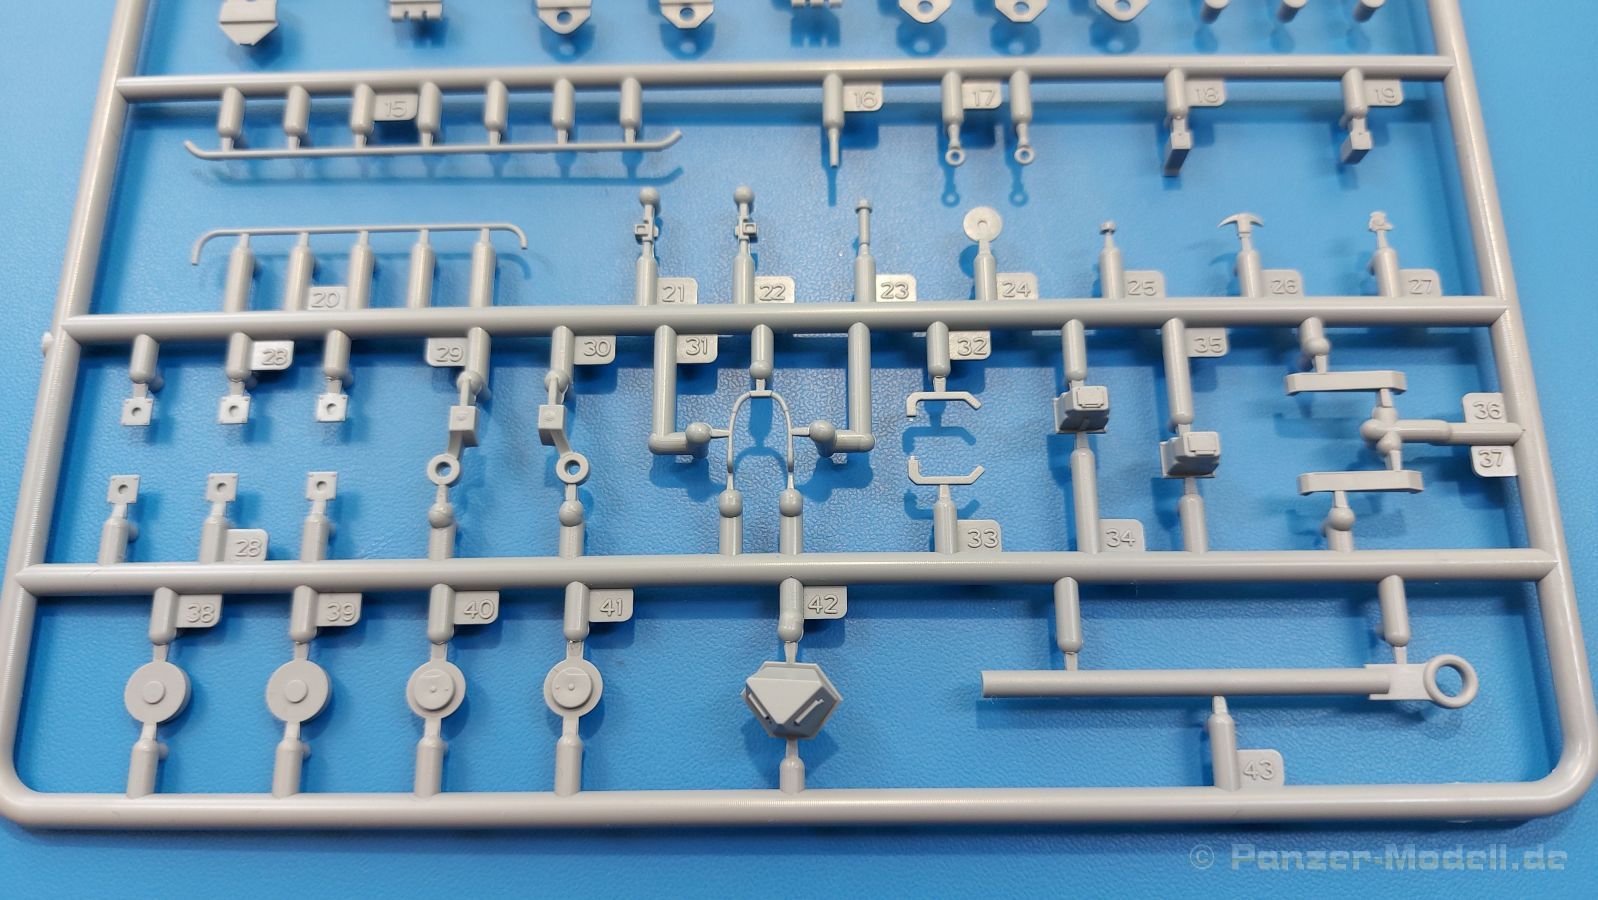
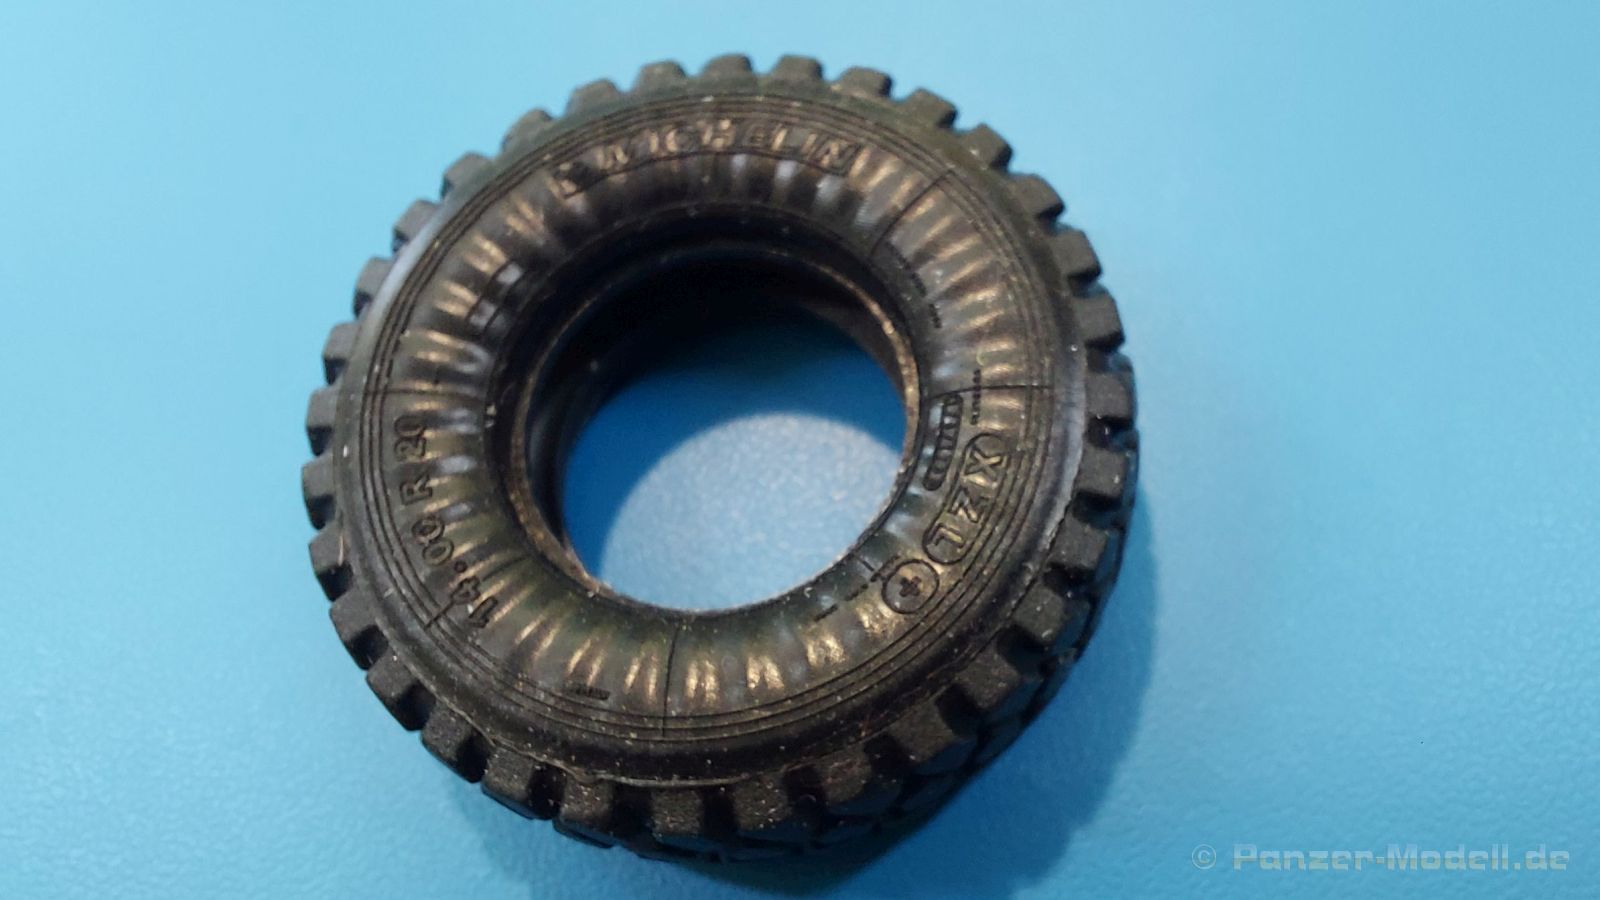
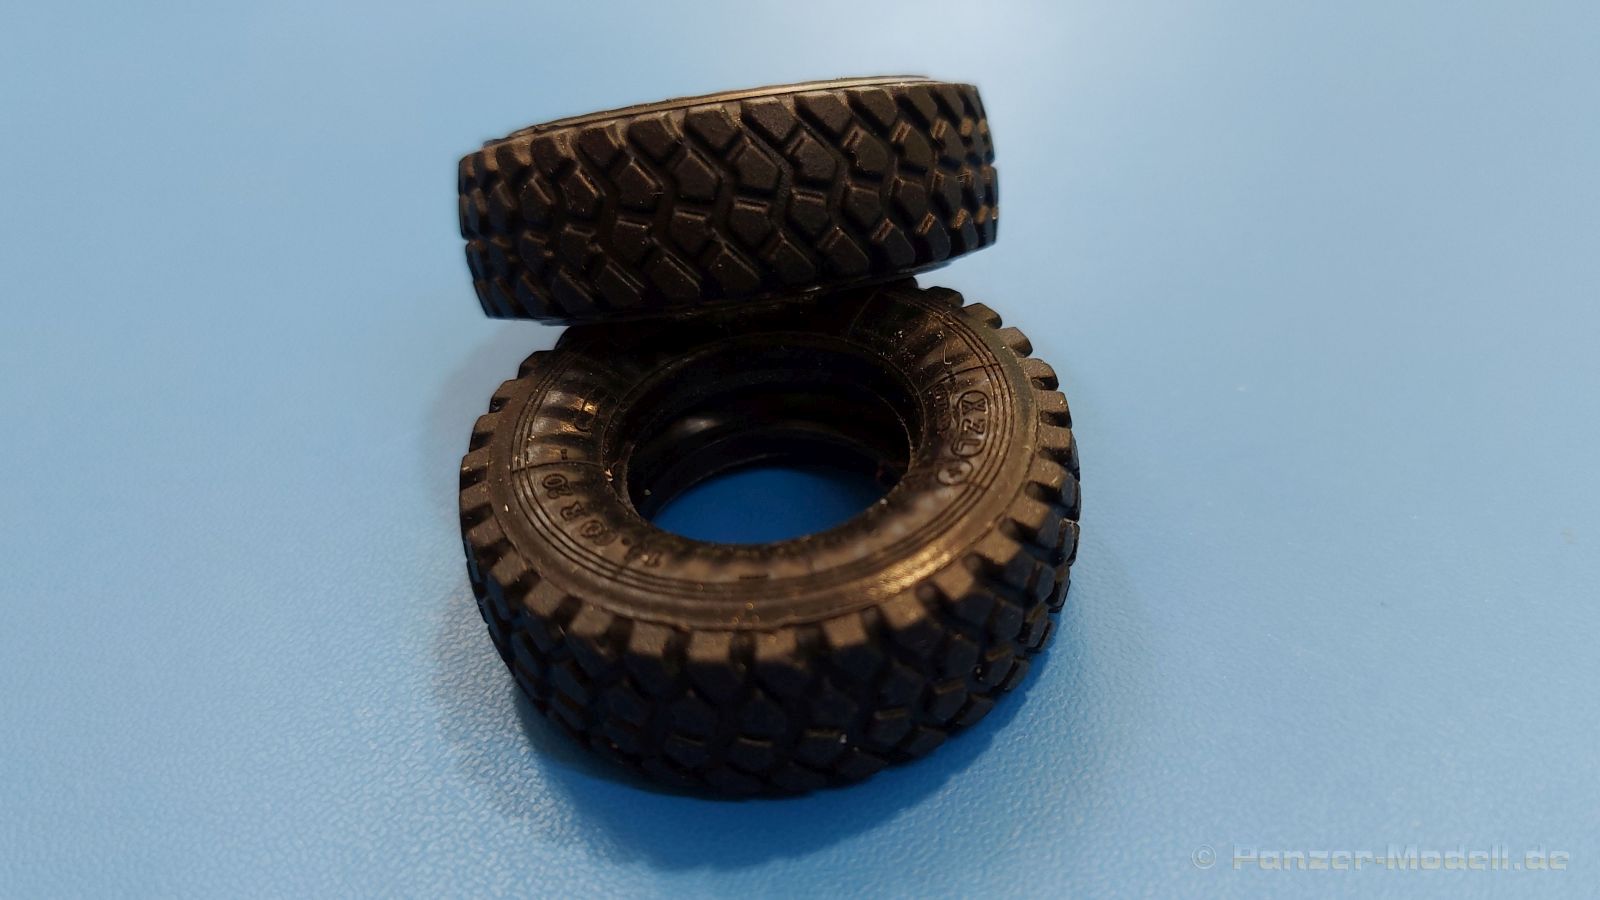
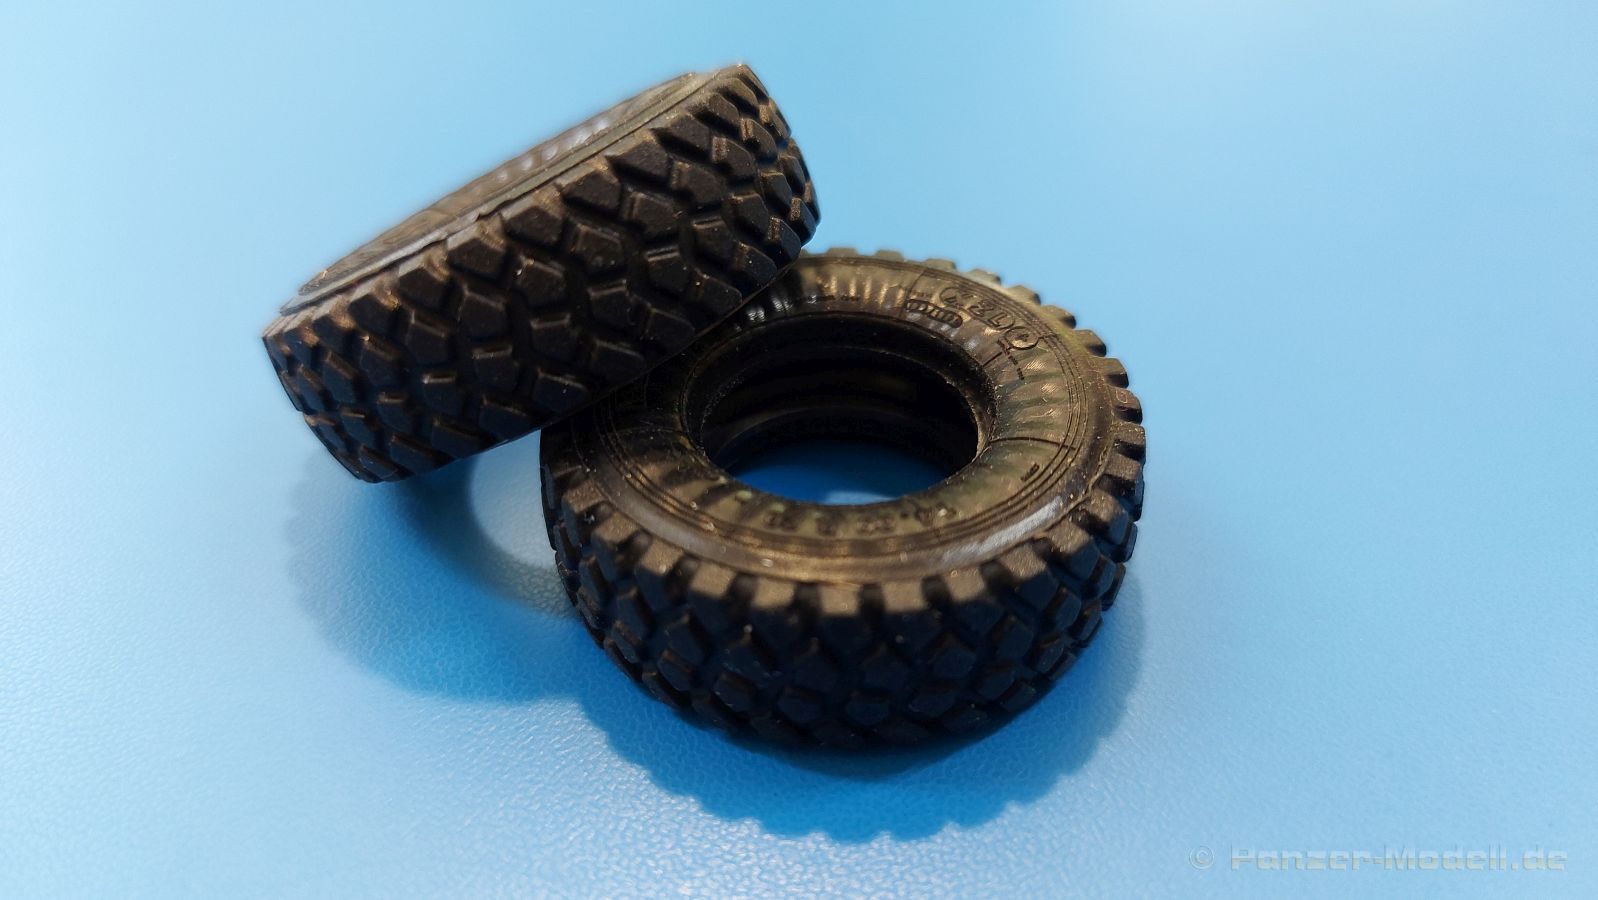
The parts are cleanly molded, without any distortion, offset or sink marks. Ejection marks can only be found on the cast branches or sides of parts that are no longer visible after assembly. Transparent parts have no streaks or scratches. The structure of modern headlights is well reproduced. The tires are included individually. They are made of black vinyl, flawlessly without any annoying burrs and with good details.
Since both vehicles are largely the same, all the following descriptions apply to both. I then point out the differences.
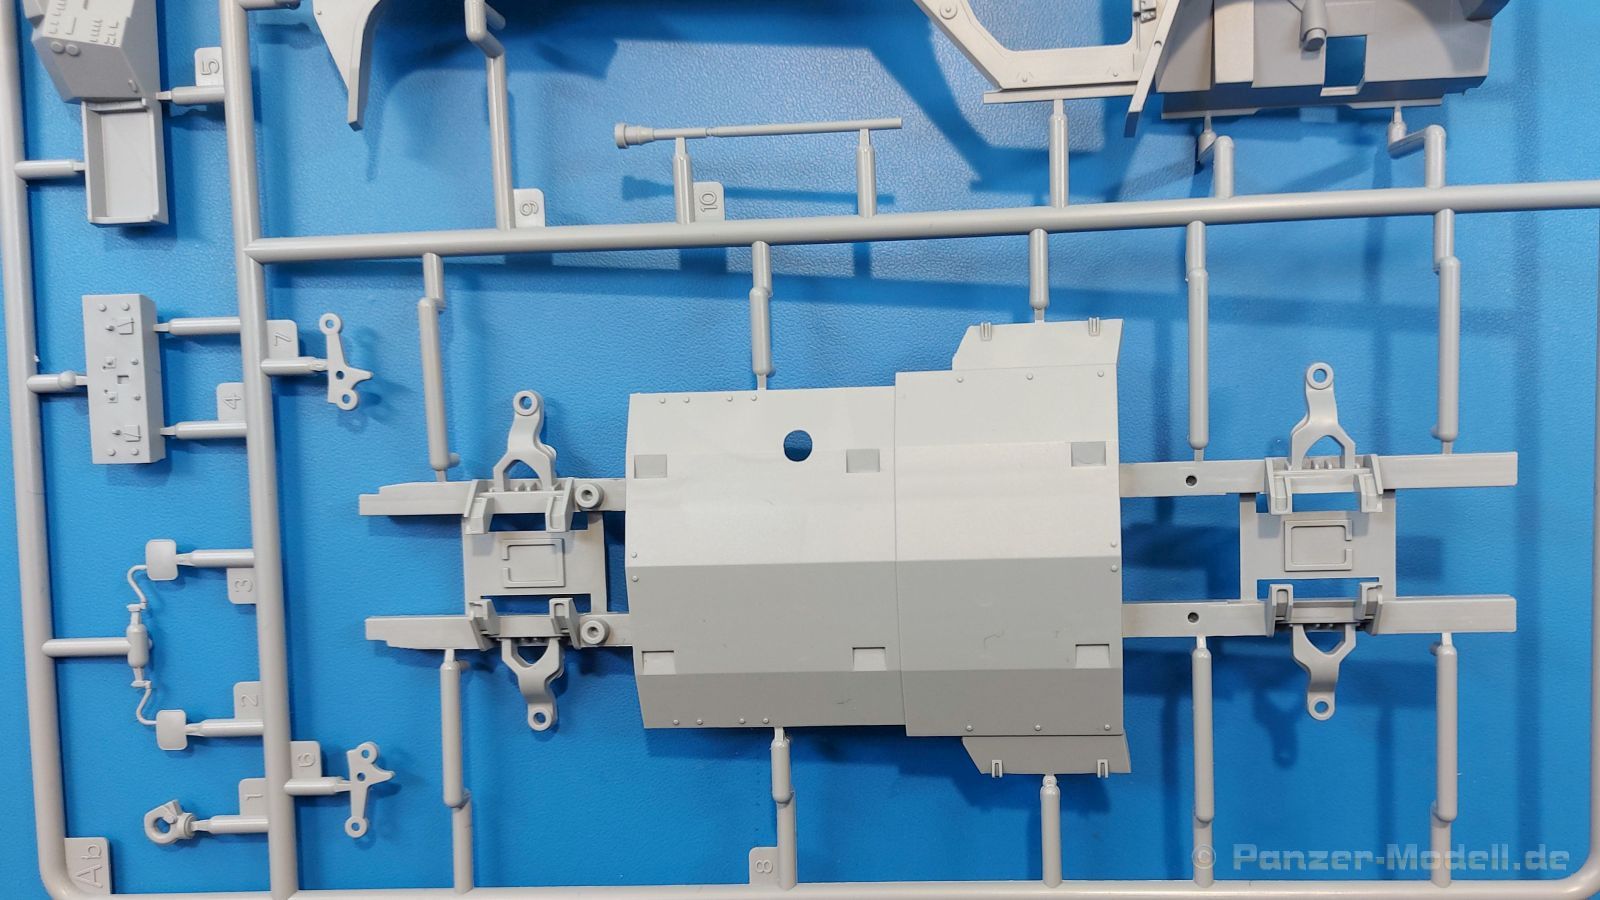
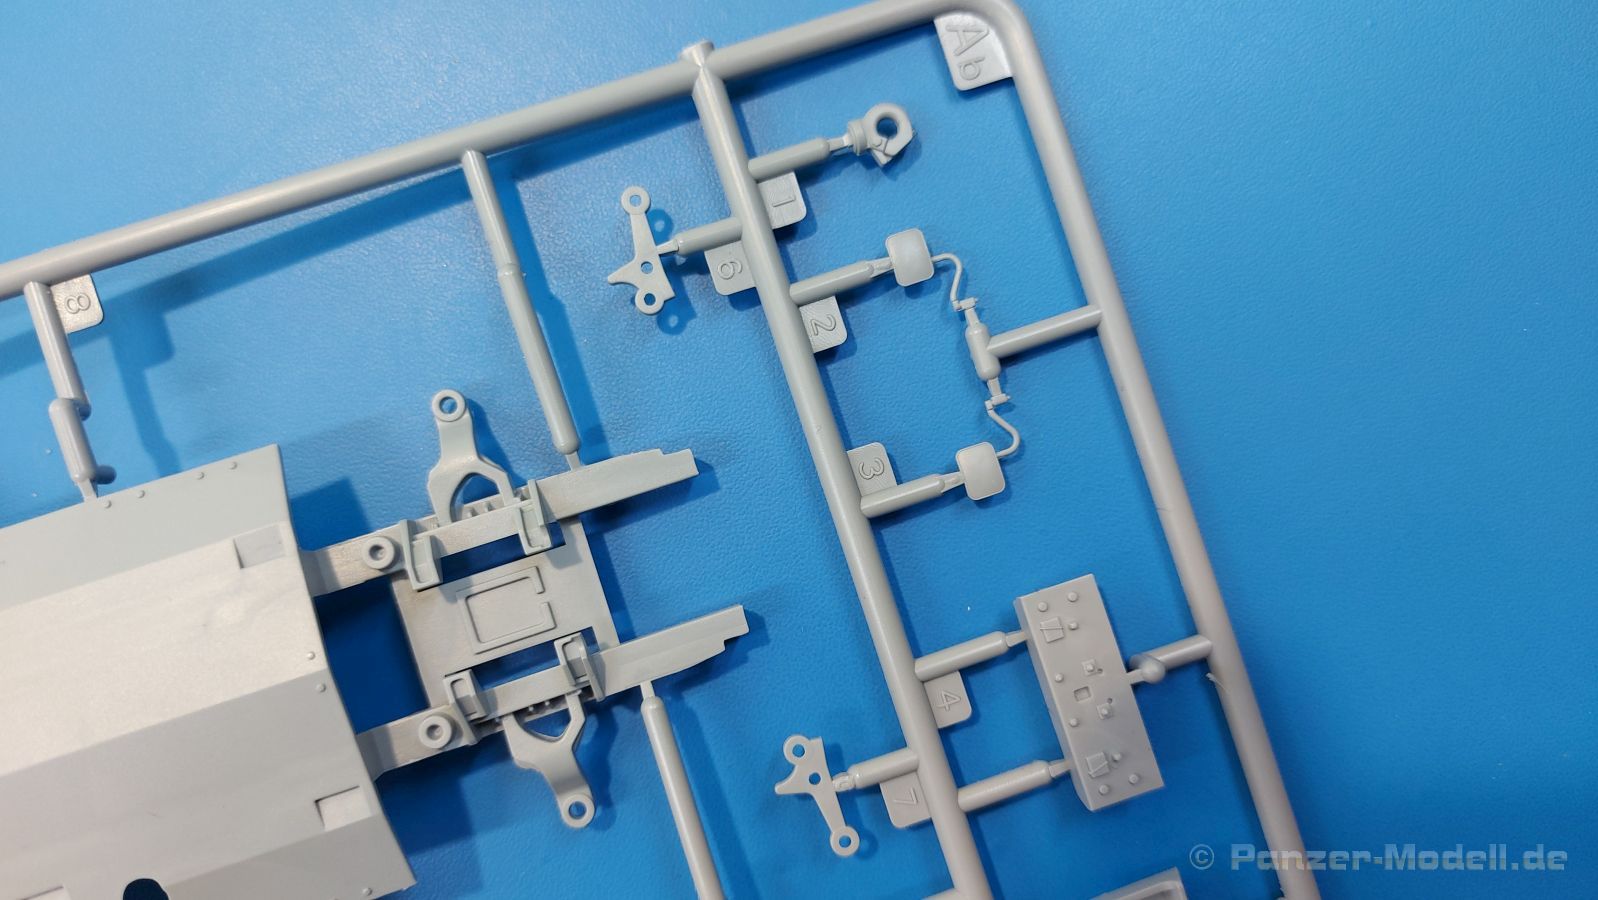
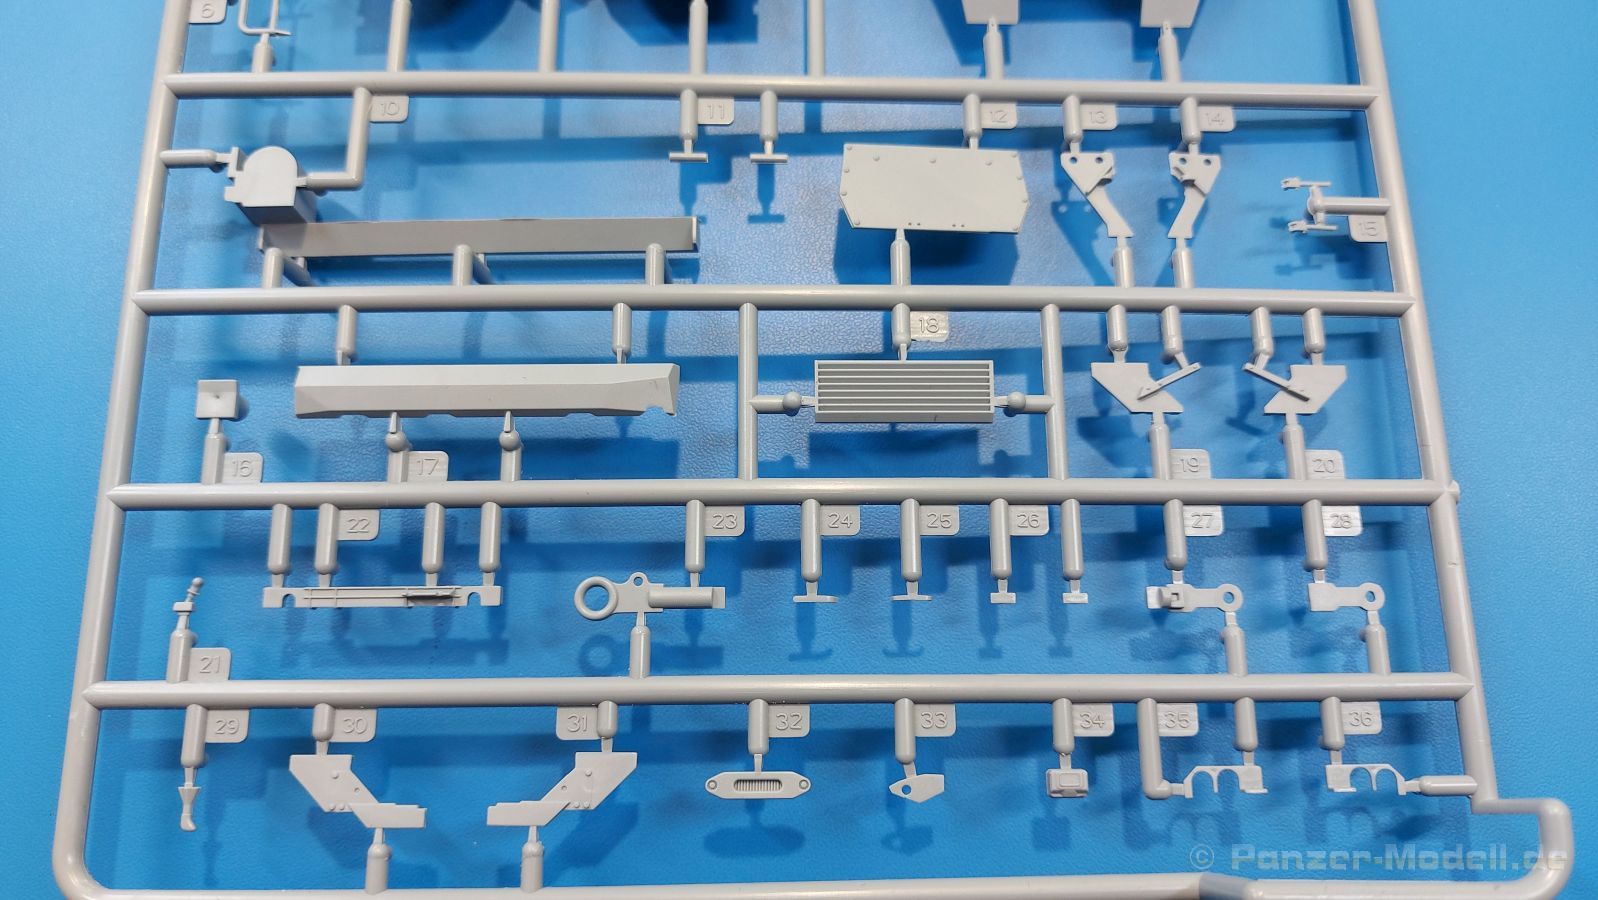
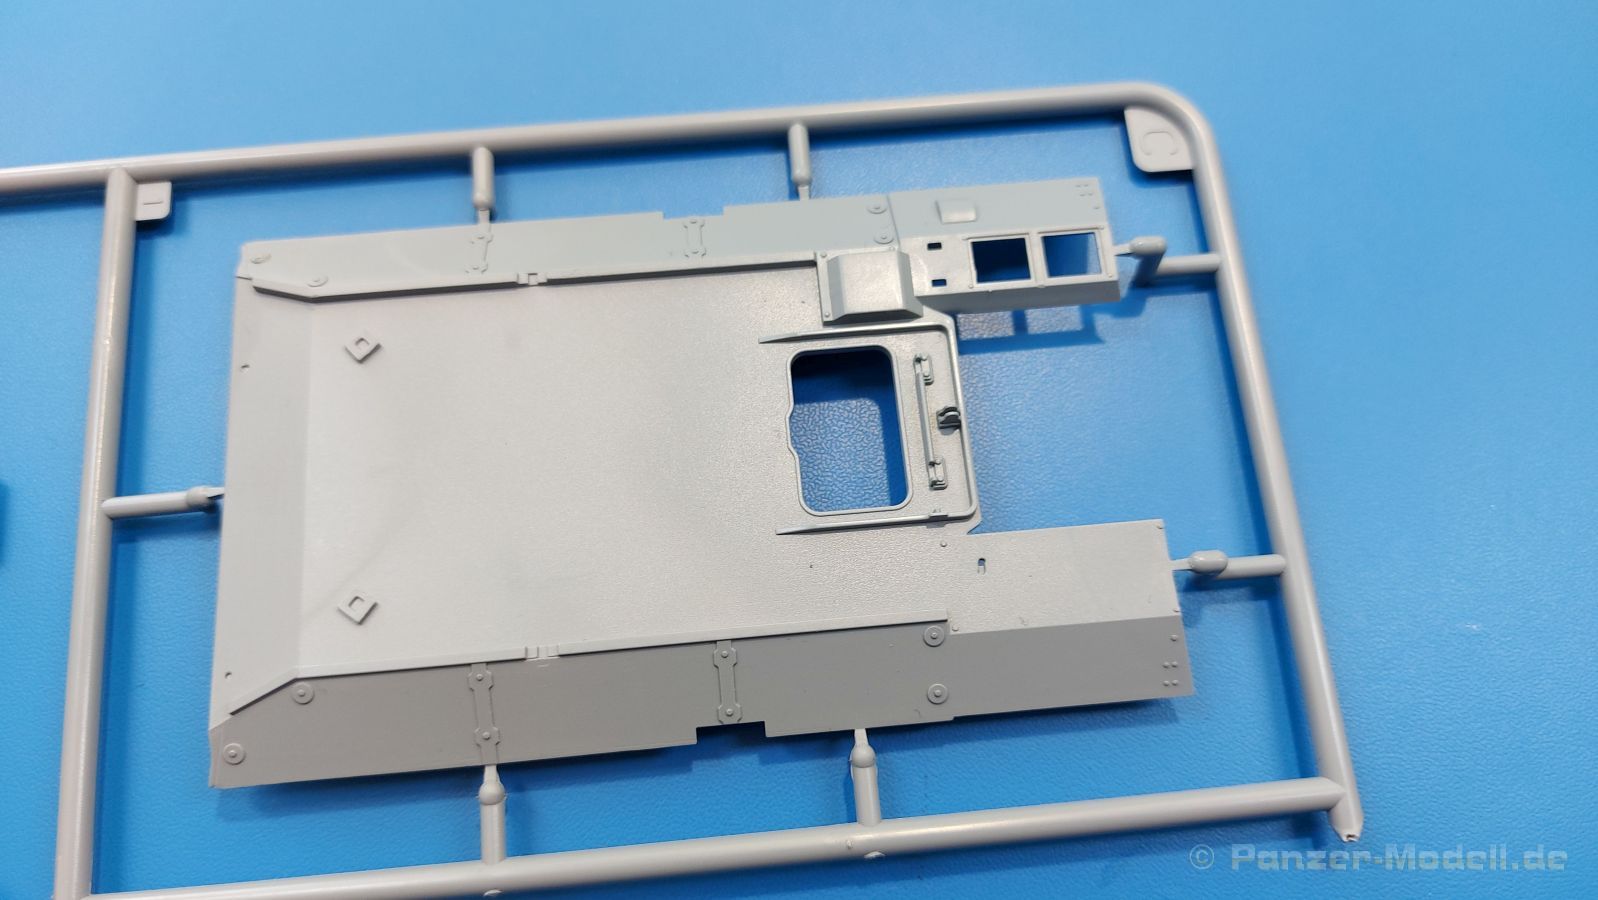
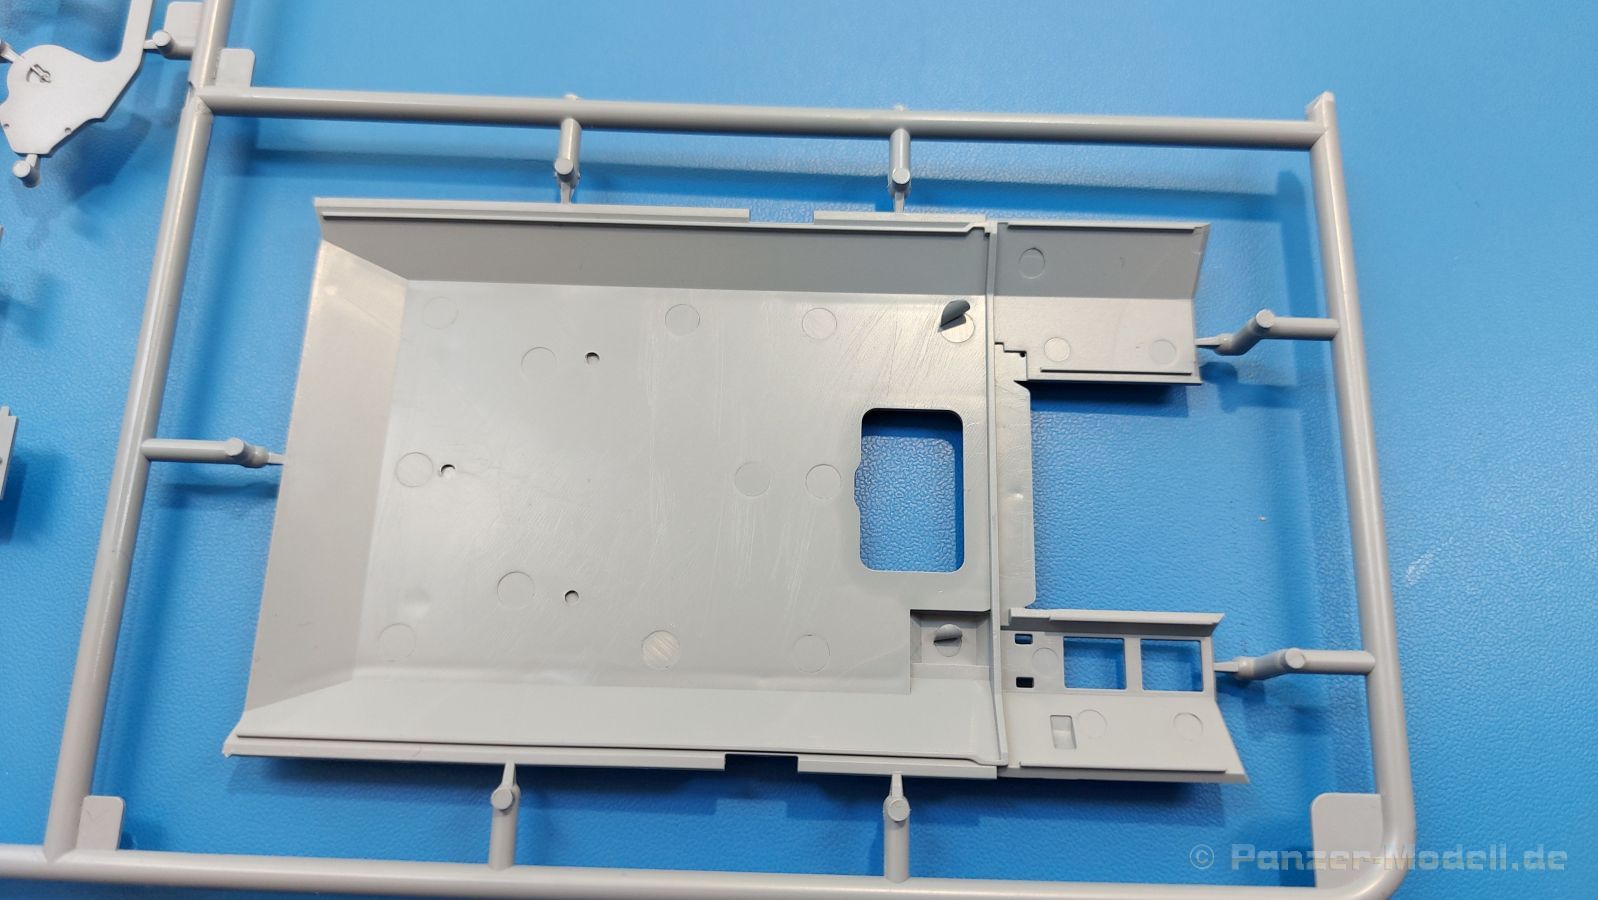
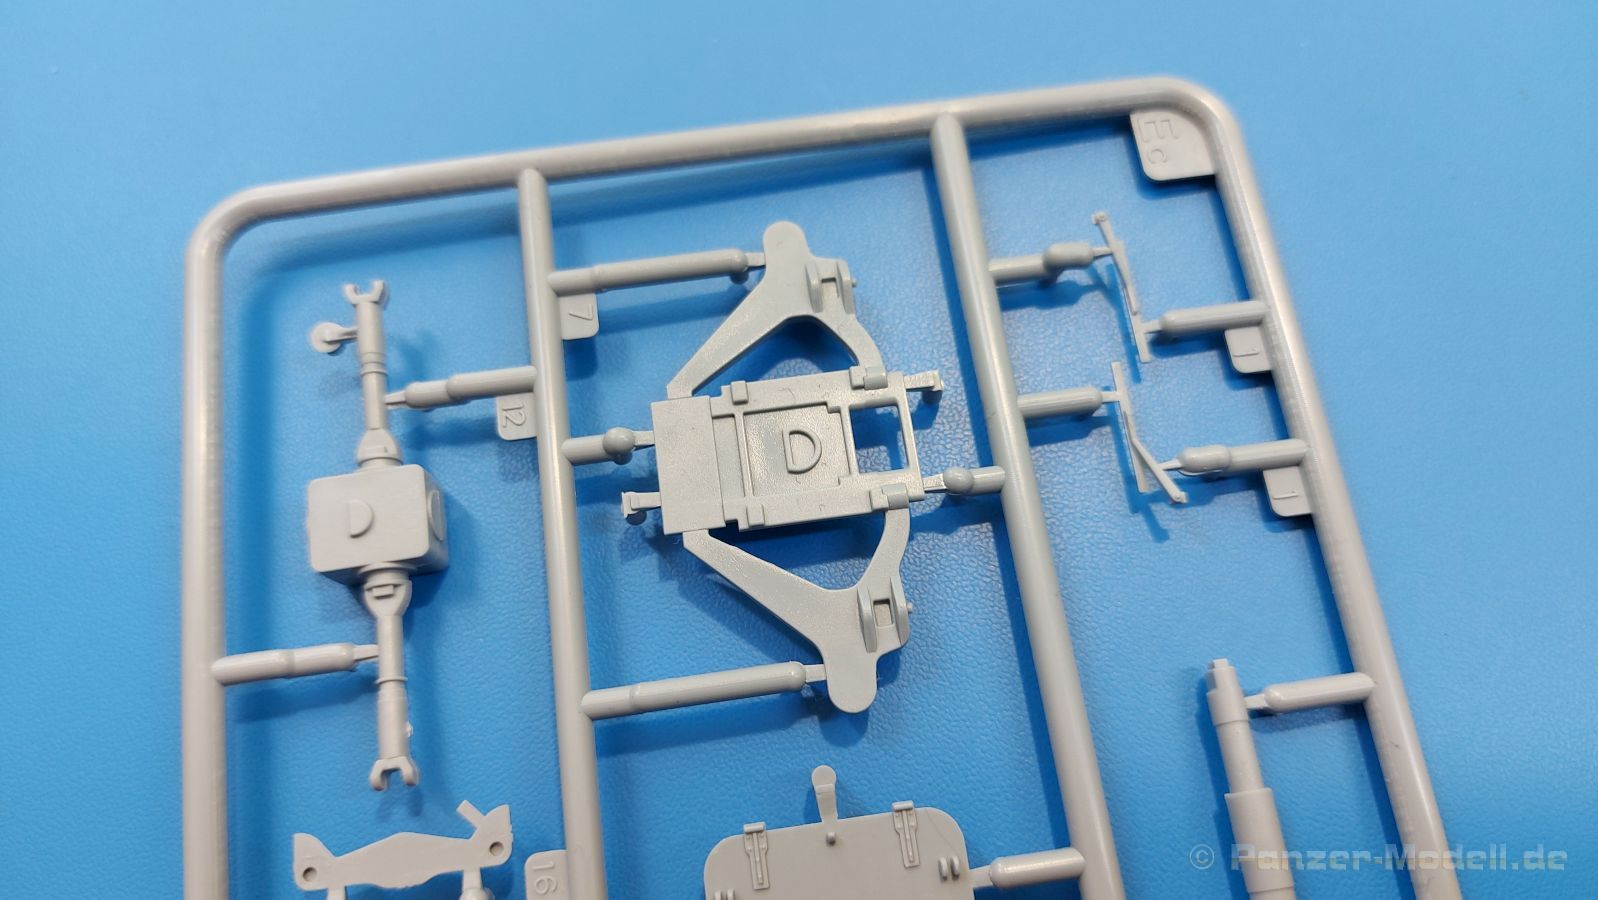
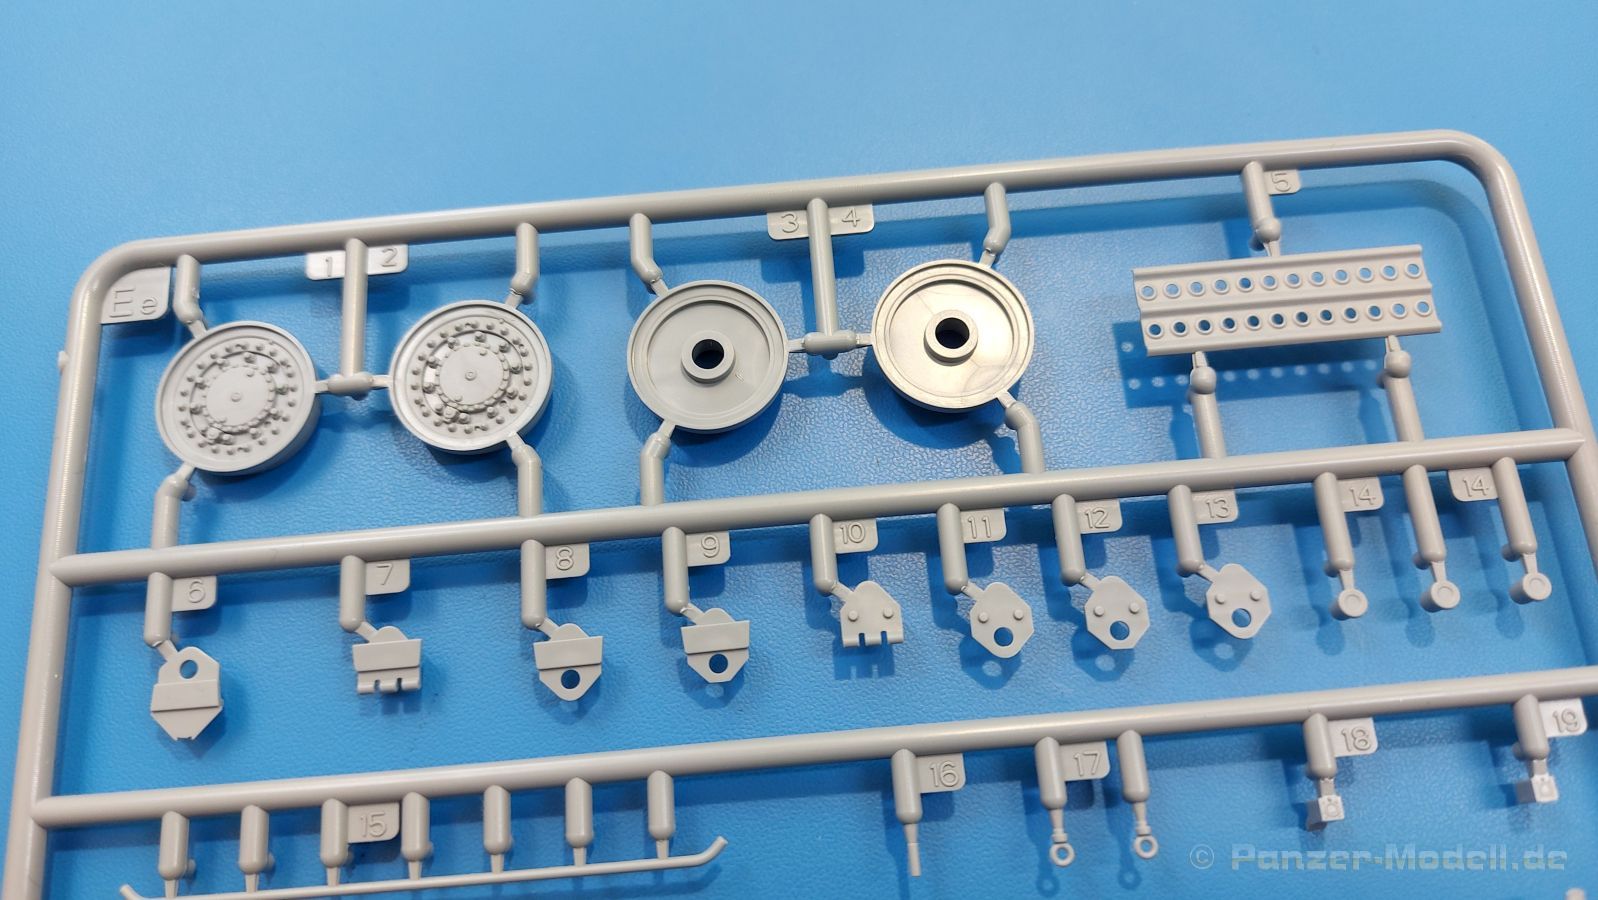
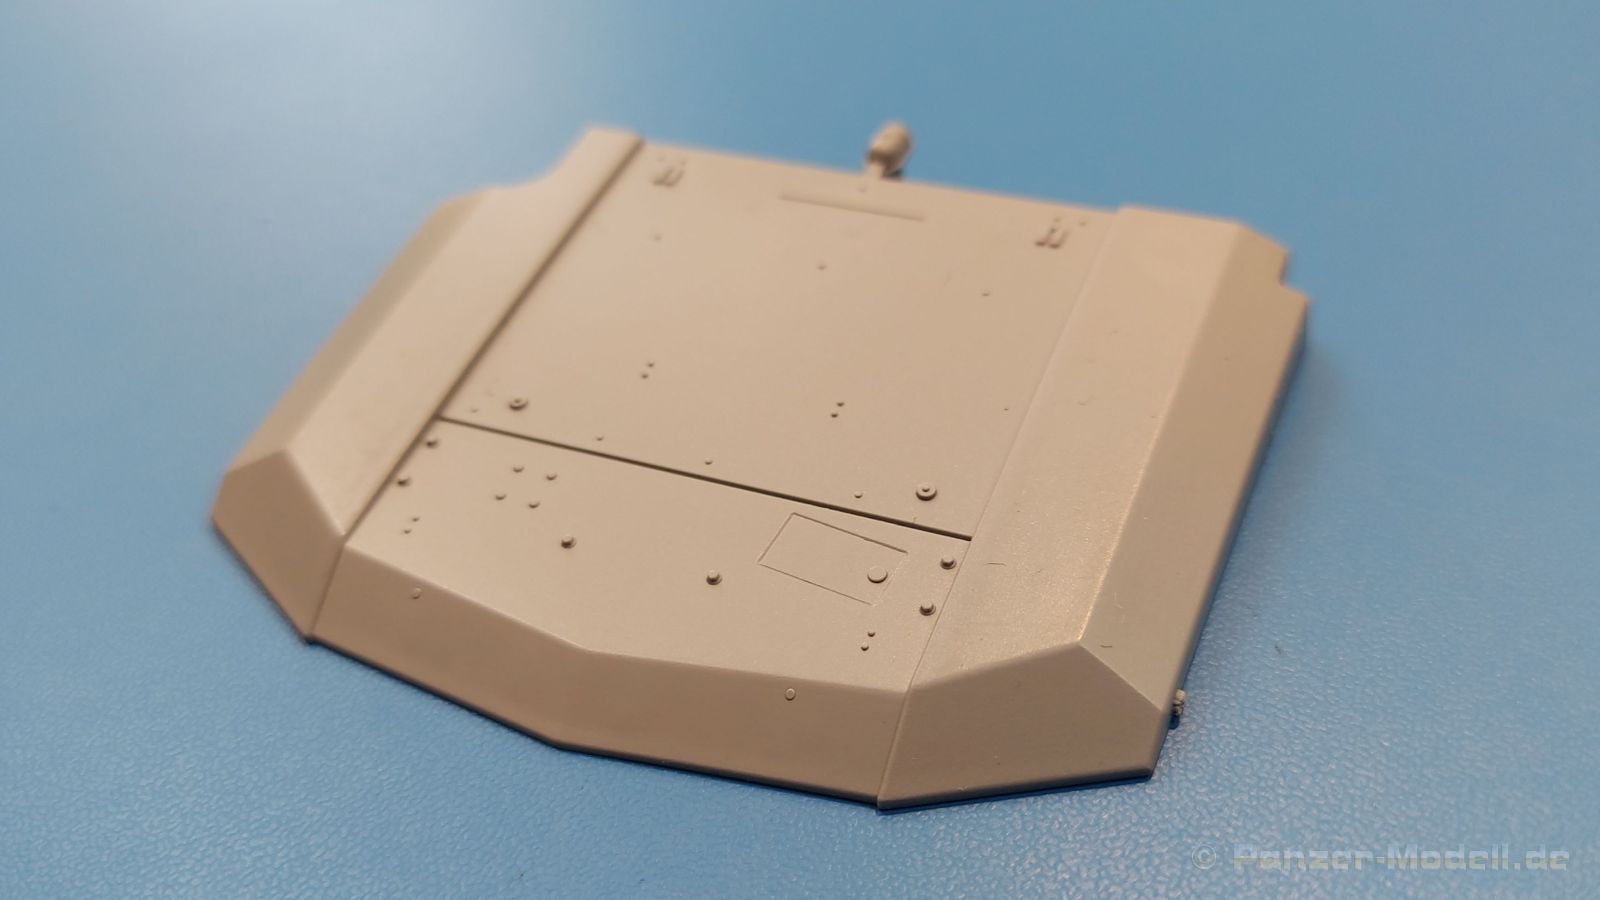
The vehicle frame consists of one piece. The armored floor panels and the upper parts of the independent suspension are cast on. The lower parts of the independent wheel suspensions are inserted into the front and rear axle differential housings together with the cast drive shafts, and the suspensions are then connected to the frame. The exhaust tailpipe is glued into the floor armor from the inside. Six eyelets are attached to the floor armor, which obviously serve as brackets for the parachute (s). I would only insert the four shock absorbers once into the bracket on the frame until you have the exact position of the counter bearings, which are located in the area of the rear tub or within the front fenders. The wheel mounts are simple, but there are wheel brake cylinders to be attached. The front wheels can obviously be installed in a steerable manner, because the steering linkage is only plugged into one another. The shape of the connecting pins suggests that the pins snap into their counter bearings. The rims with the many screw connections are very nicely designed. They are divided into inner and outer rim halves and can be rotatably mounted. Interestingly, the assembly instructions stipulate that the tires should only be mounted after the rims have been attached to the vehicle. Since the tires are made of black vinyl and are hollow on the inside, this should work too. The rough tread is well reproduced, and the manufacturer and tire size labels can be seen on the tire sidewalls. The installation of the tires on the rims is indicated in the instructions for the 35002, but for the 35021 it was forgotten.
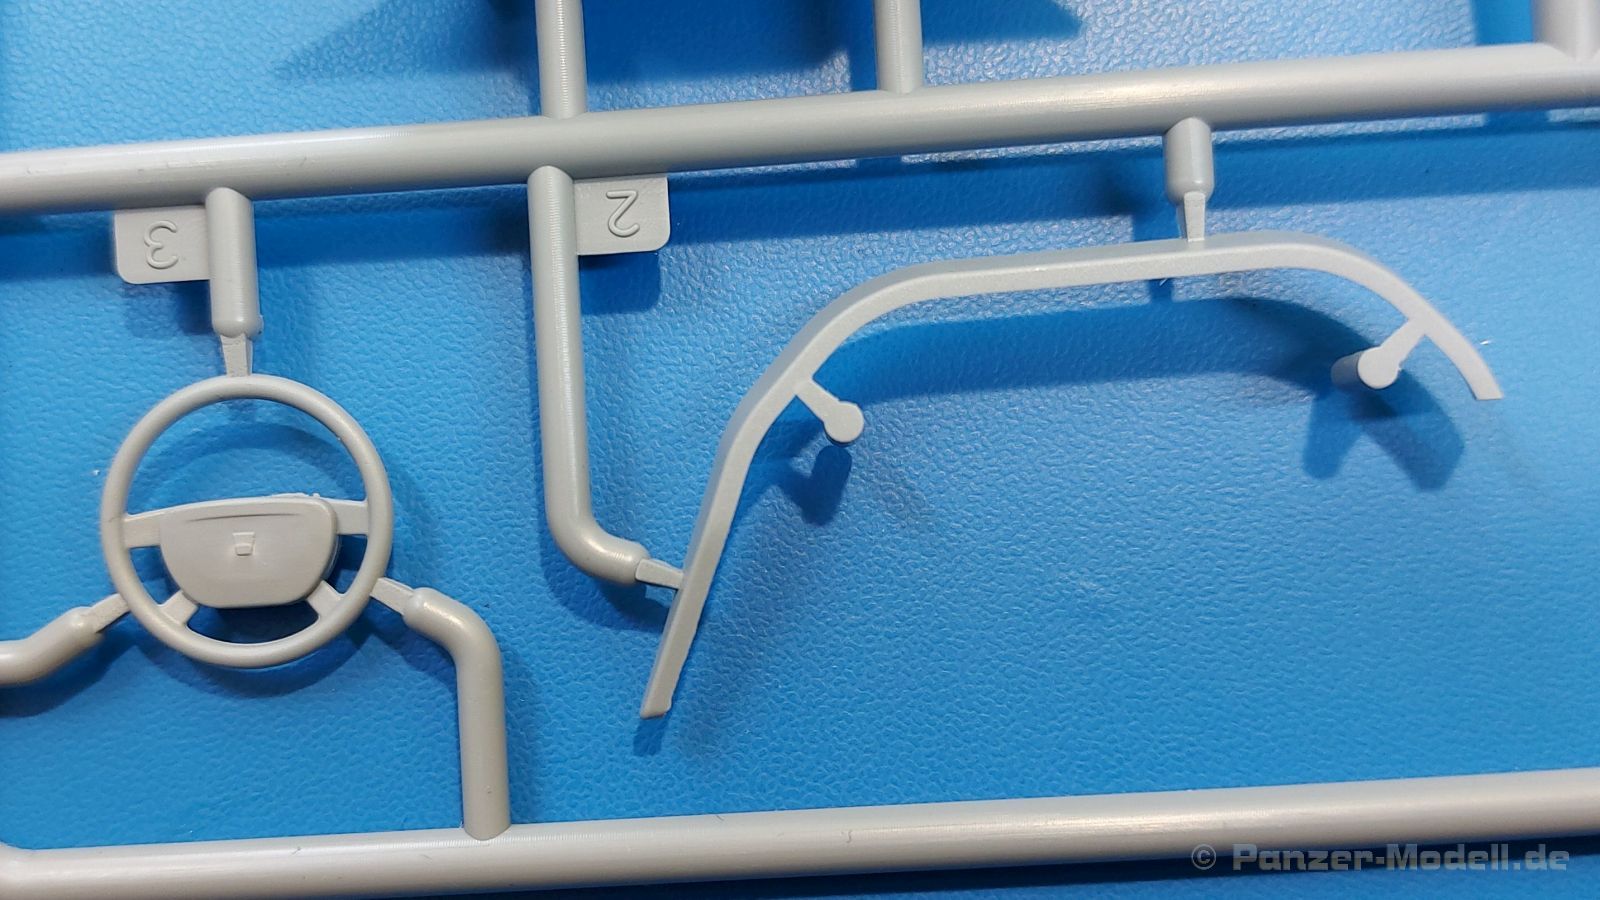
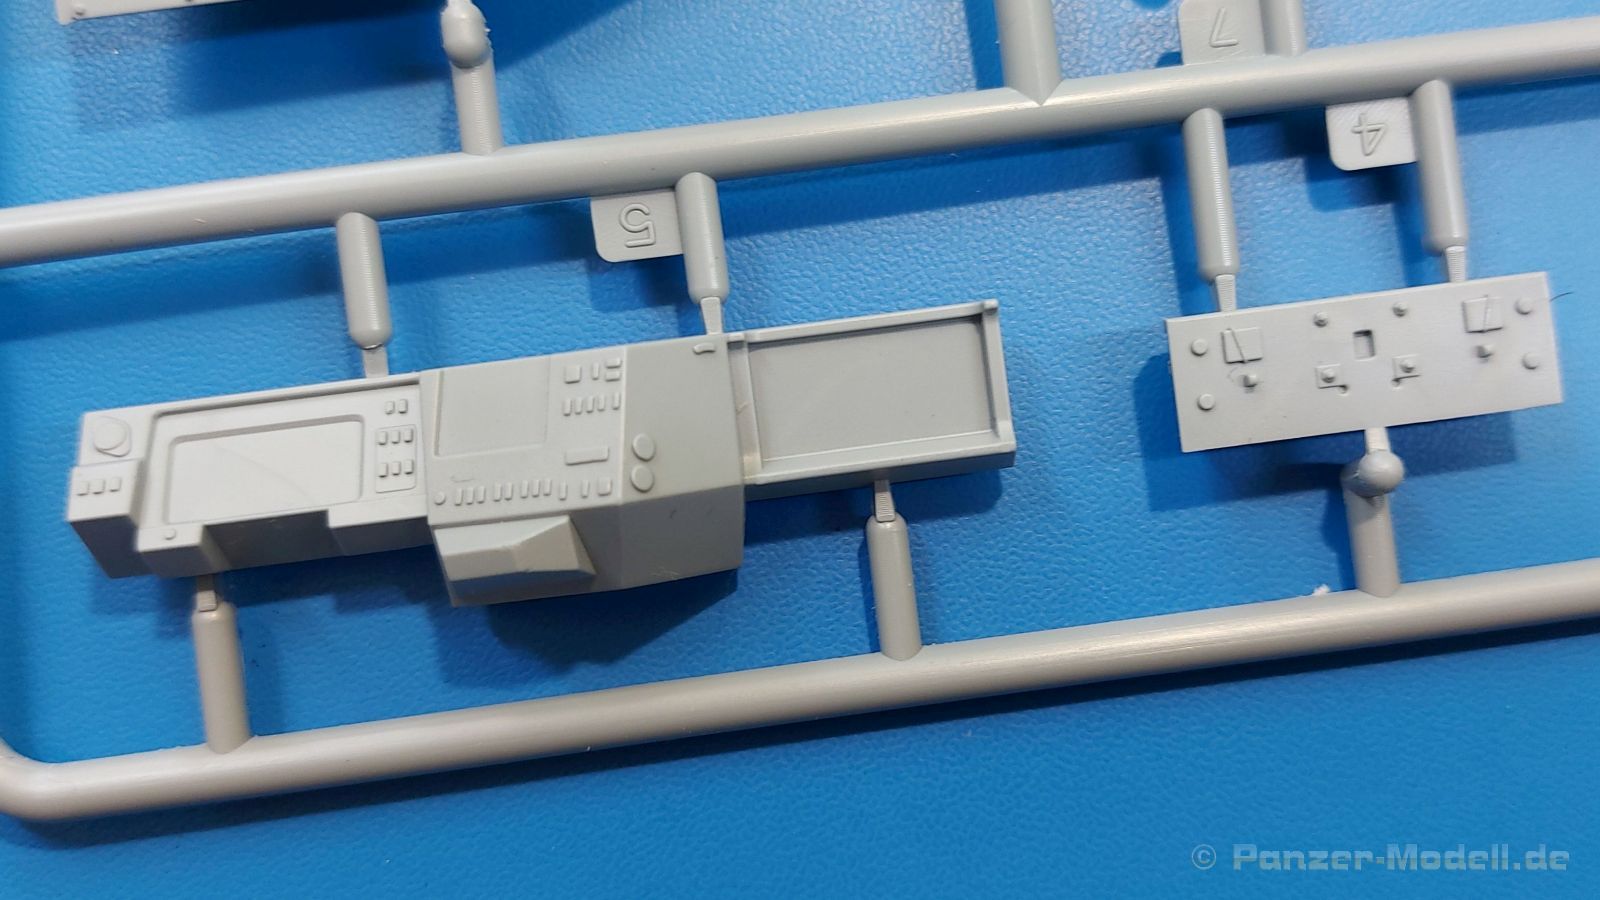
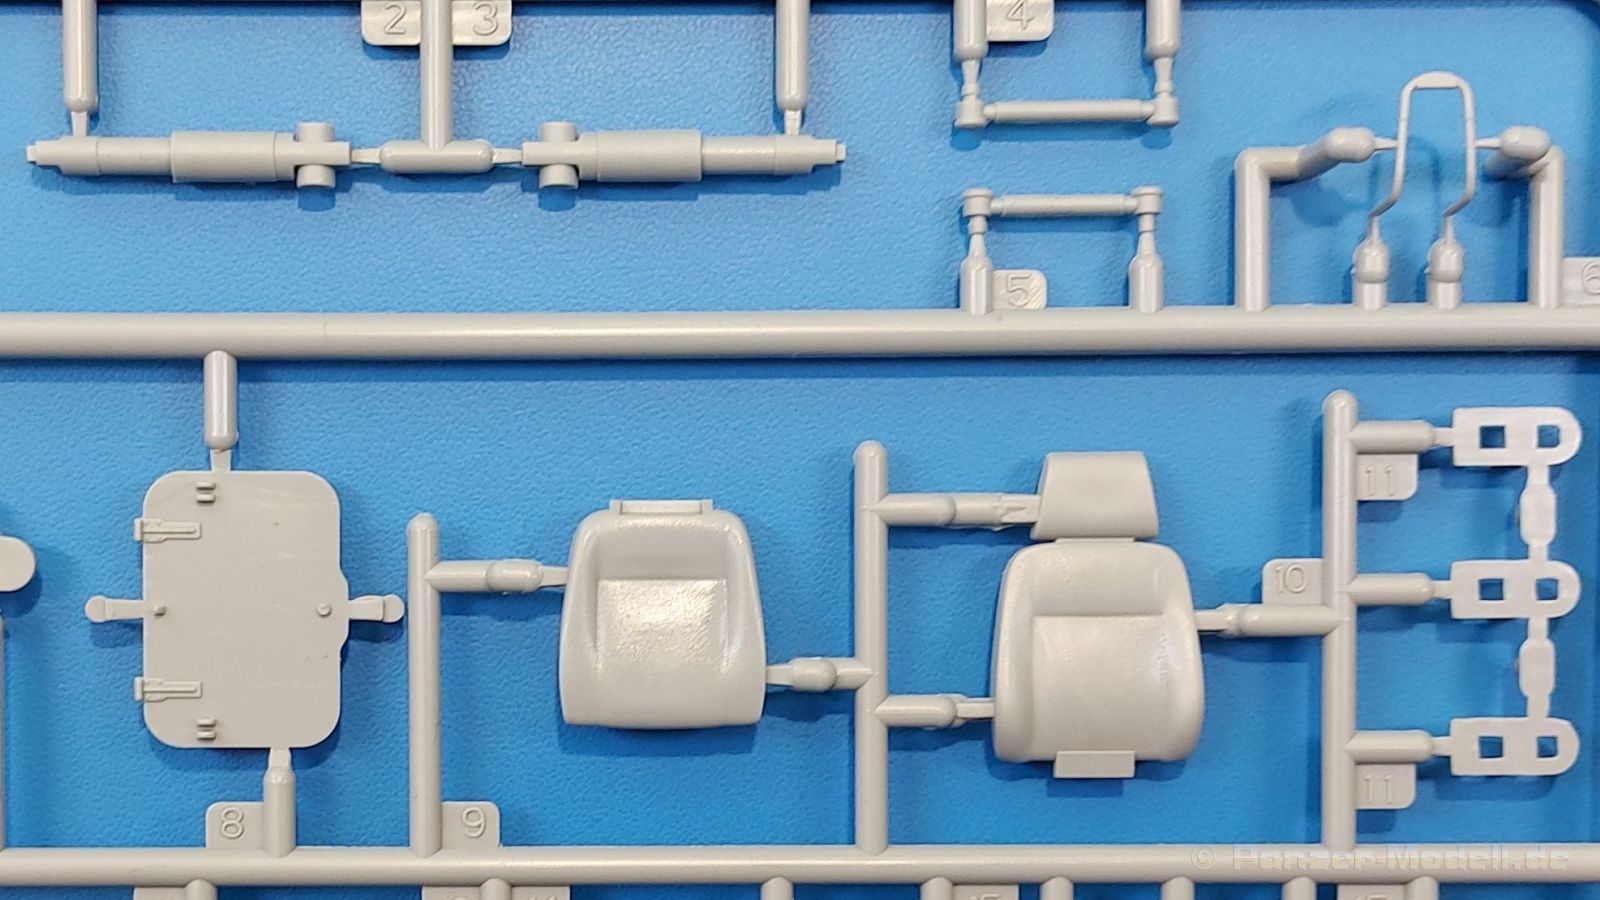
We come to the interior. This is limited to the front part of the cabin. The rear crew compartment has no equipment, which is not so bad, as you could hardly see anything from the outside. The front floor panel contains a center console. 3 wedge-shaped pedals are cast in the driver's footwell. The steering column is attached between the pedals, followed by the steering wheel. Shift lever and parking brake lever come on the center console. There is a very nice dashboard with lots of switches and two large decals, which you must decide for yourself based on shape and size. At least I could not find a hint in the instructions. The two seats are identical, and each consist of an upholstered seat and a backrest with headrests.
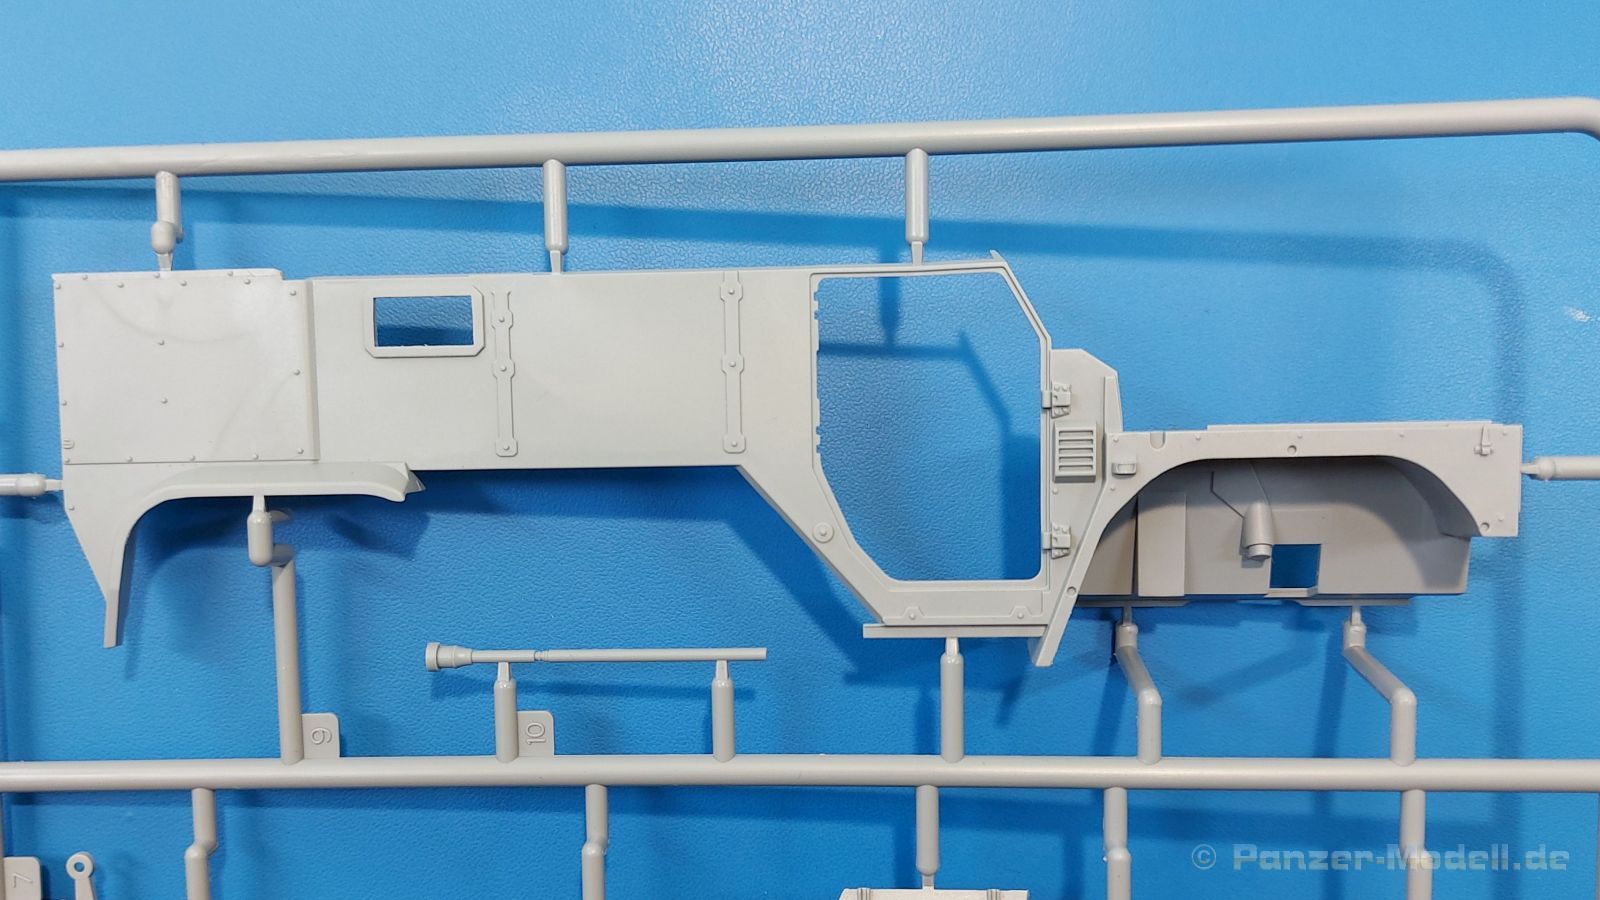
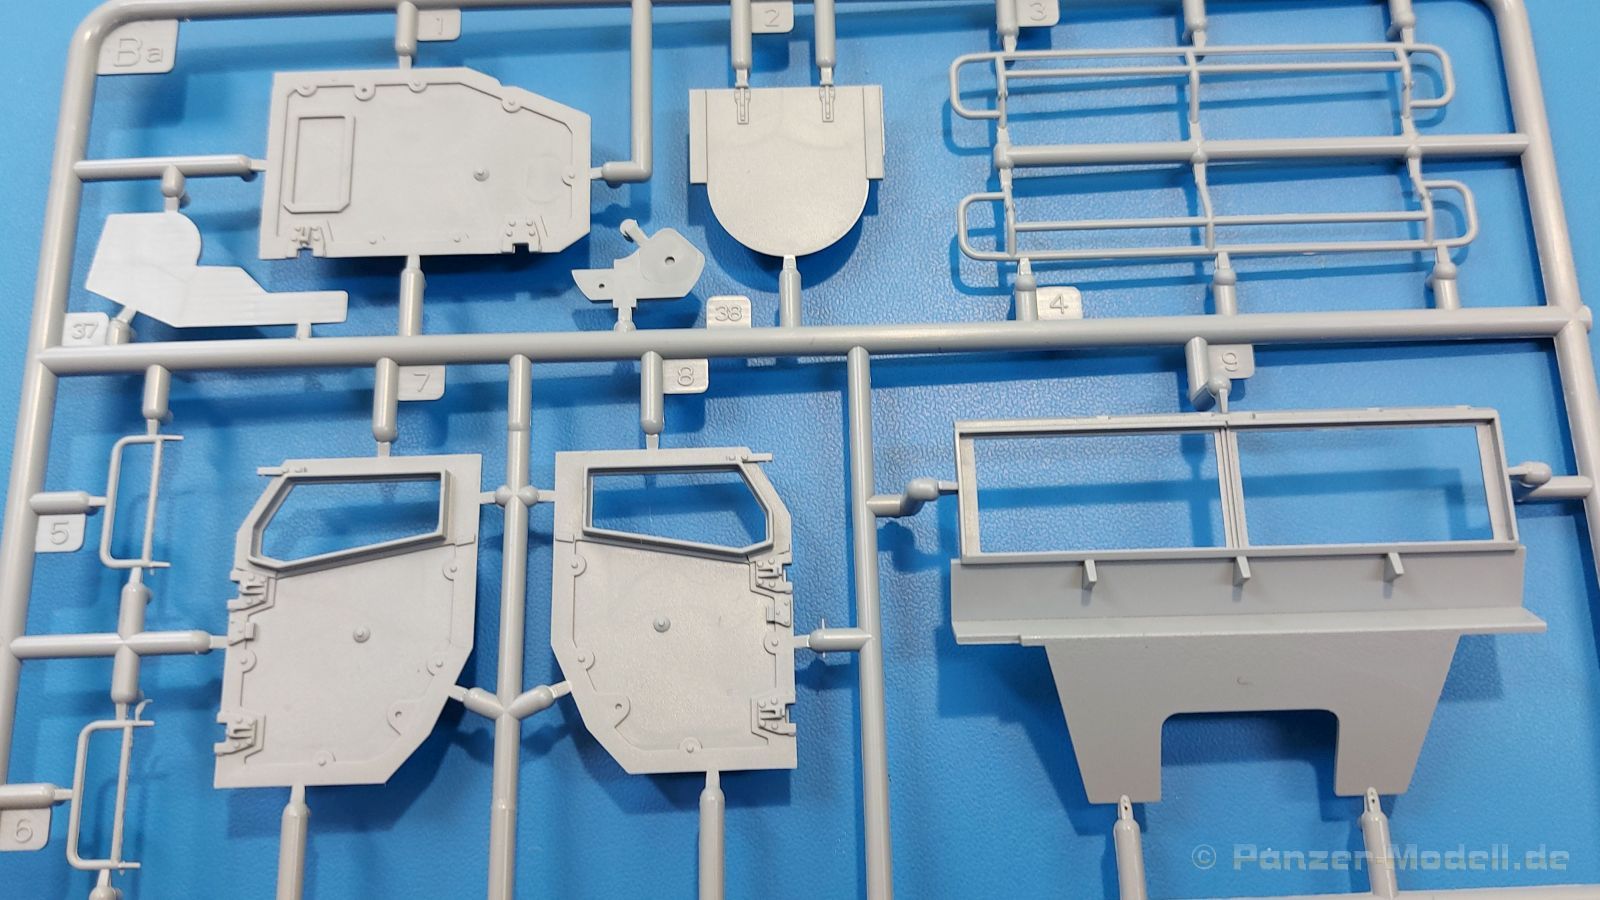
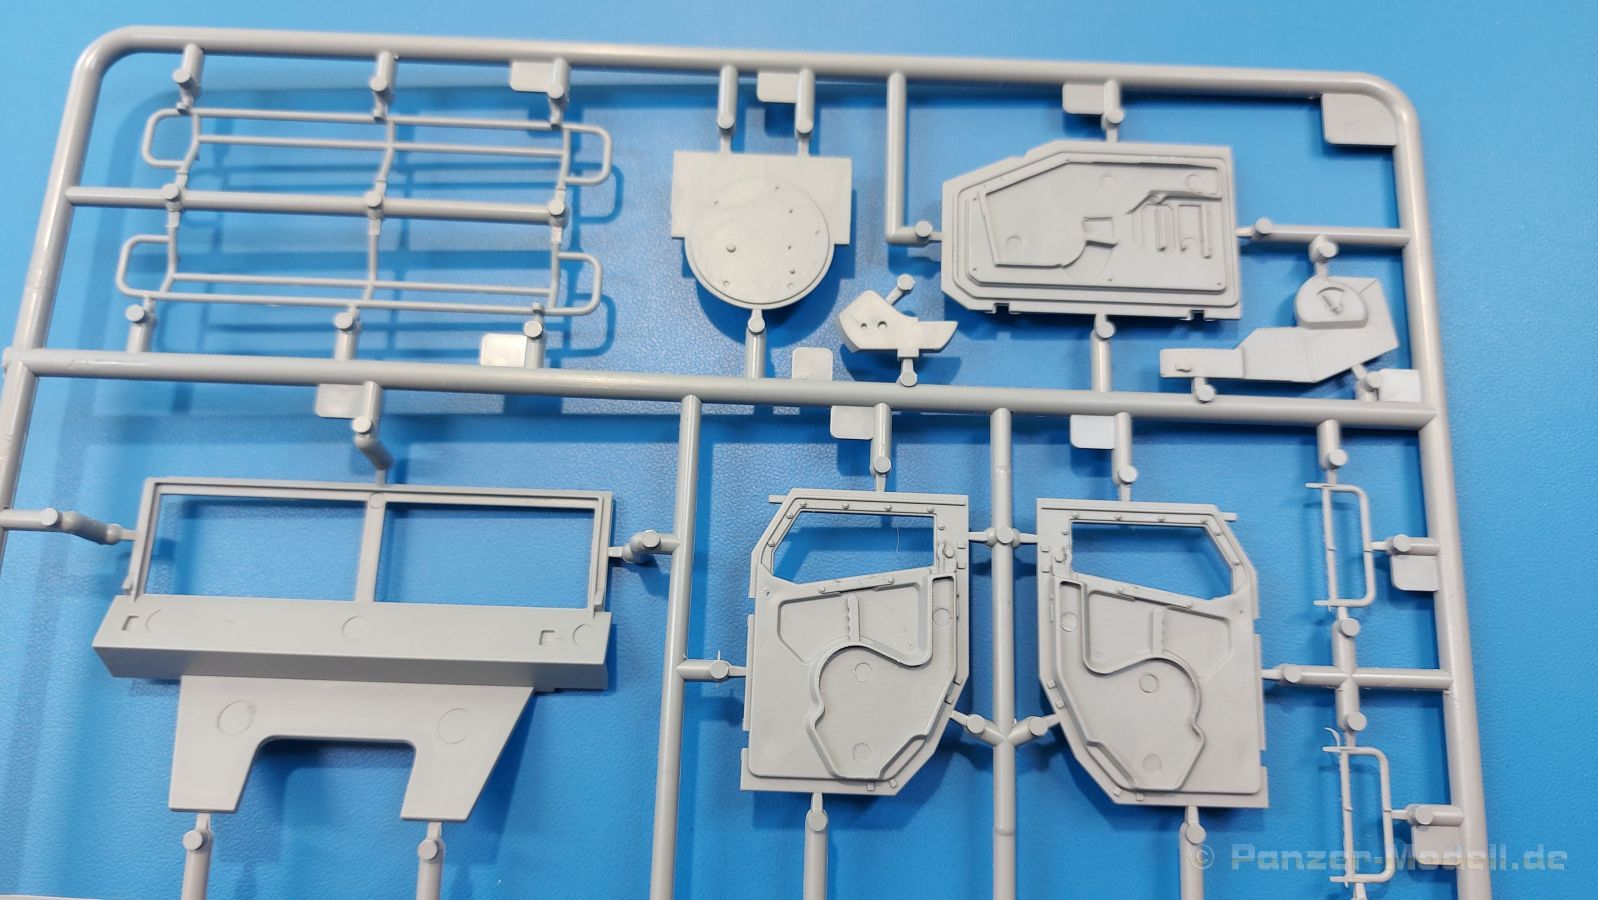
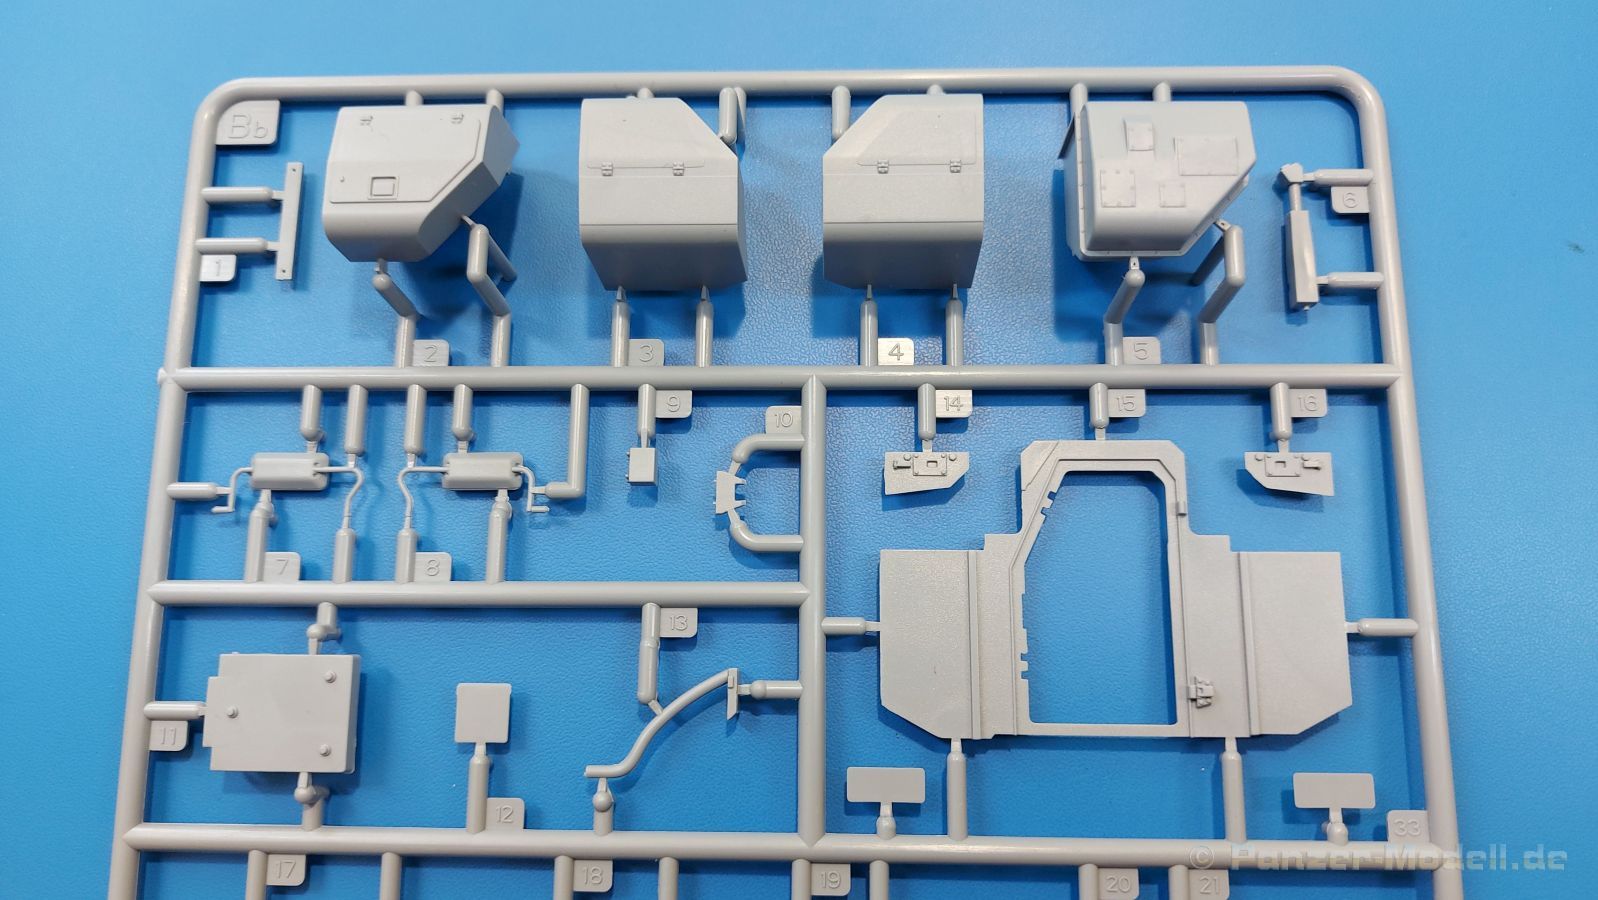
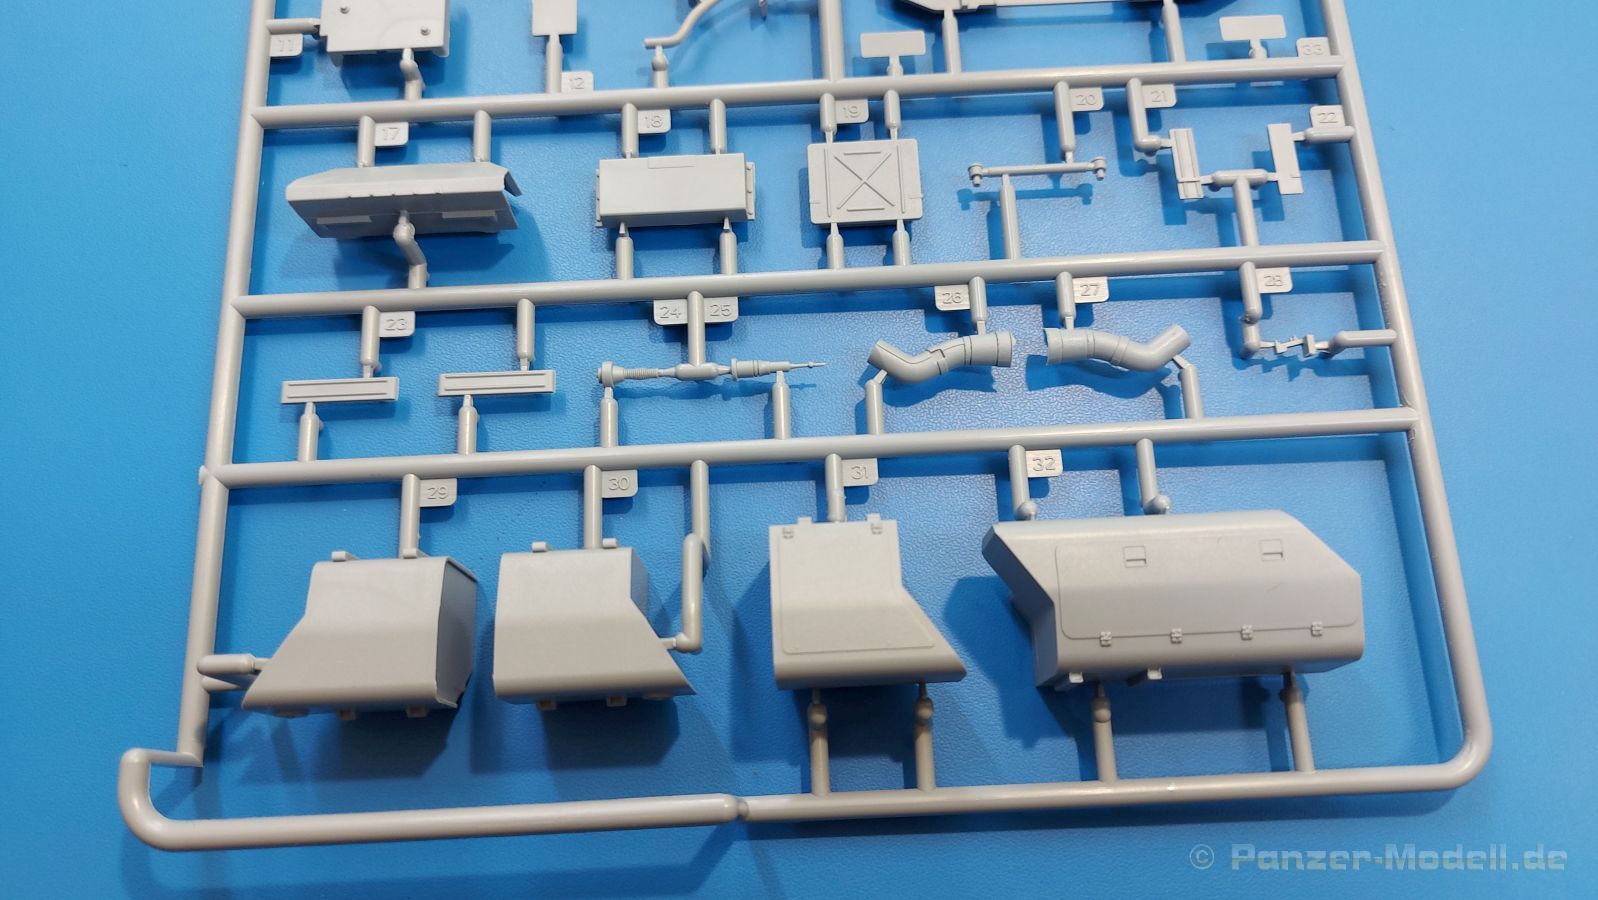
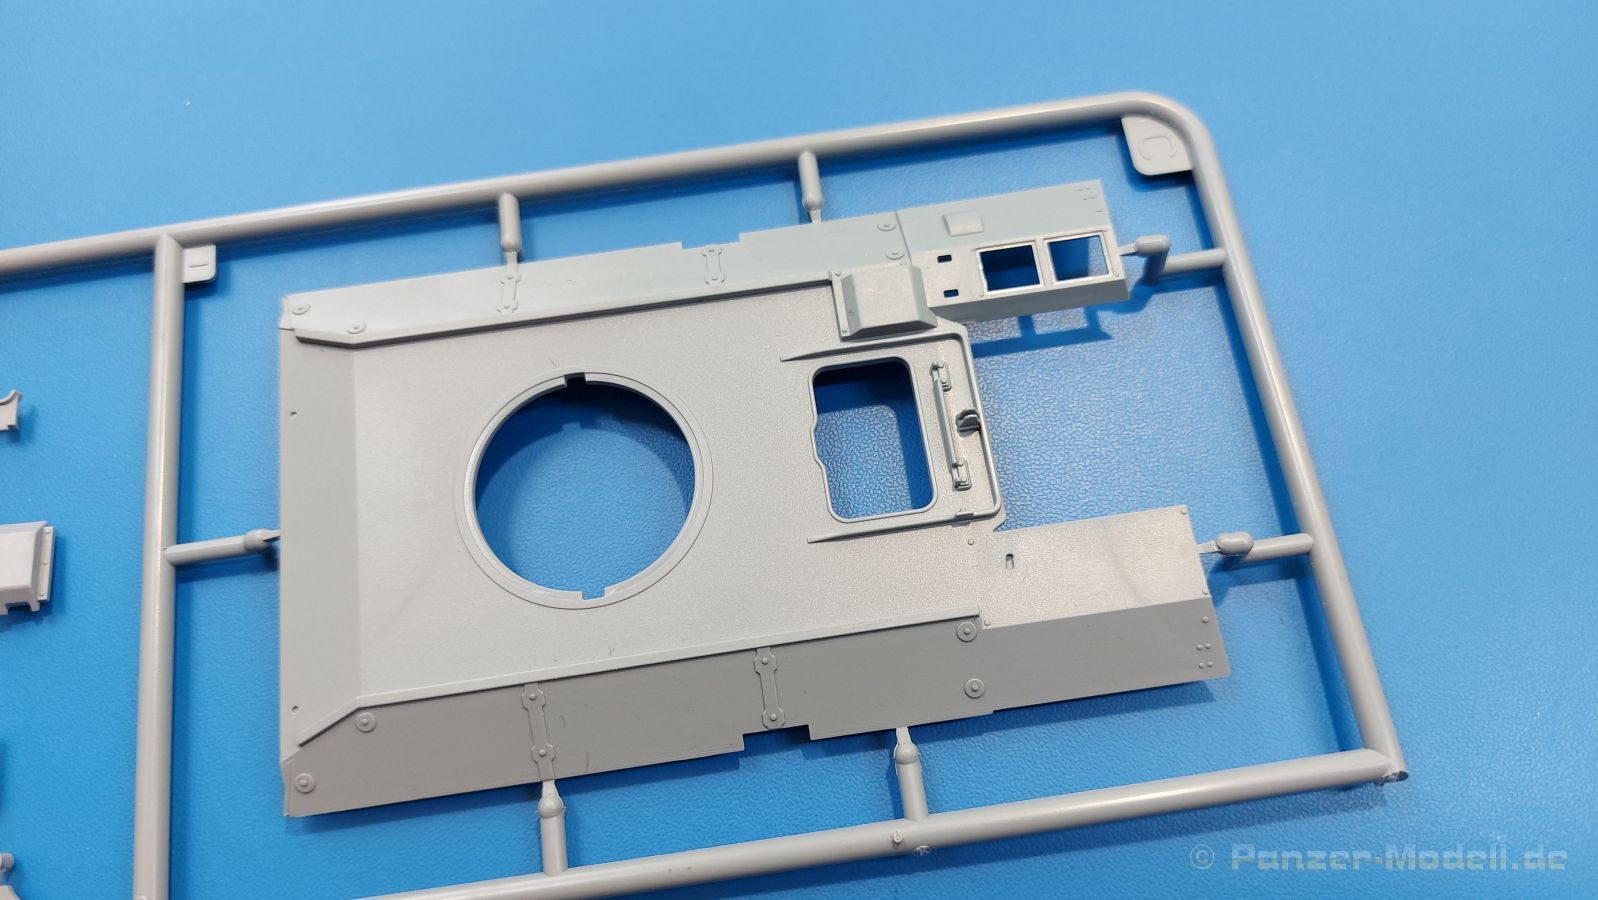
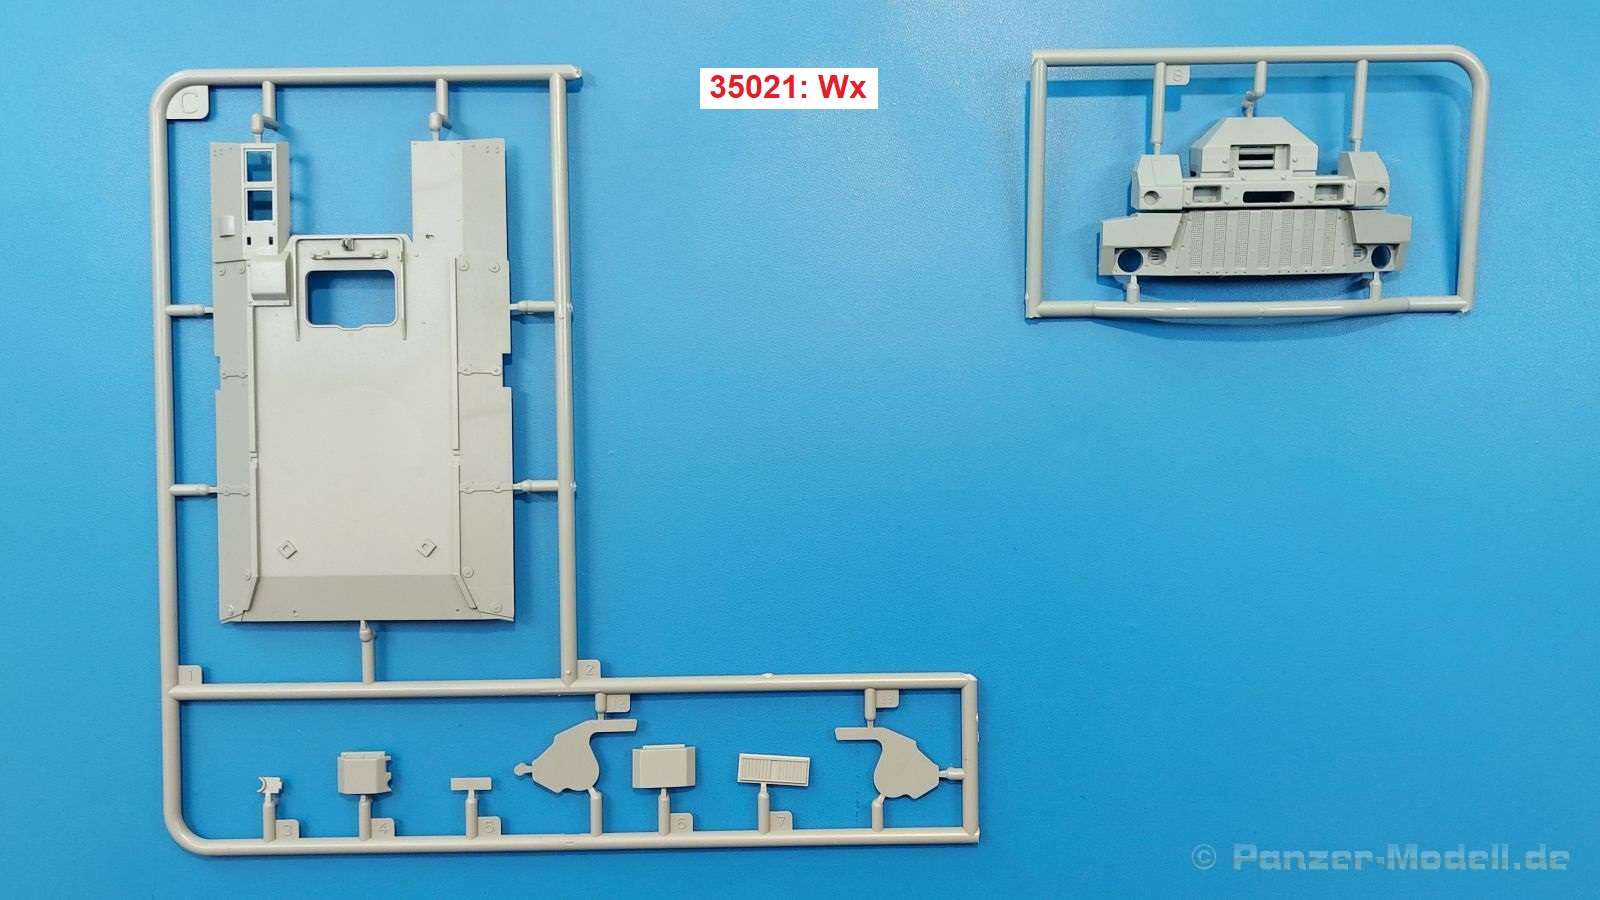
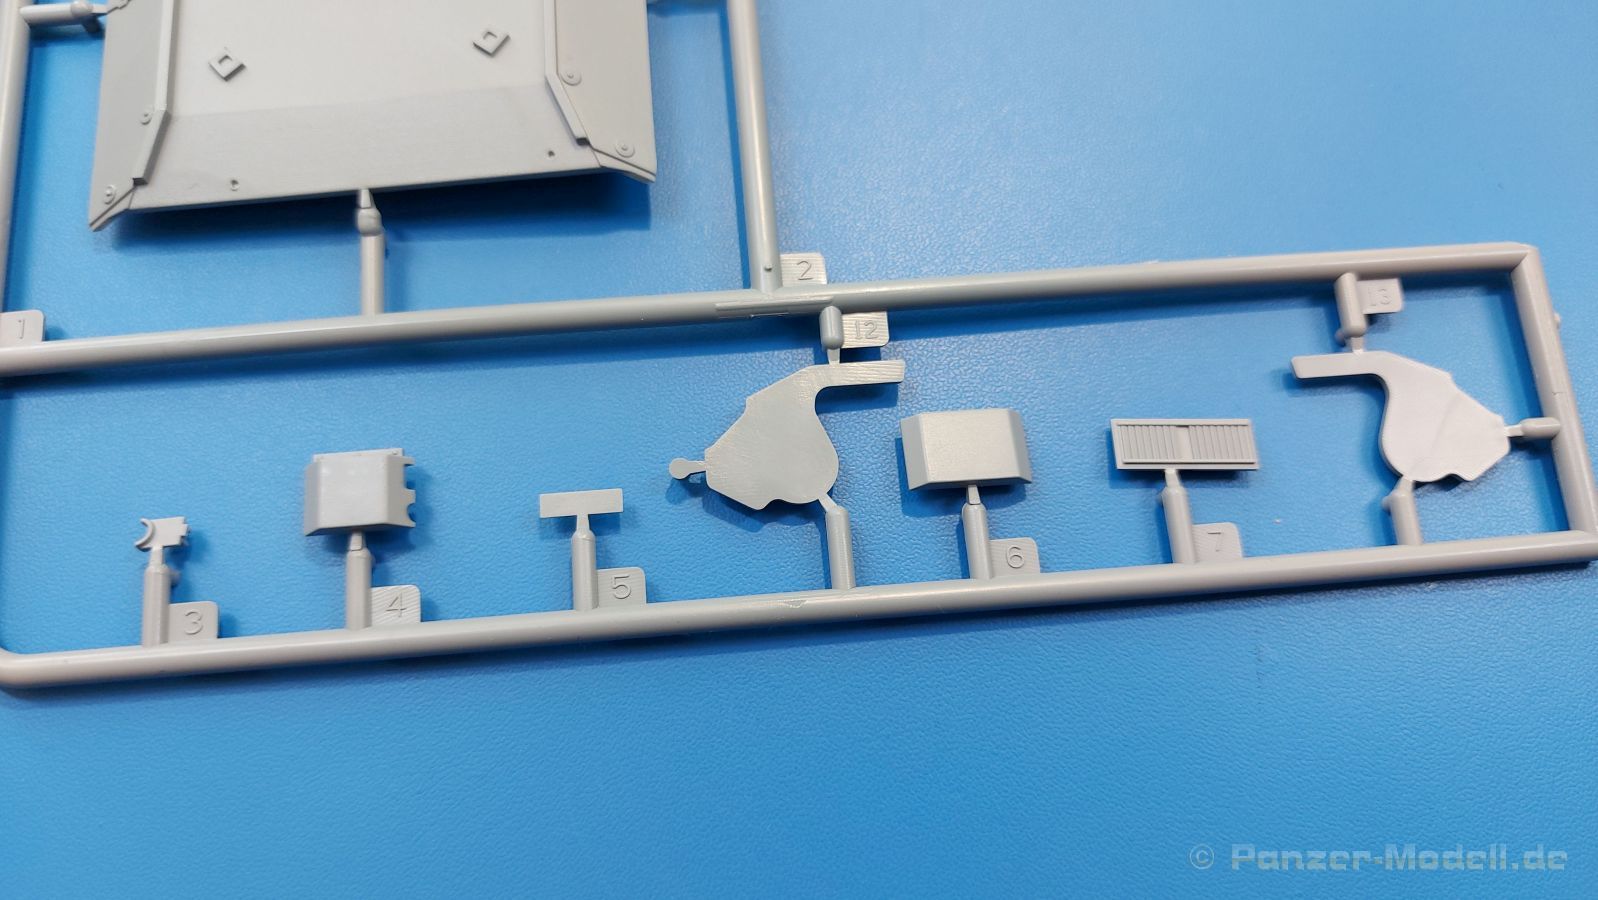
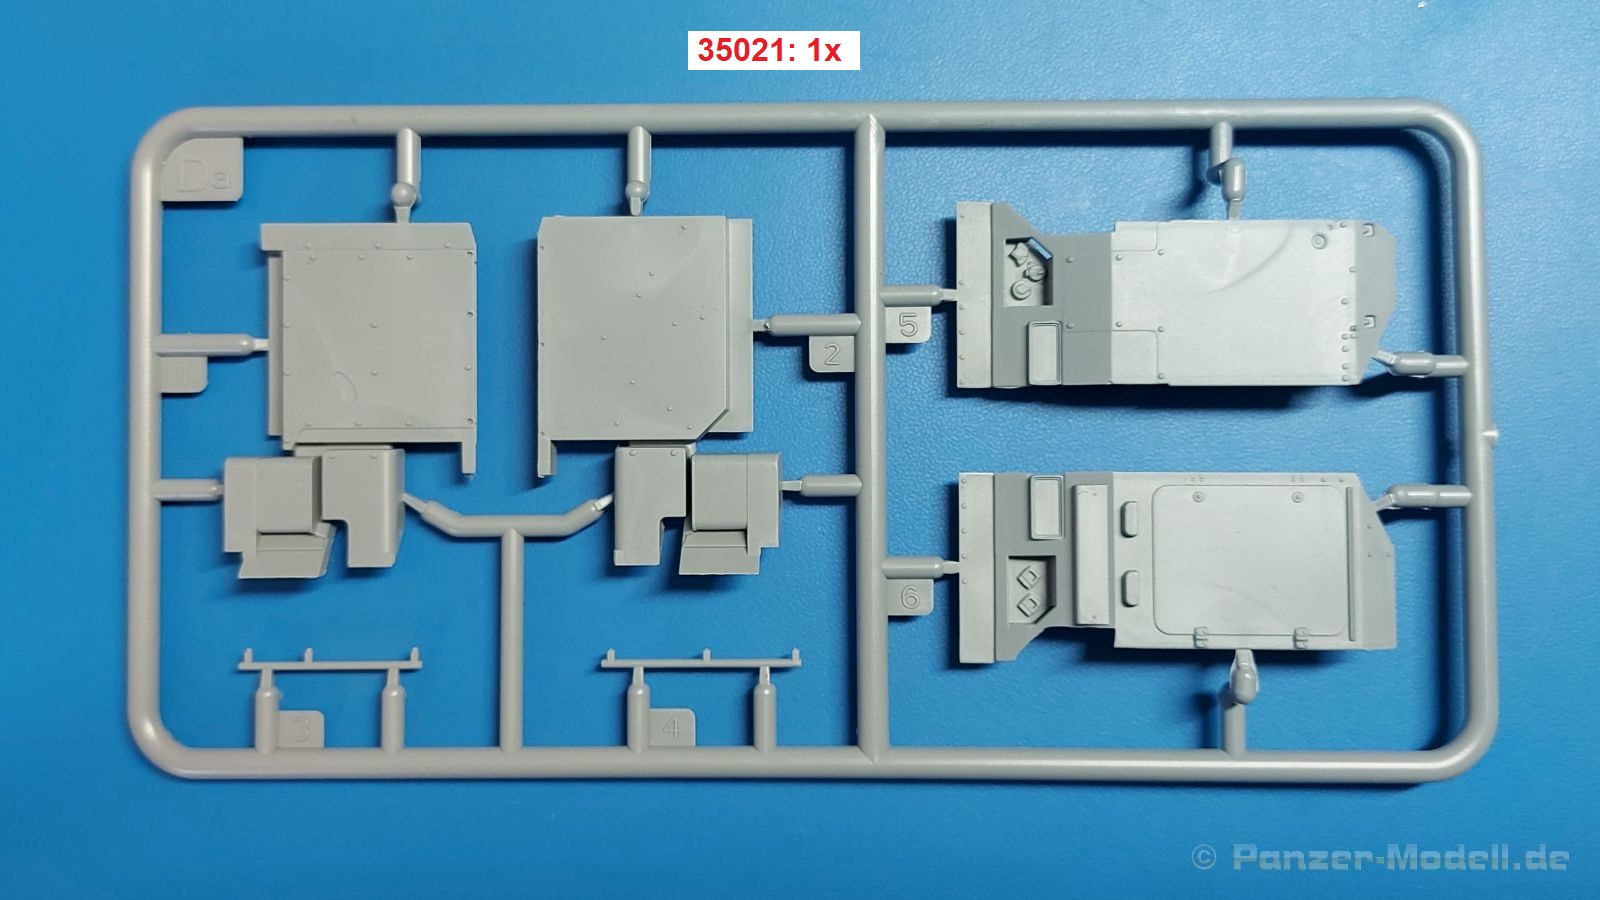
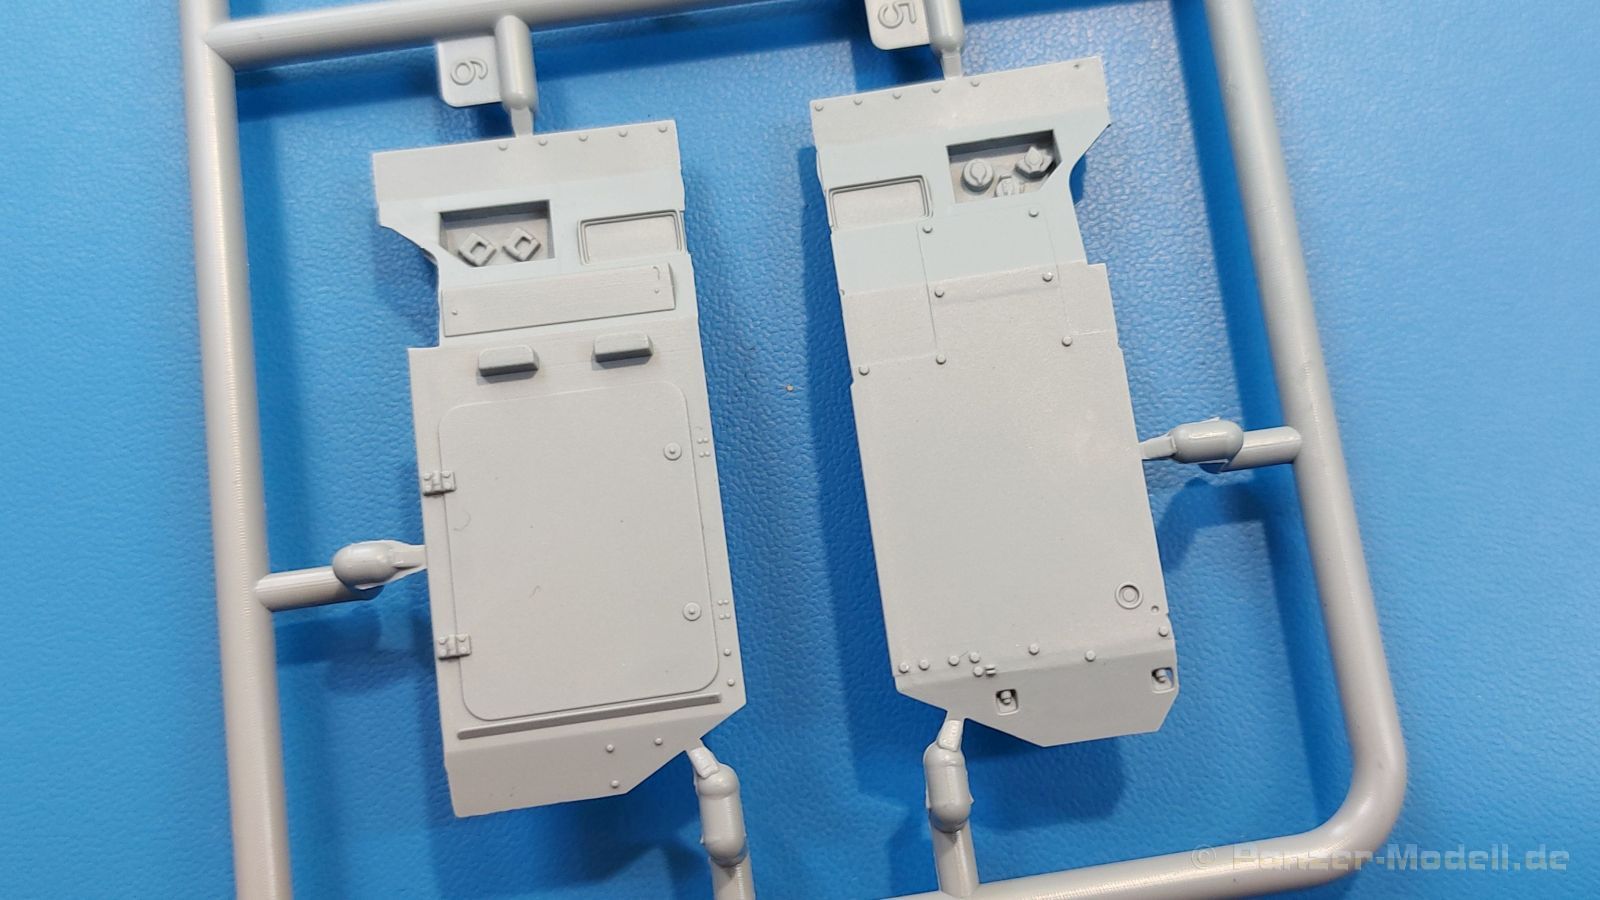
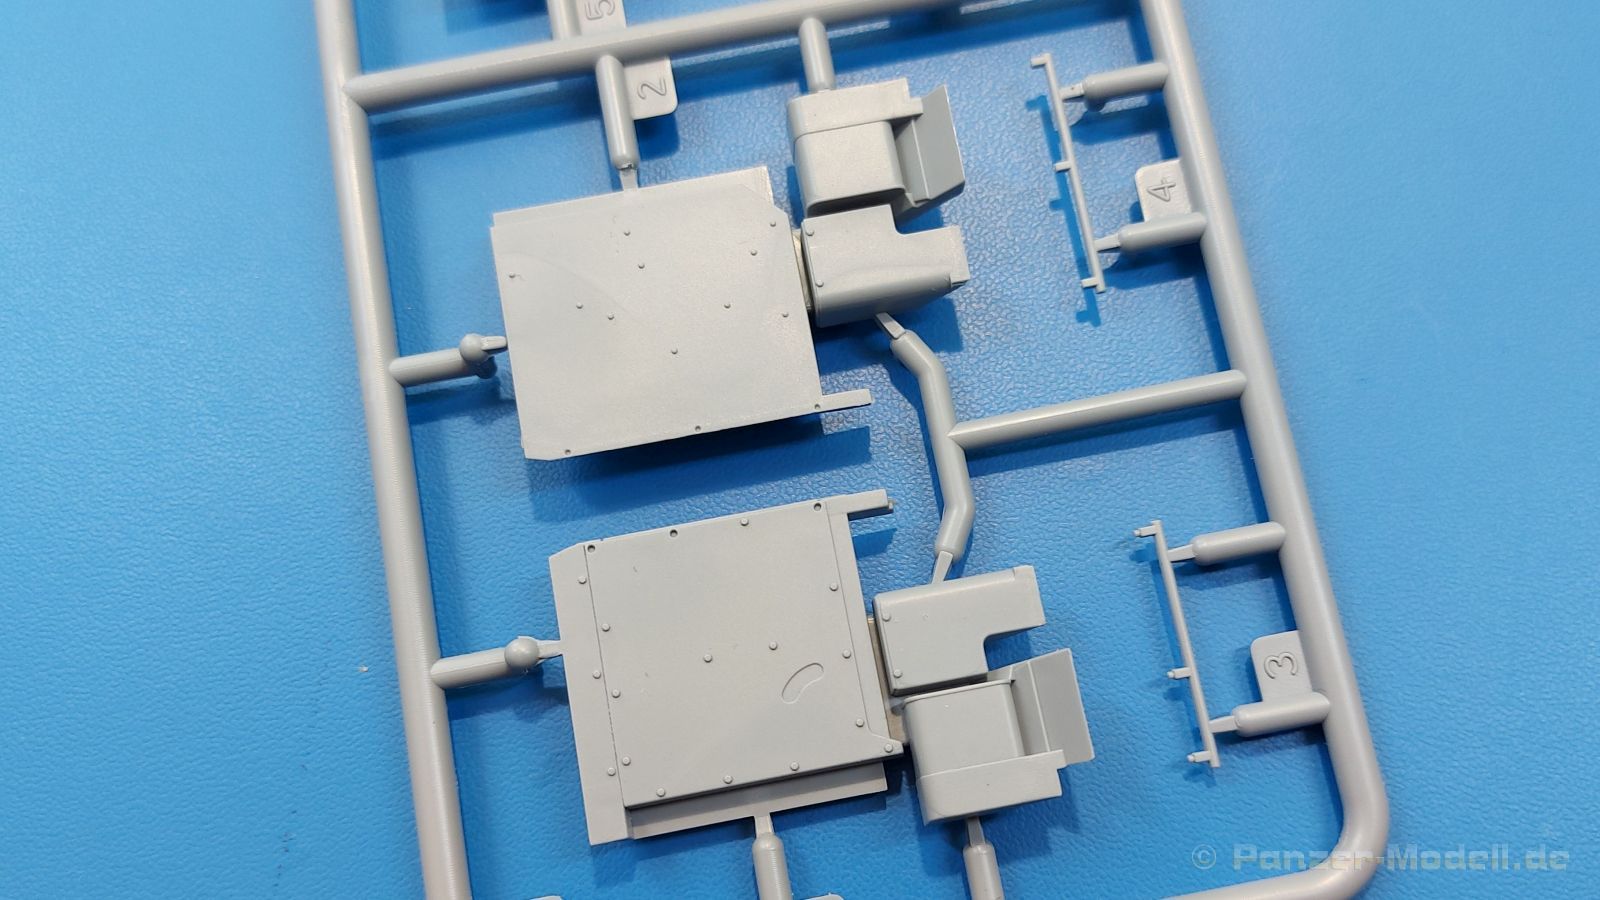
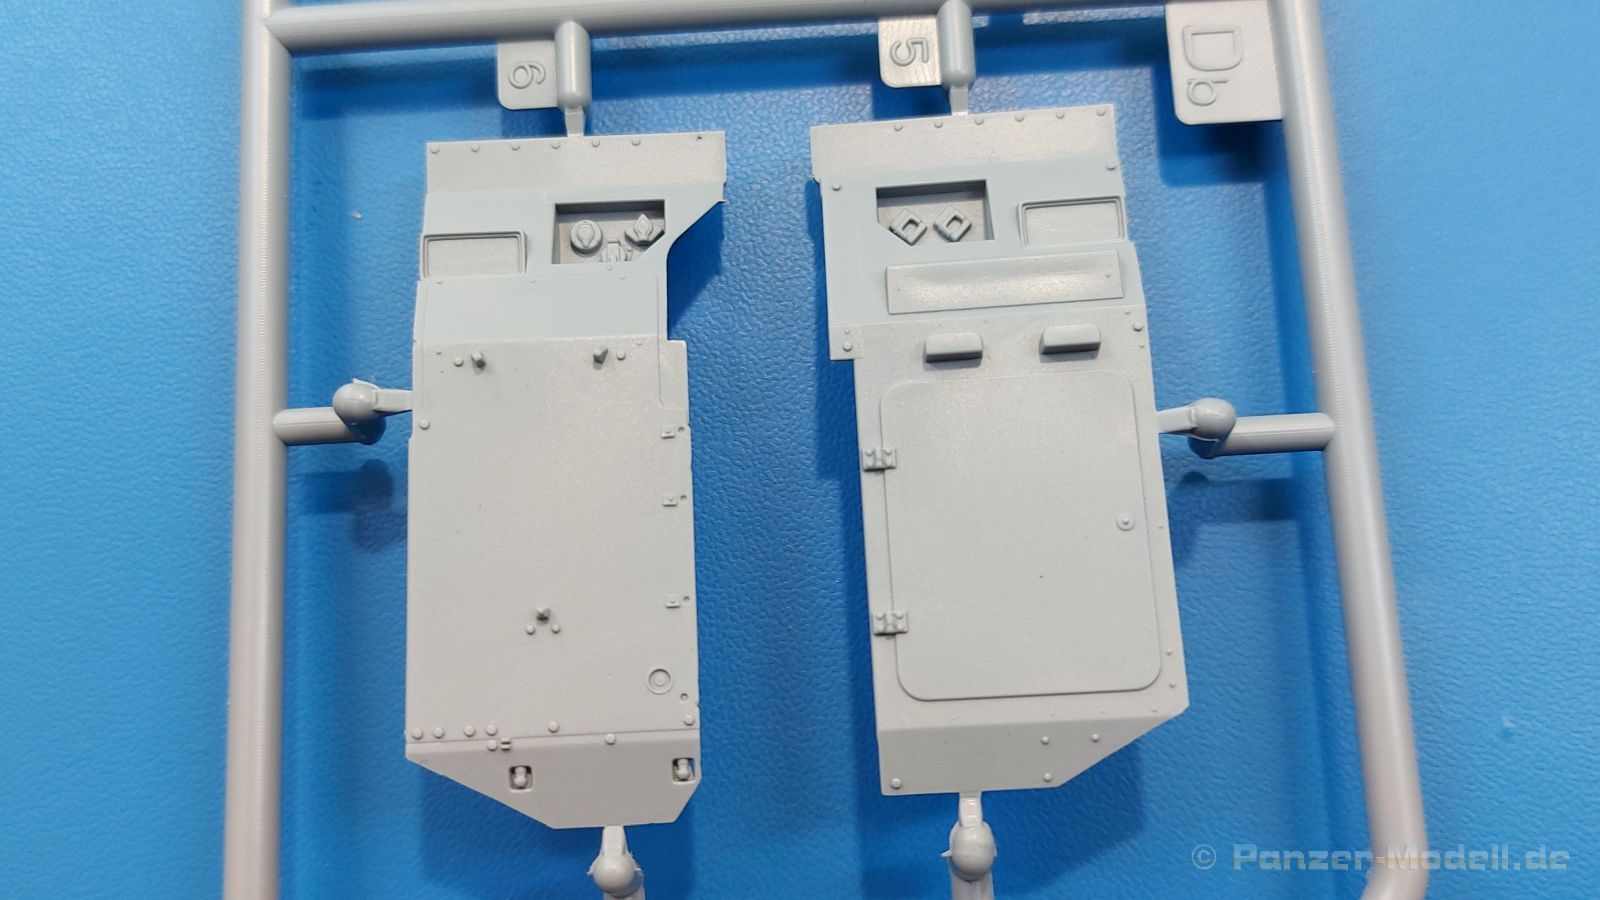
The structure consists on one hand of two large side parts that contain the front and rear fenders. There are openings for doors and side windows. The frames of the entry steps are made of PE. The front fenders are getting wider and a lot of small PE eyelets. The side doors are detailed inside and out. So, there is nothing to prevent it from being presented openly. In addition to door handles and PE eyelets, large exterior mirrors are attached to the doors. These have extra inserts for the mirror surface. Before attaching the inserts, you should stick the enclosed mirror film to the surface to make your work easier. The 35002 has two additional exterior mirrors on the fenders. These are also given mirror foil. Again, there is no reference in the assembly instructions regarding the attachment of the mirror foils. The door panes are crystal clear, free of scratches and streaks. They are a little thicker and therefore represent the armored glass in a believable way. The small side window inserts are also made of transparent material but are painted in the color of the vehicle in the area of the cover of the close defense opening. While the kit 35002 has brackets made of plastic and PE for sand plates on both sides, 35021 has brackets and frames for luggage instead. You should also be attentive in the rear area and use the correct parts for the corresponding vehicle version. The part with the rear door opening is then the same for both. The rear door is also detailed on both sides, but if you leave it open, only empty space is visible. Between the rear fenders and the side doors there are large storage boxes on the right, a storage box and a tank on the left. Mud flaps made of PE material are to be attached to the fenders.
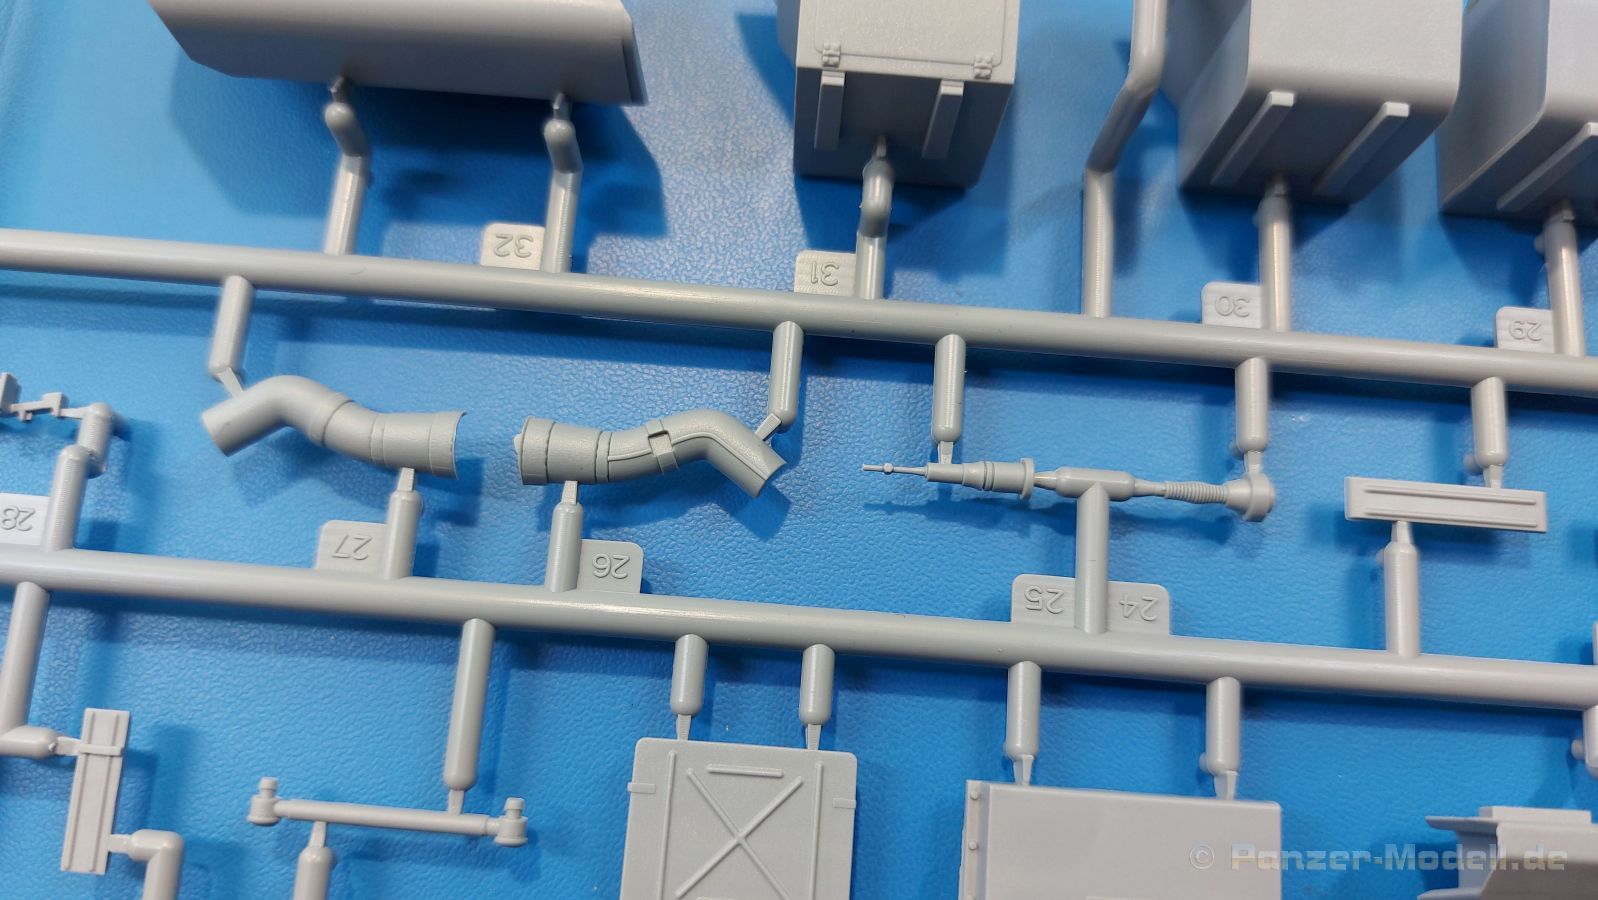
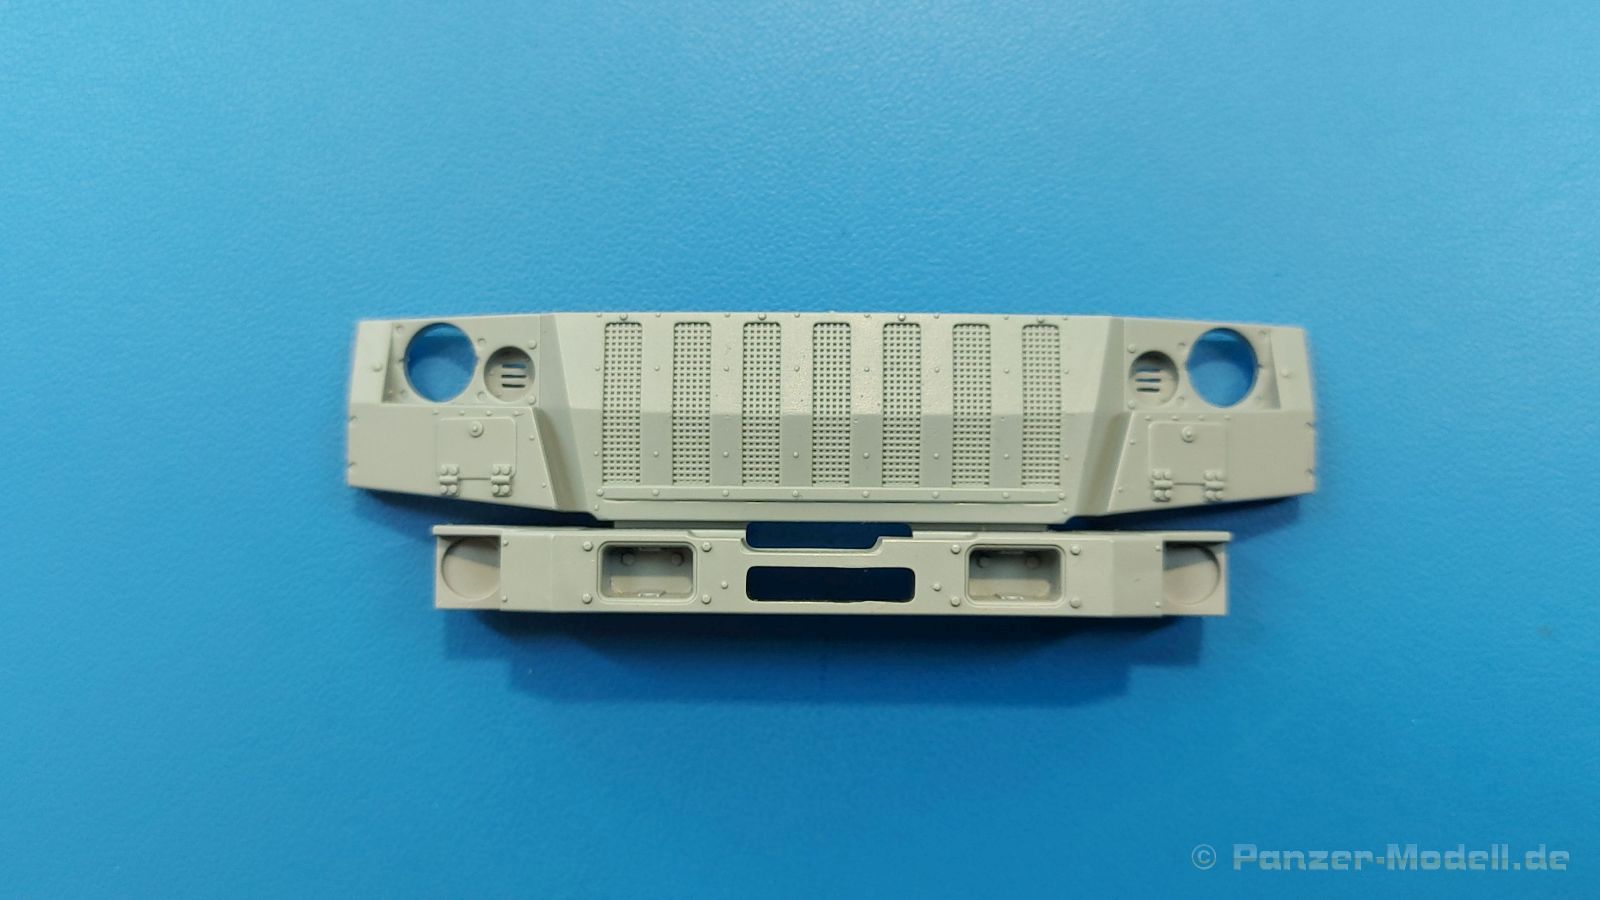
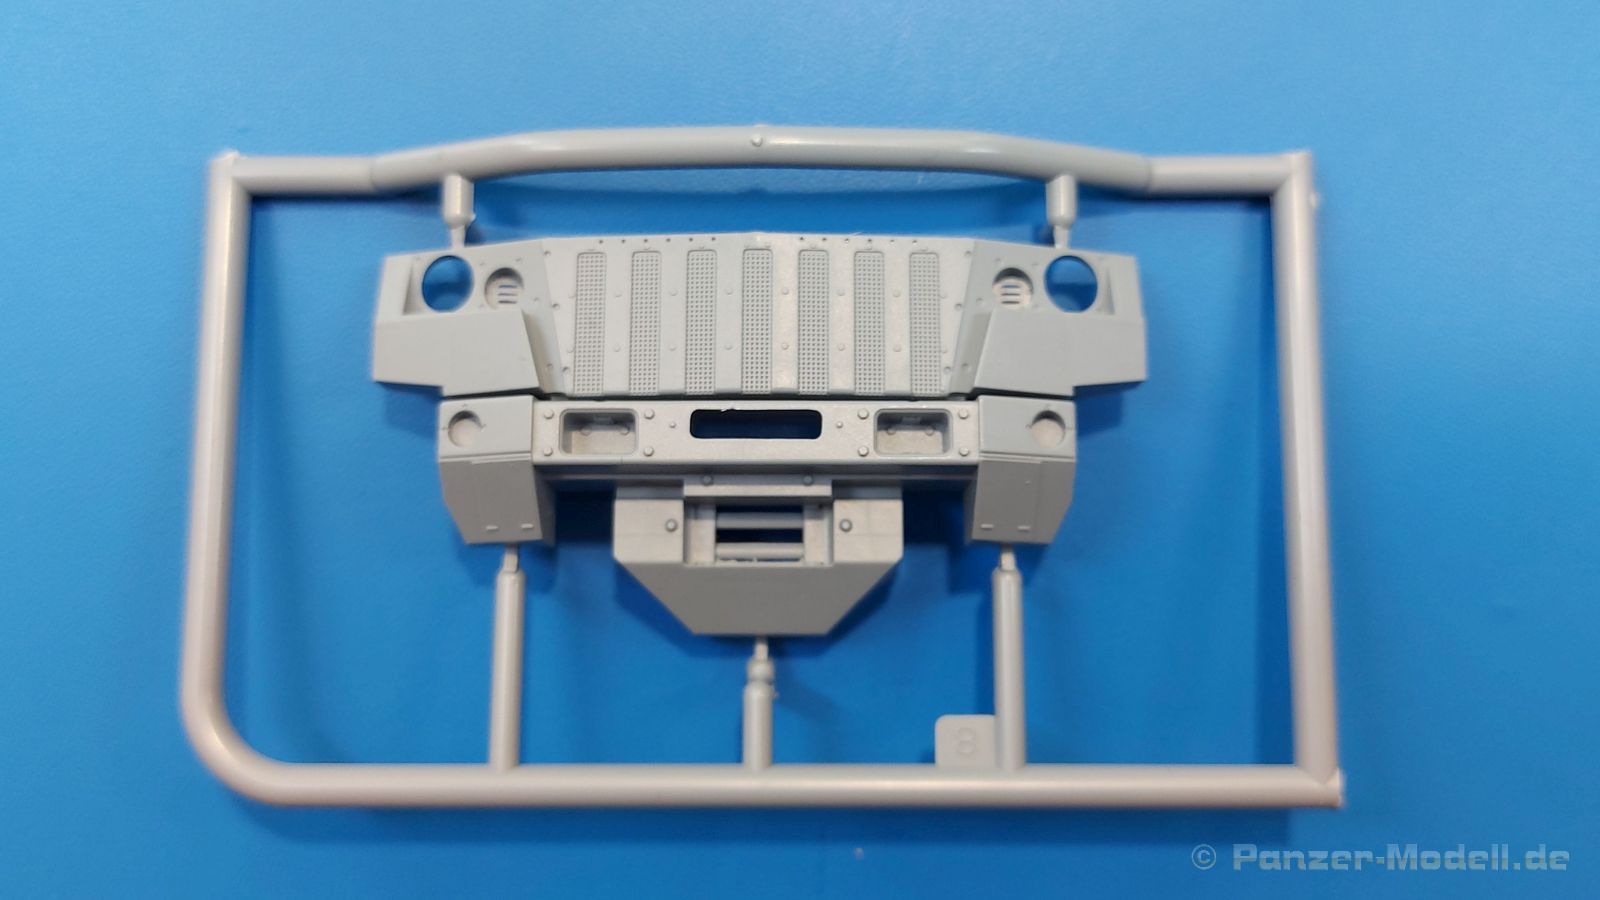
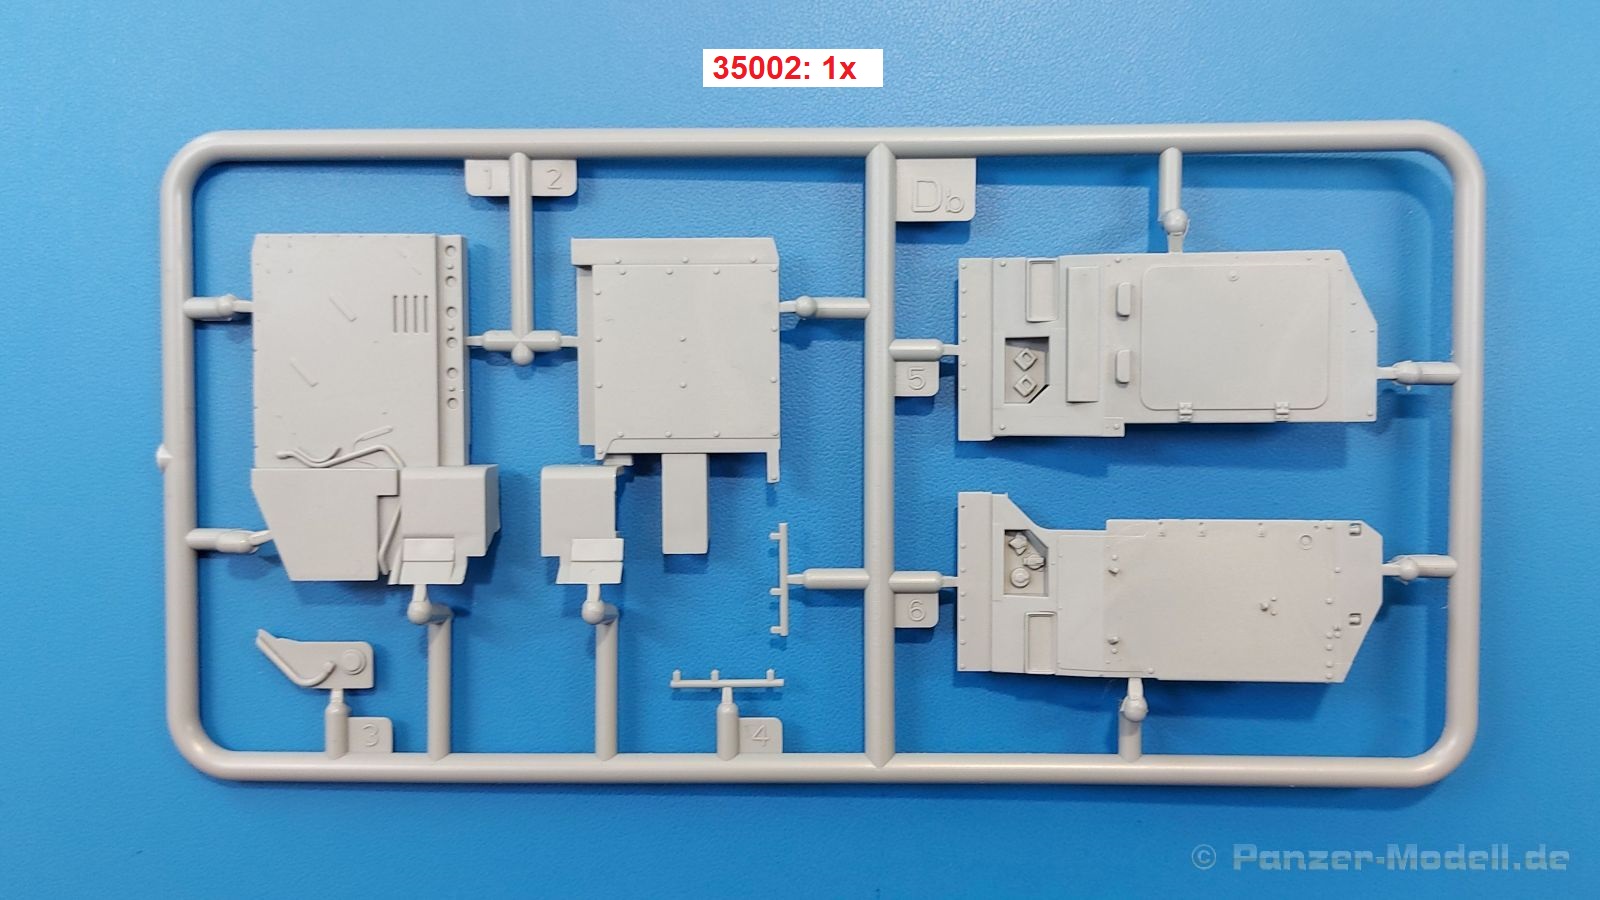
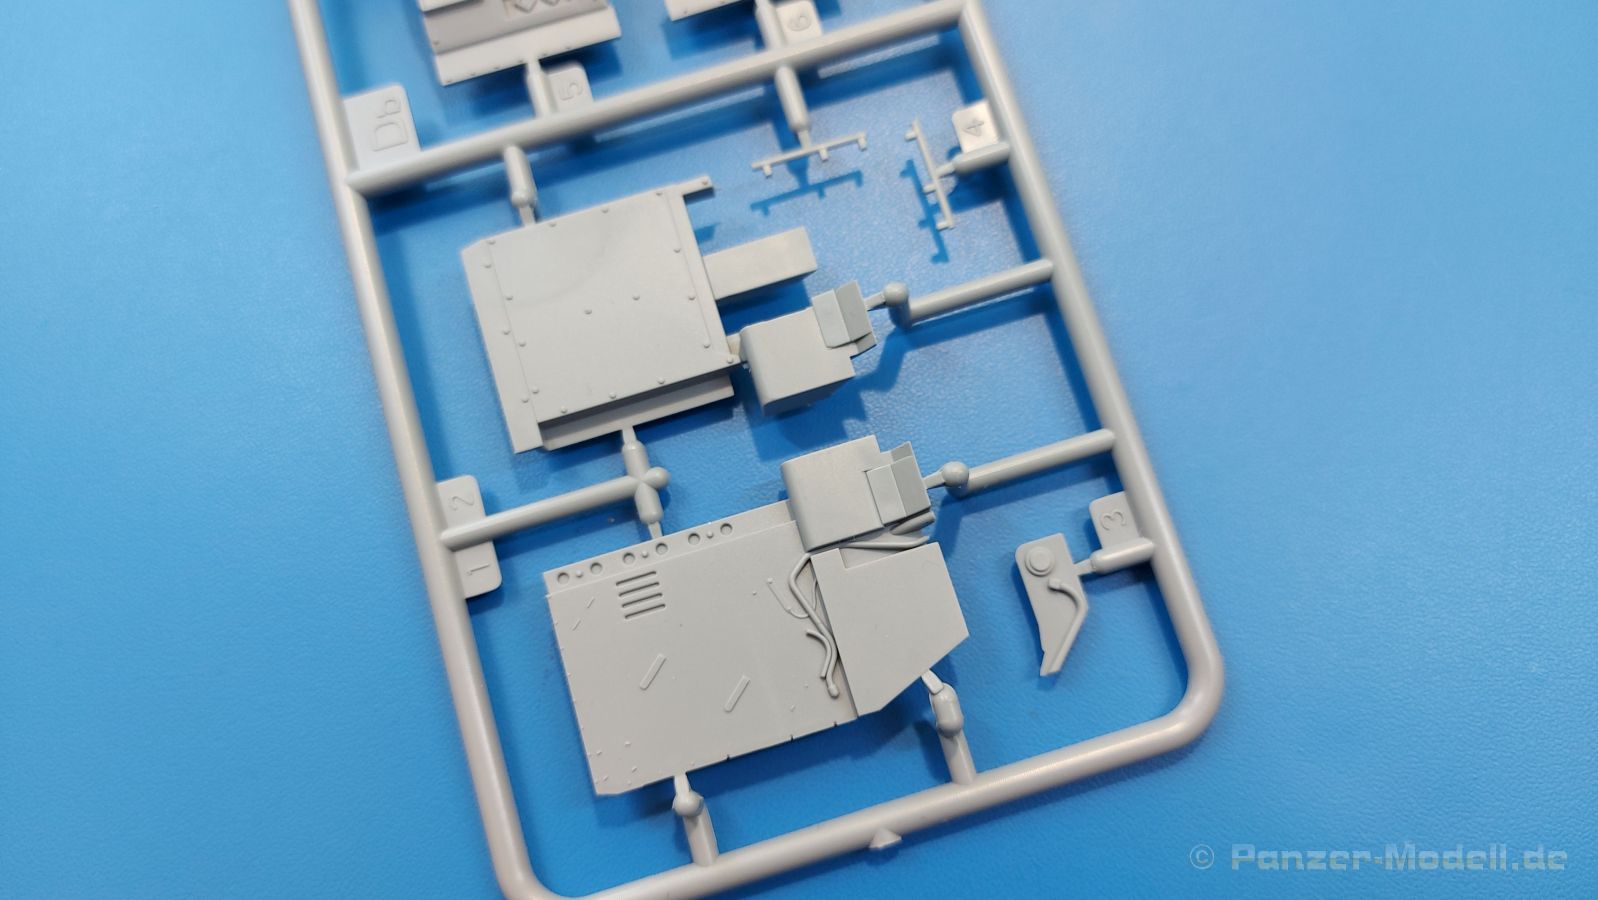
In the front area, the two vehicles differ somewhat more clearly. Both radiator grills received very well-presented headlight lenses. 35002 gets a lower, centrally angled grille. Even if this is made of plastic, it is very nicely done. The headlights are protected by PE grids. A small box (front camera?) Is mounted above the license plate. The grill of the 35021 is higher and has no angle. It has a rope lead-through for a winch rope at the lower end. The engine hoods with PE-protected air outlet are the same for but have different fittings (mostly made of PE). A large air intake hose, divided into two halves, protrudes from the hood of both. The windshields also show the thickness of the armored glass very nicely. A frame for the four windshield wipers is attached over the windows. There are also three outdoor camera boxes attached.
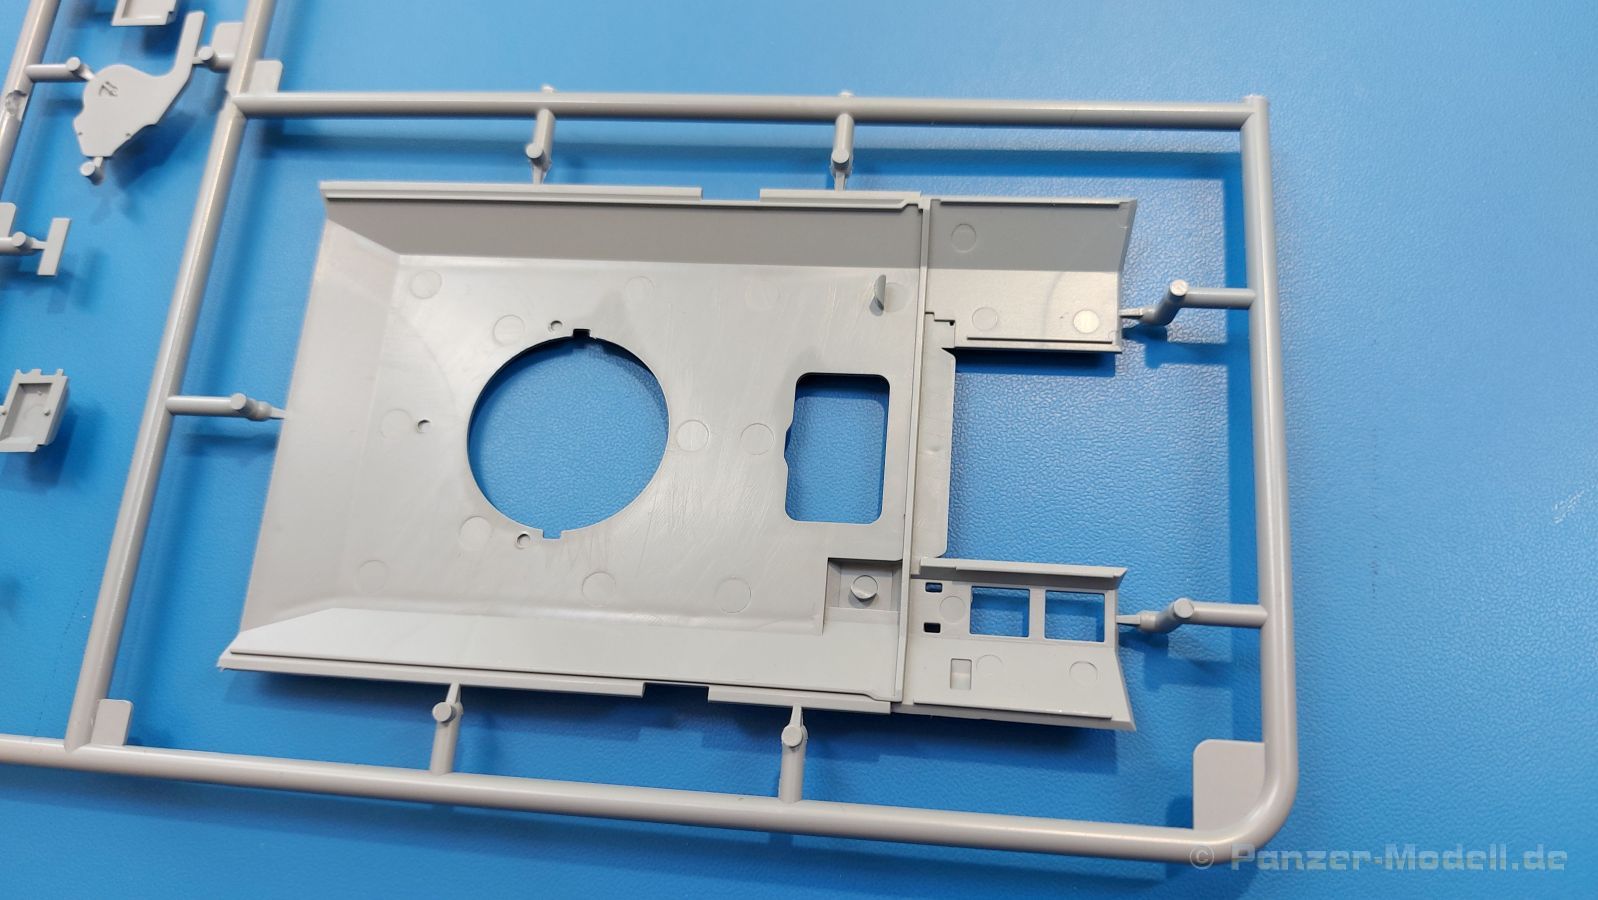
The roof of the 35021 has two openings above the air conditioning (?). These openings are closed with PE grids. The hatch opening around the tailgate gets a hatch. If you want to leave it open, it is advisable to put a figure inside. With the help of some PE parts, a type of roof railing is placed on the side sloping roof. There are also four more lifting eyes attached to the roof edges. 35002 also has shortened roof rails and of course an opening for the turret. Instead of the lifting eyes, brackets are attached, the purpose of which is unknown to me.
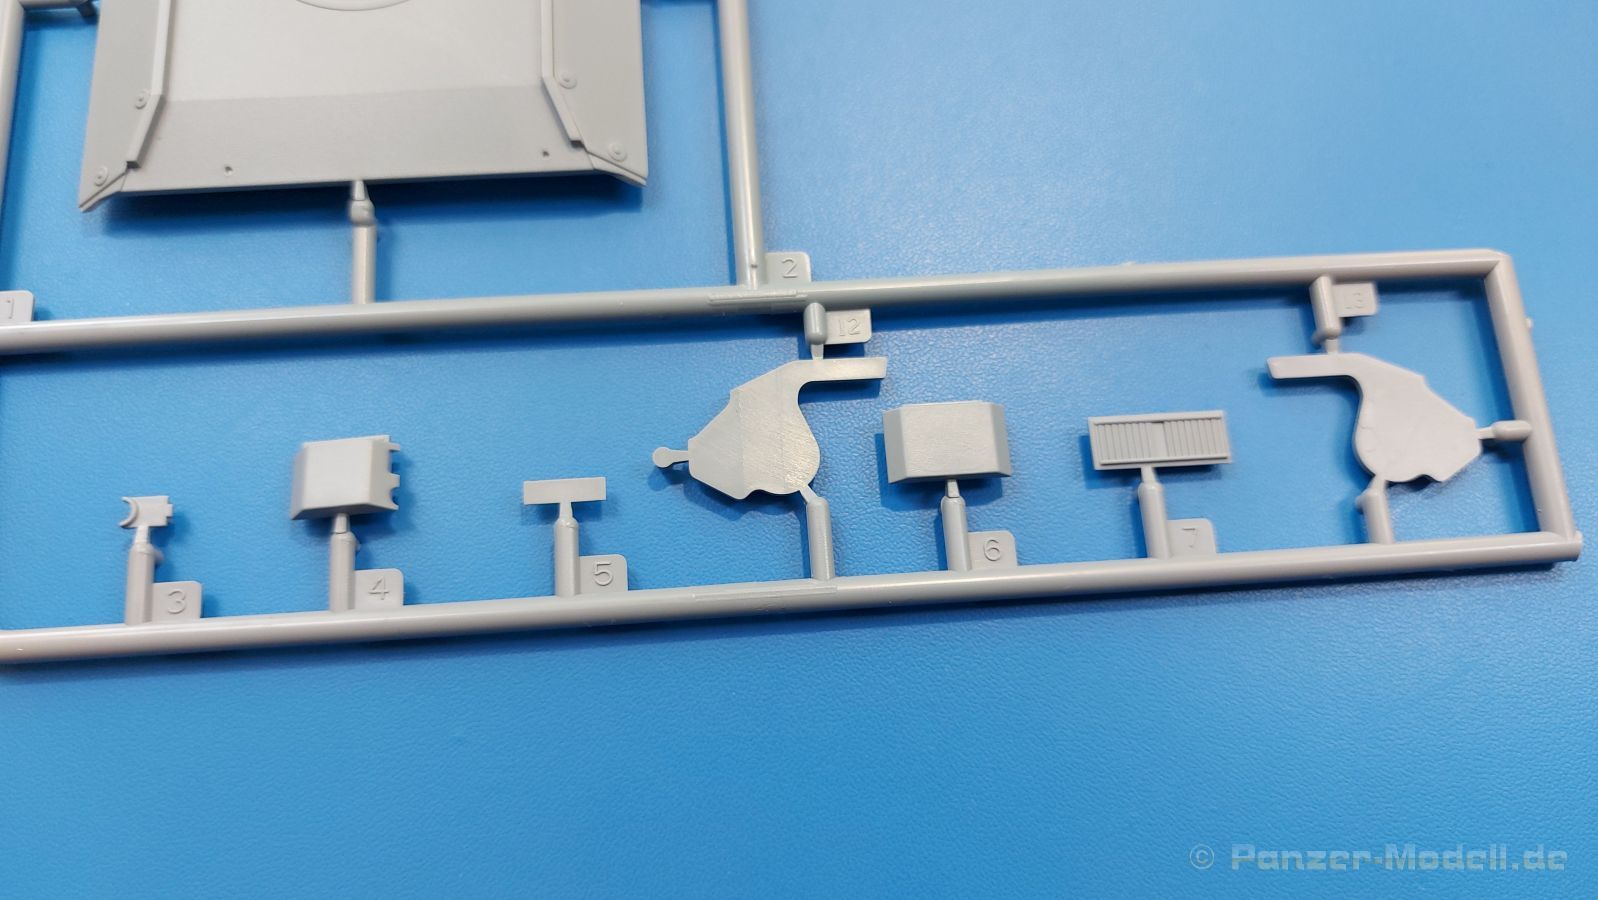
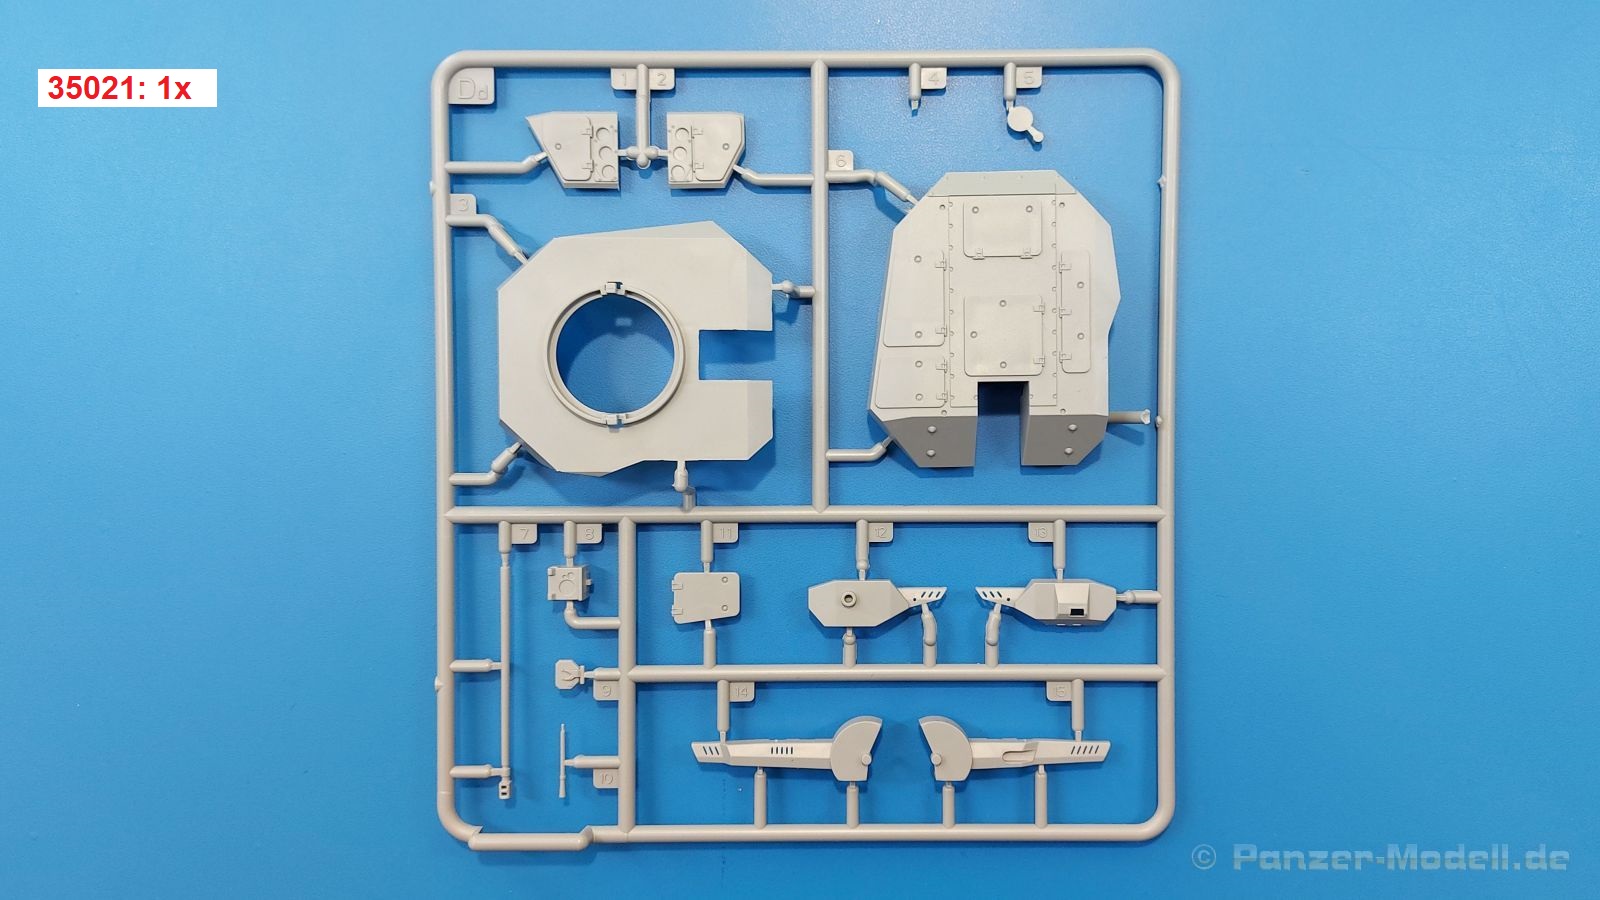
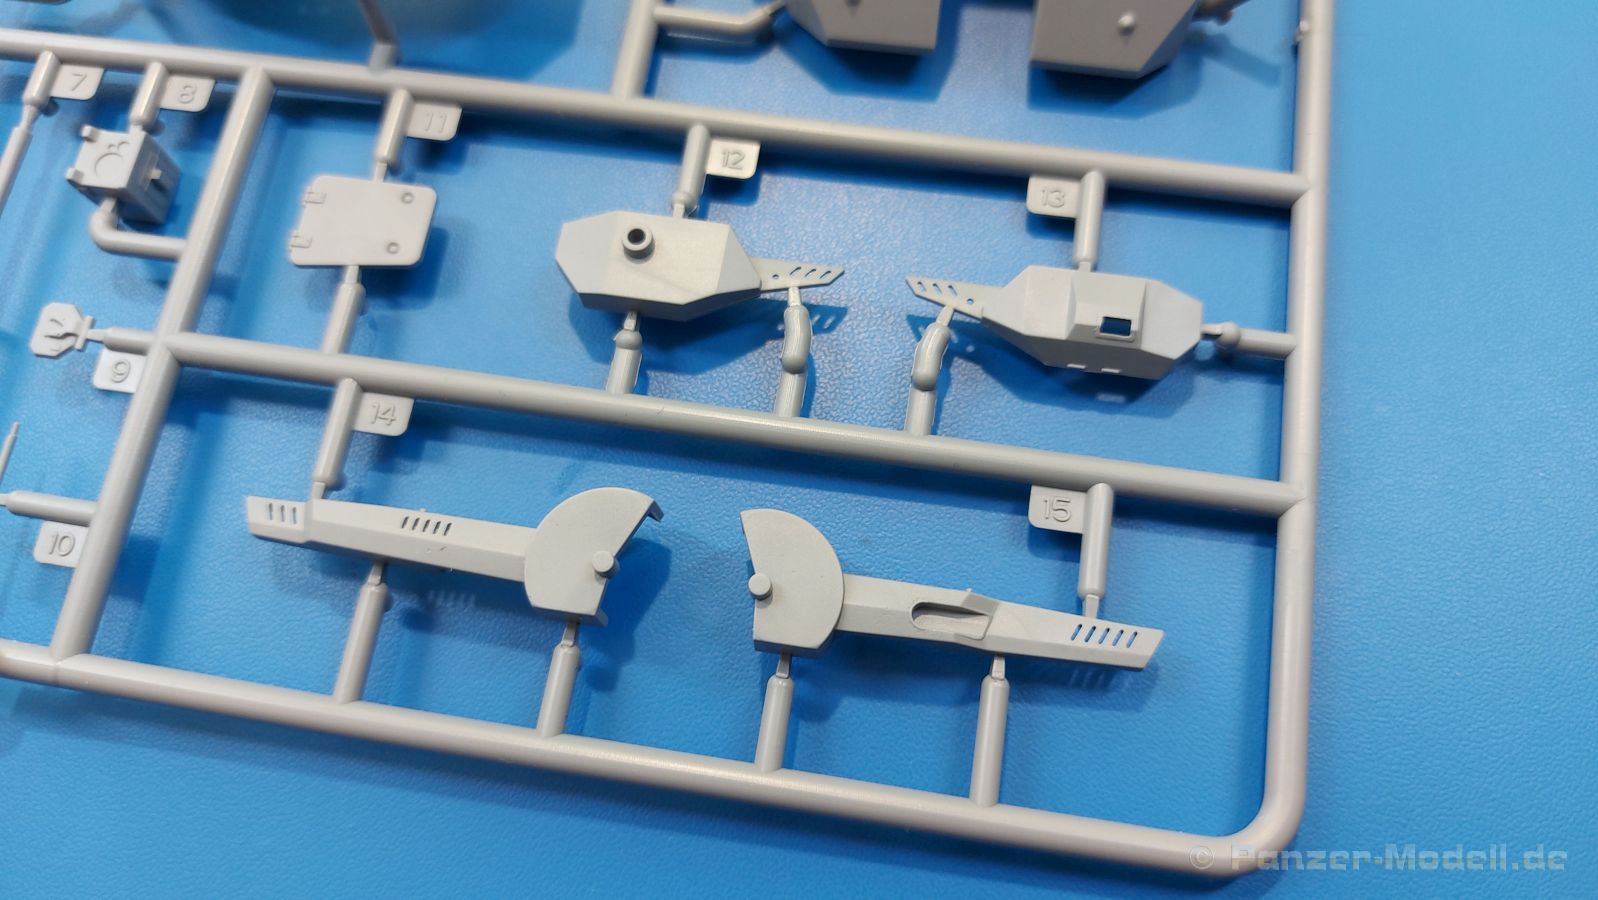
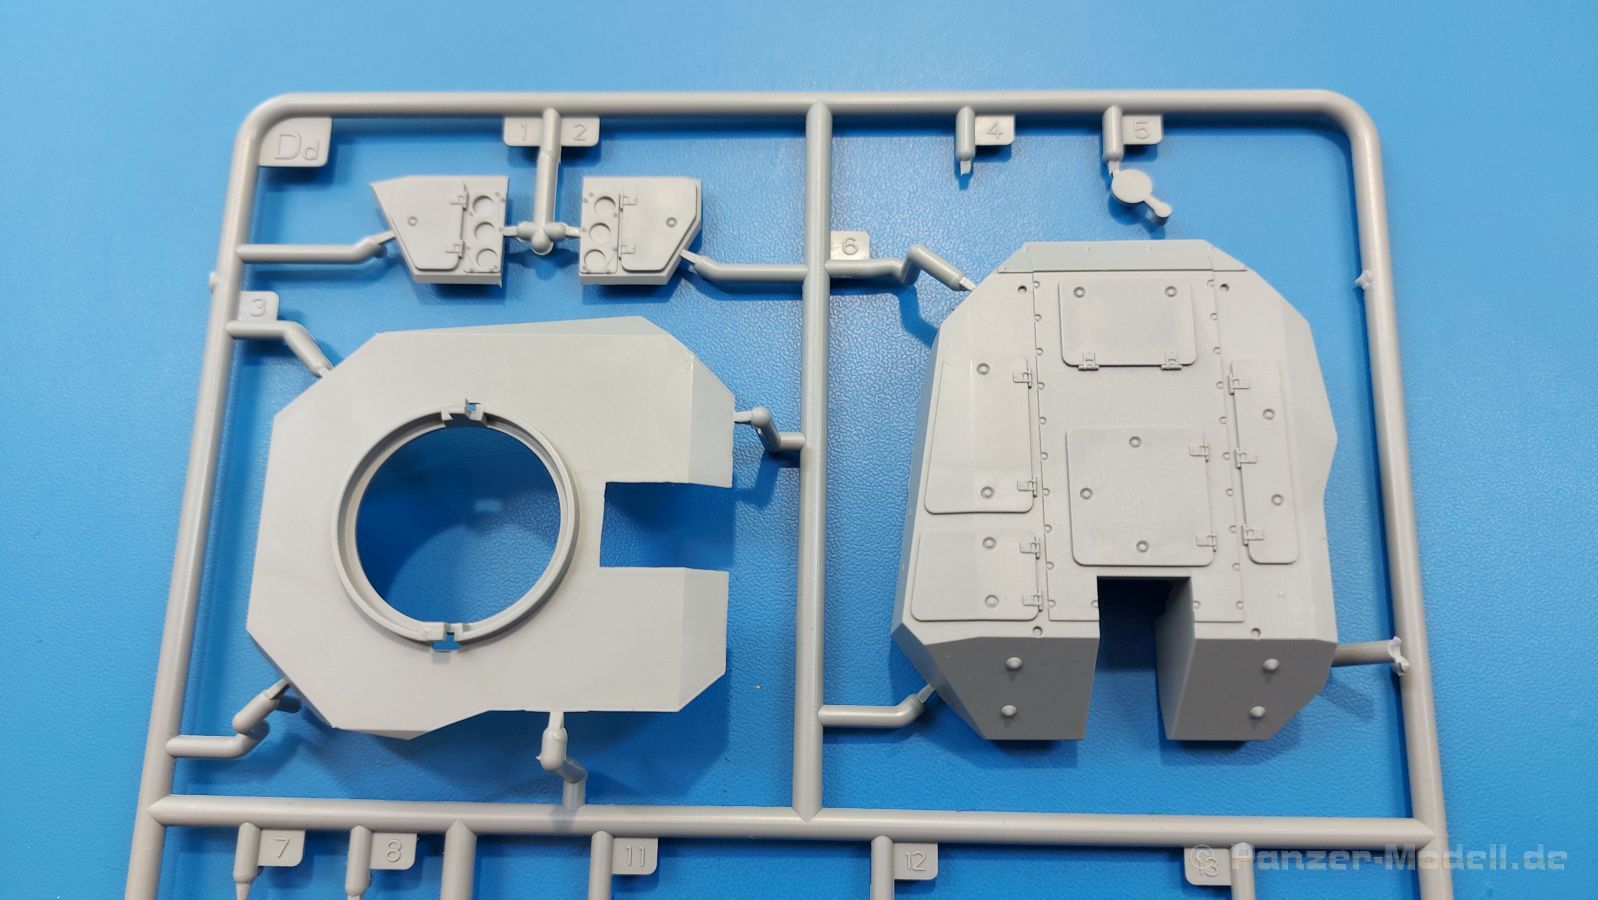
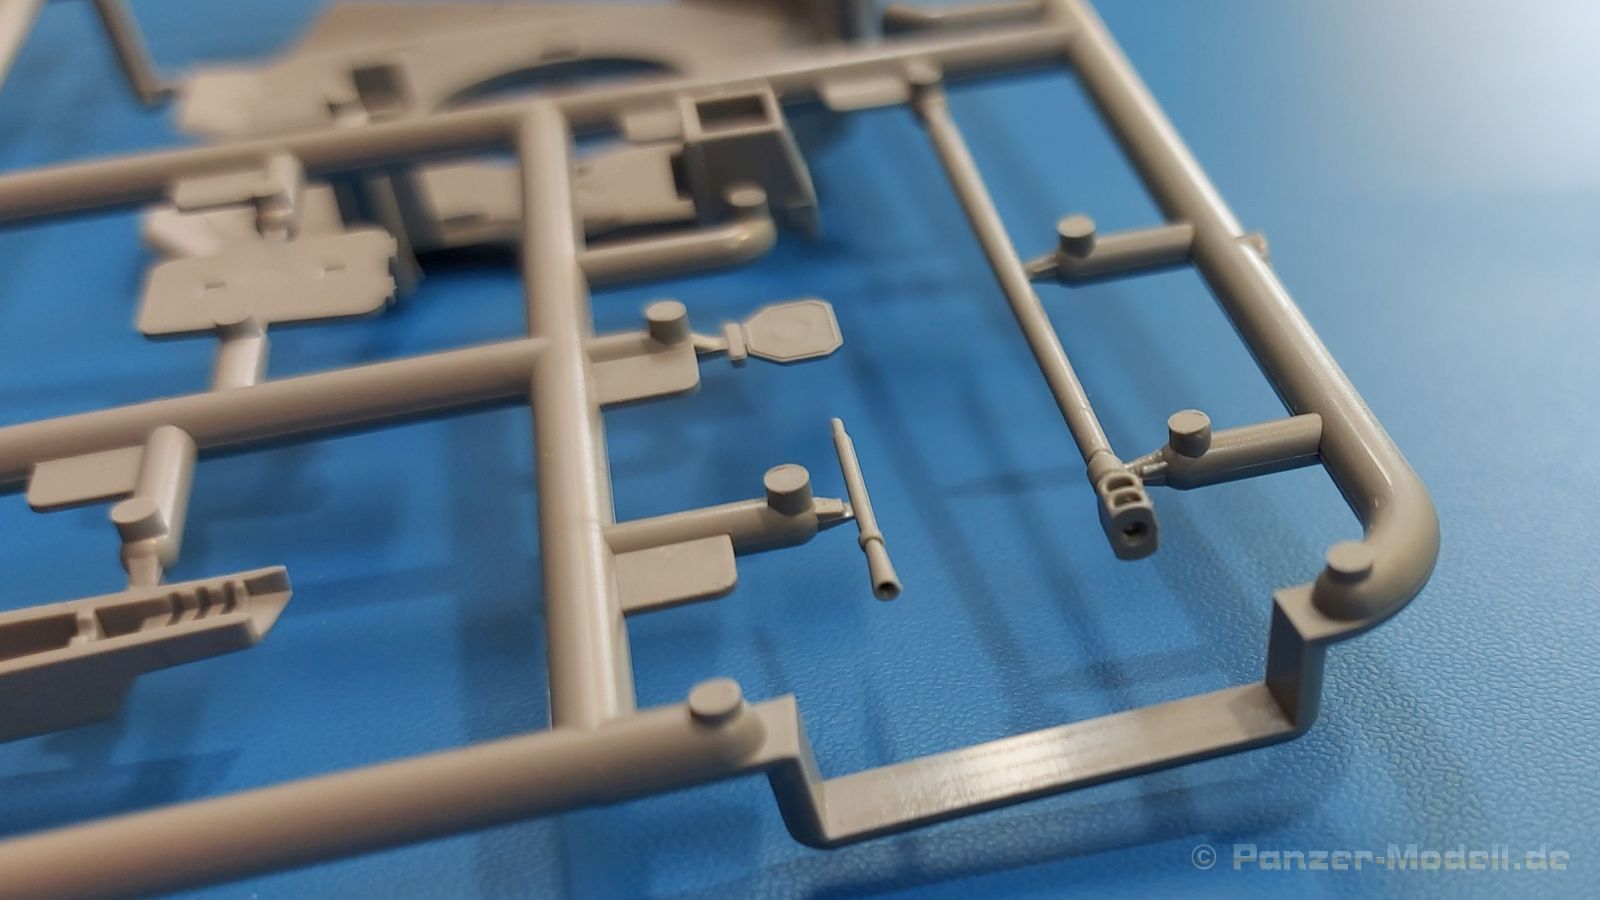
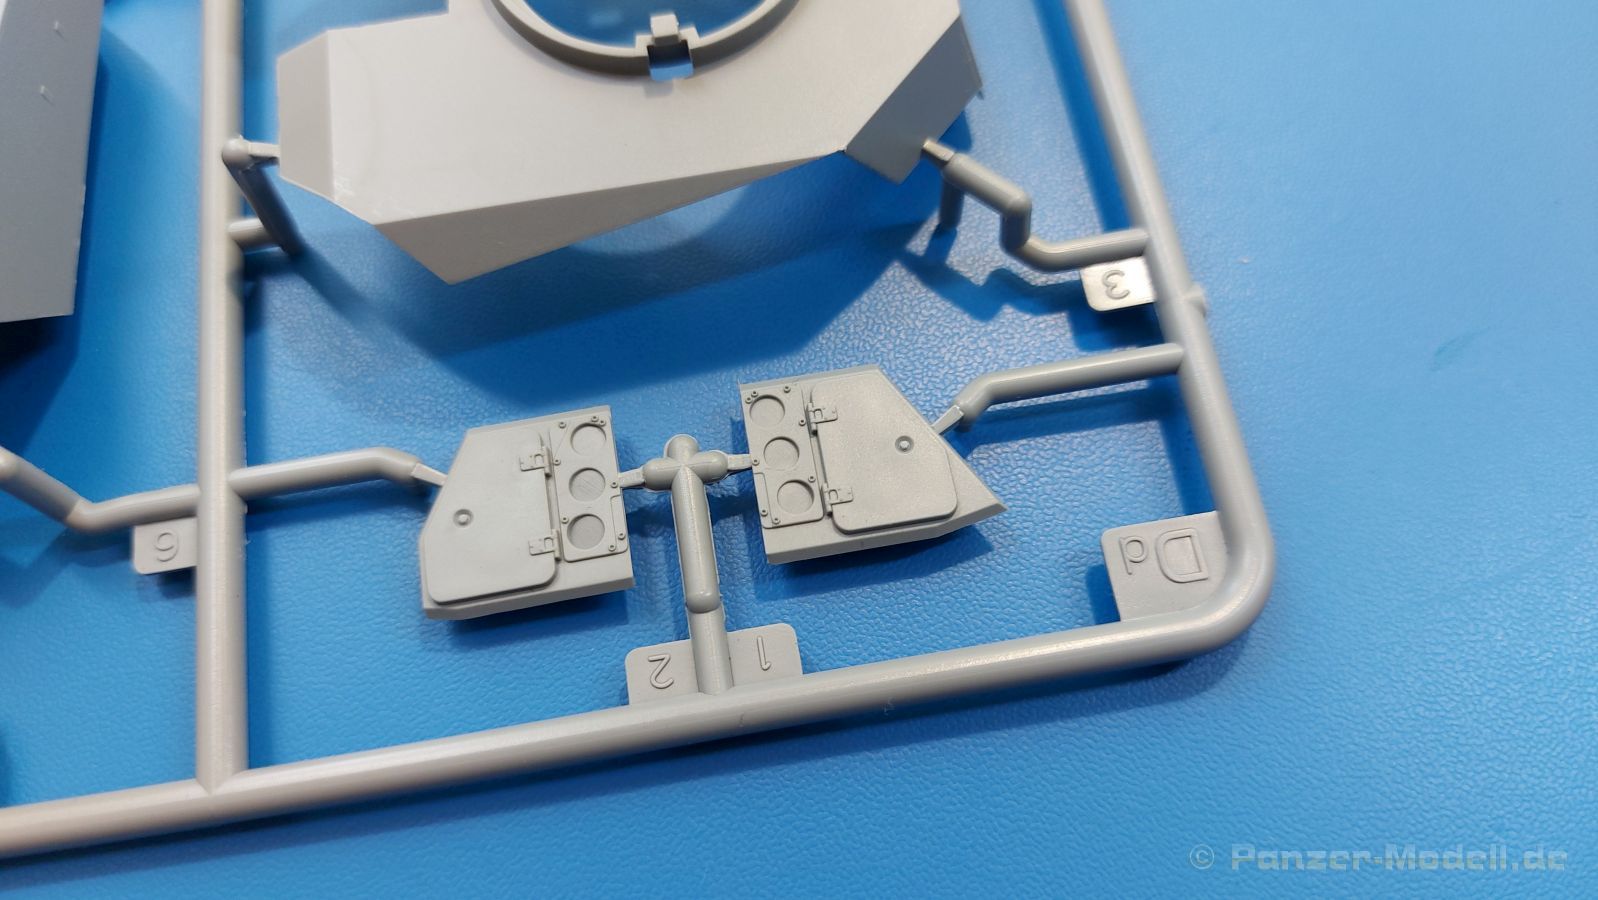
The turret consists of an upper and a lower part. A screwed plate is attached to the stern, and a flap on the right, which is only attached closed, as there is no opening for it in the turret. There are two additional panels with molded flaps at the front. Three smoke dischargers are attached to each plate. Four small lifting eyes are glued to the roof. On the left side of the turret a machine gun that can be leveled independently of the cannon is attached. Its casing consists of two side halves. The muzzle is already opened. The cannon casing also consists of two halves. As with the MG jacket, there are open cooling fins. The aiming optics, the protective flap of which can be attached open or closed, is placed on the jacket. A protective sheet that protects the optics box must be bent from a PE part, which is a complex process. When it comes to the barrel of the 30mm cannon, you can choose between a beautifully made, one-piece plastic barrel with an open muzzle and a twisted metal barrel with a separate muzzle brake.
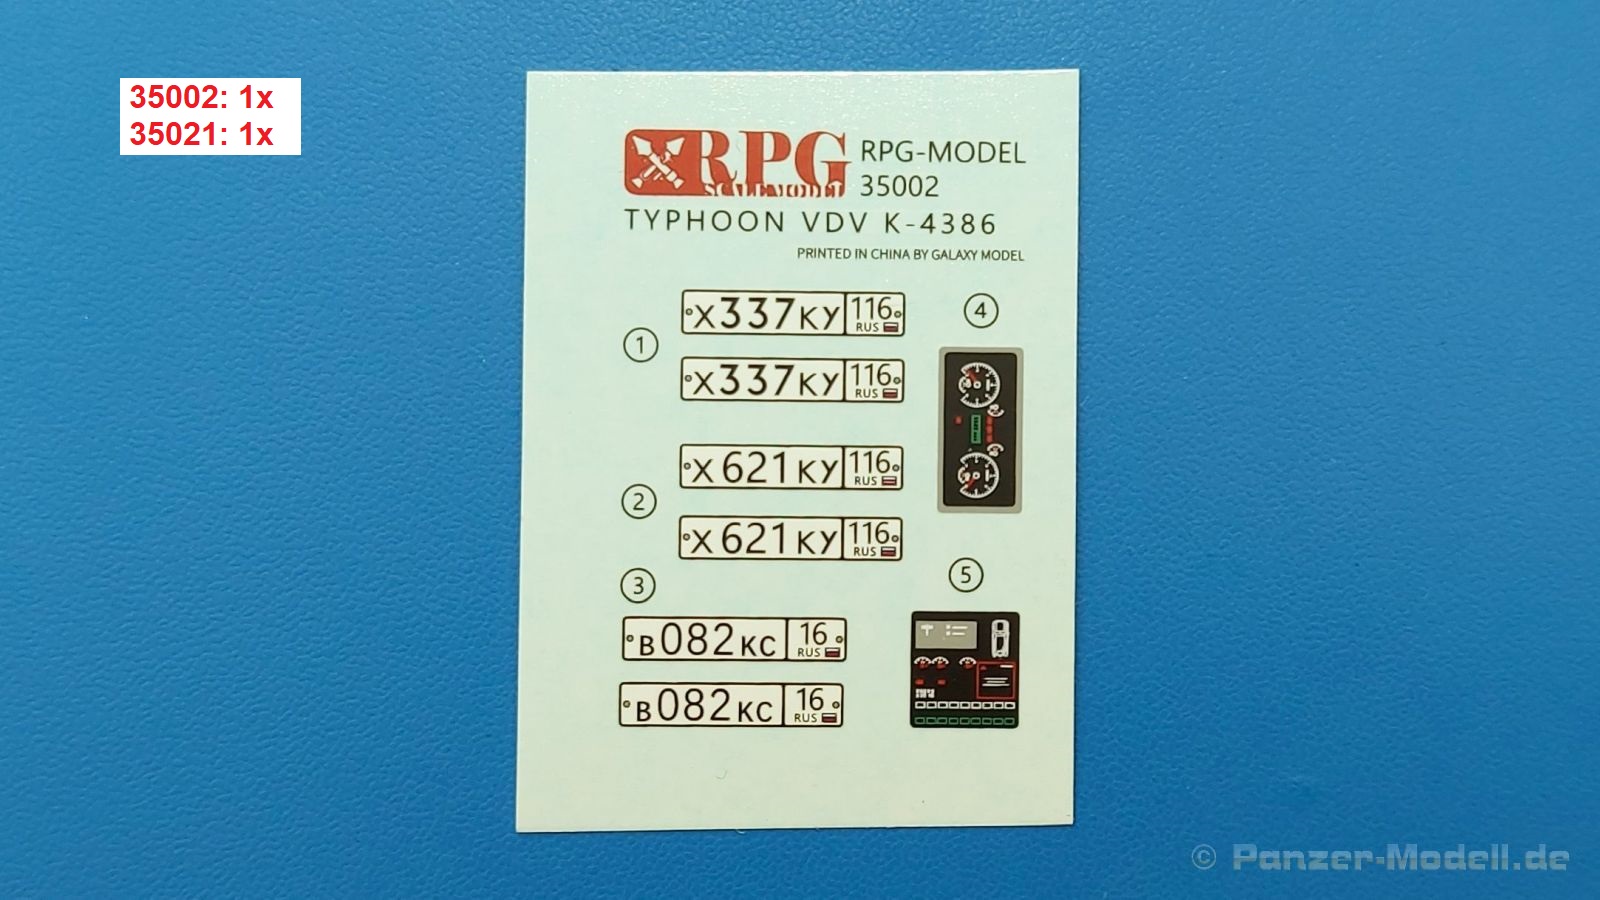
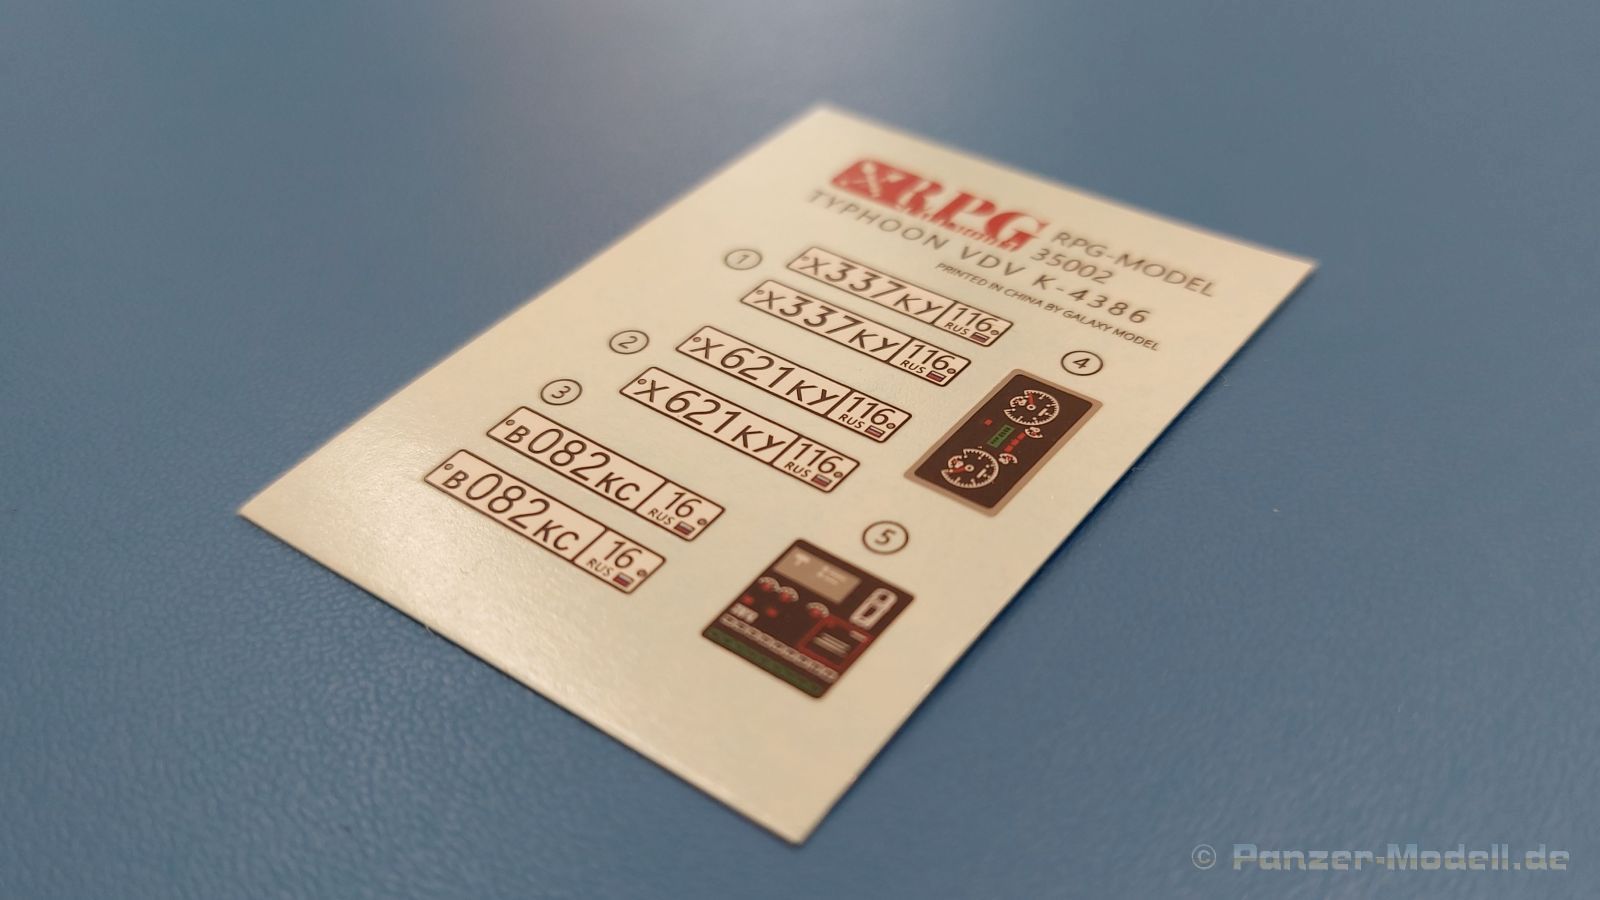
The two same decal sheets contain license plates for 3 vehicles and dashboard decals:
- x 337Ky - 116
- x 621Ky - 116
- B 082KC - 16
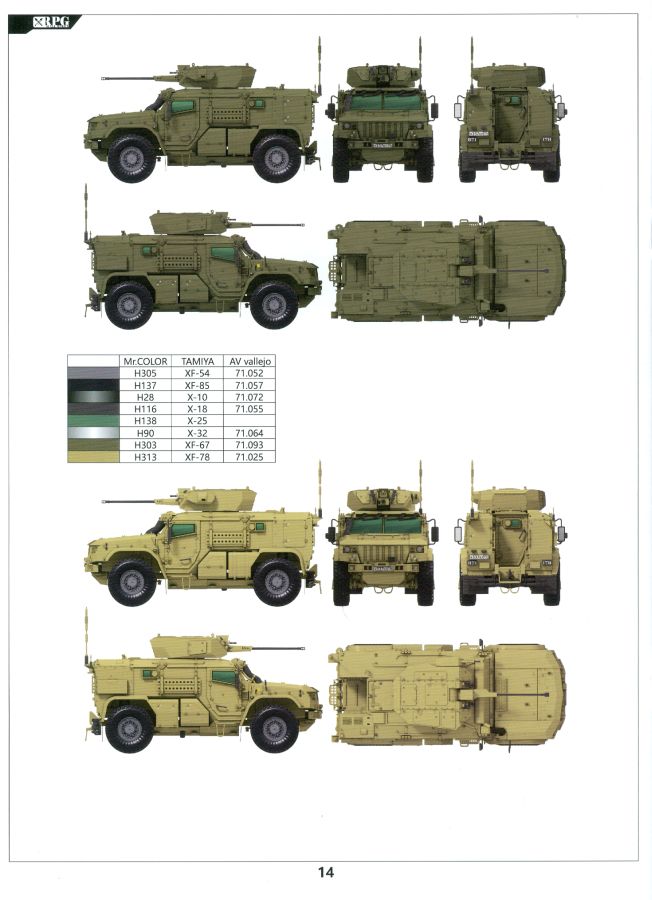
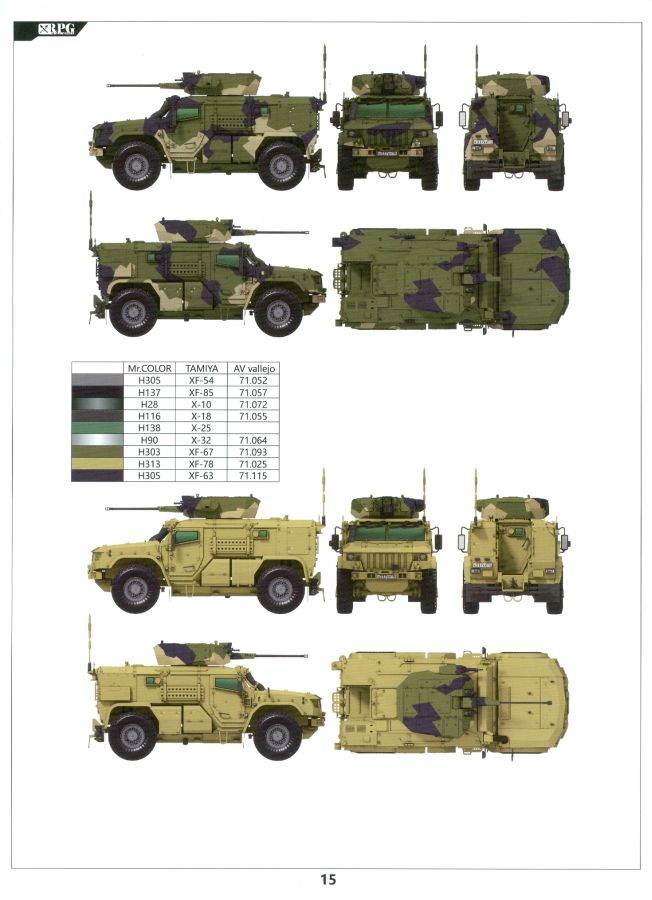
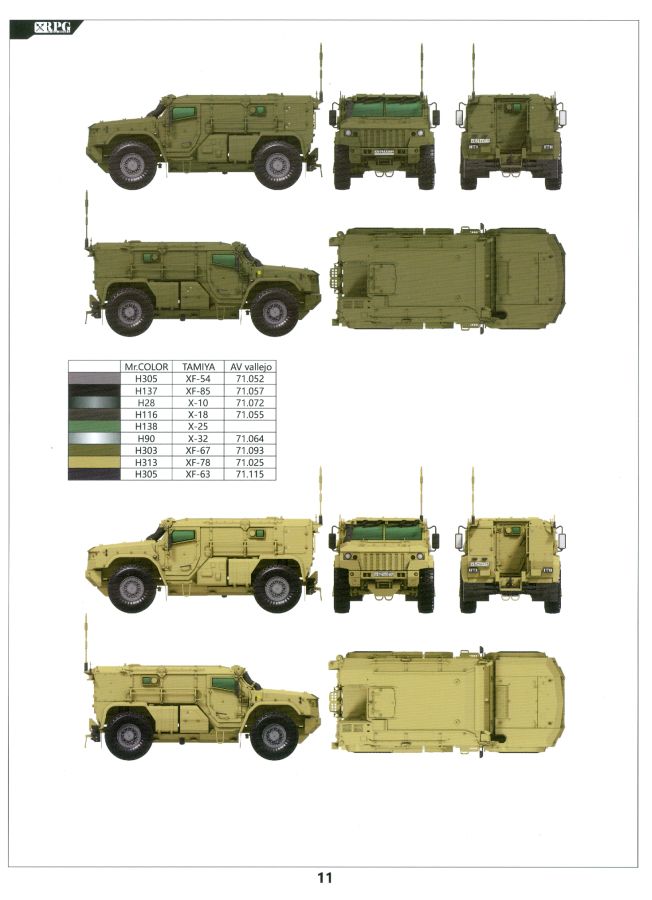
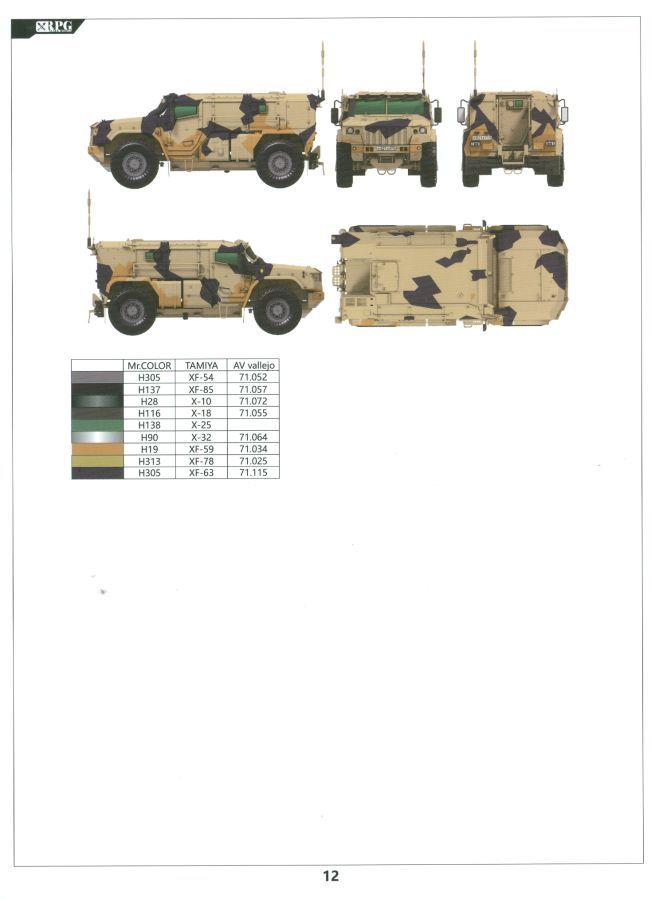
The instructions in black and white (35002, 35021) with colored accents and Chinese and English lettering are almost identical. They start with a large picture of the vehicle to be built, safety instructions for the construction, explanations of symbols and instructions for processing the decals. The parts overview can be found on the second page. 35002 has 27 construction steps and 4 painting instructions, 35021 20 construction steps and 3 painting instructions. Color numbers are given for Mr. Color, Tamiya and AV vallejo colors. Most of the construction steps are very clear. Only a few are a bit cramped, but the use of red arrows and blue symbols means you shouldn't lose track of things.
Two interesting, modern vehicle kits in one box, in Germany at a price around 58-59 euros. If you want both, the double pack is cheaper than buying them individually. The quality of the parts and details is good. Even if the vehicles are built quite simply, despite good detailing, a little modeling experience is recommended because of the abundant PE parts.
| Brief Overview: | |||||
| Item No: Item type: Material: Scale: Released: |
35019 Complete kit Injection mold, PE 1:35 Mai 2021 |
Manufacturer: Country: Price when released: |
RPG Scale Model China ca.58 Euro |
||
Suitable for: Price/Performance: Overall impression: |
 |
 Review of: Frank Krause |
|||
Photos: