|
|
Import to Germany:
![]()
http://www.modellbau-koenig.de
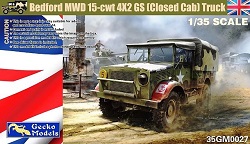 Gecko Models 35GM0027 - Bedford MWD 15-cwt 4x2 GS (Closed Cab) Truck
The Original:
The Bedford MW was a small rear-wheel drive truck used by the British Forces with a payload of 760 kg (15 cwt). The 72 hp (54 kW) engine could accelerate the vehicle up to 40 mph (64 km/h). The over 66,000 Bedford MW produced were used from 1939 to the 1950s, mainly by British infantry units, but also by the Royal Air Force and the Royal Navy. The Wehrmacht also captured and used many MWDs. There were several variants that were distinguished by an additional letter in the name. For example, the MWD a flatbed structure and the MWC a water tank structure
The kit:
Gecko Models Bedford MWC water tank truck reached Germany first, followed by the MWD platform version with an open cab. The third in the group is again a MWD platform version, but with the closed driver's cab.
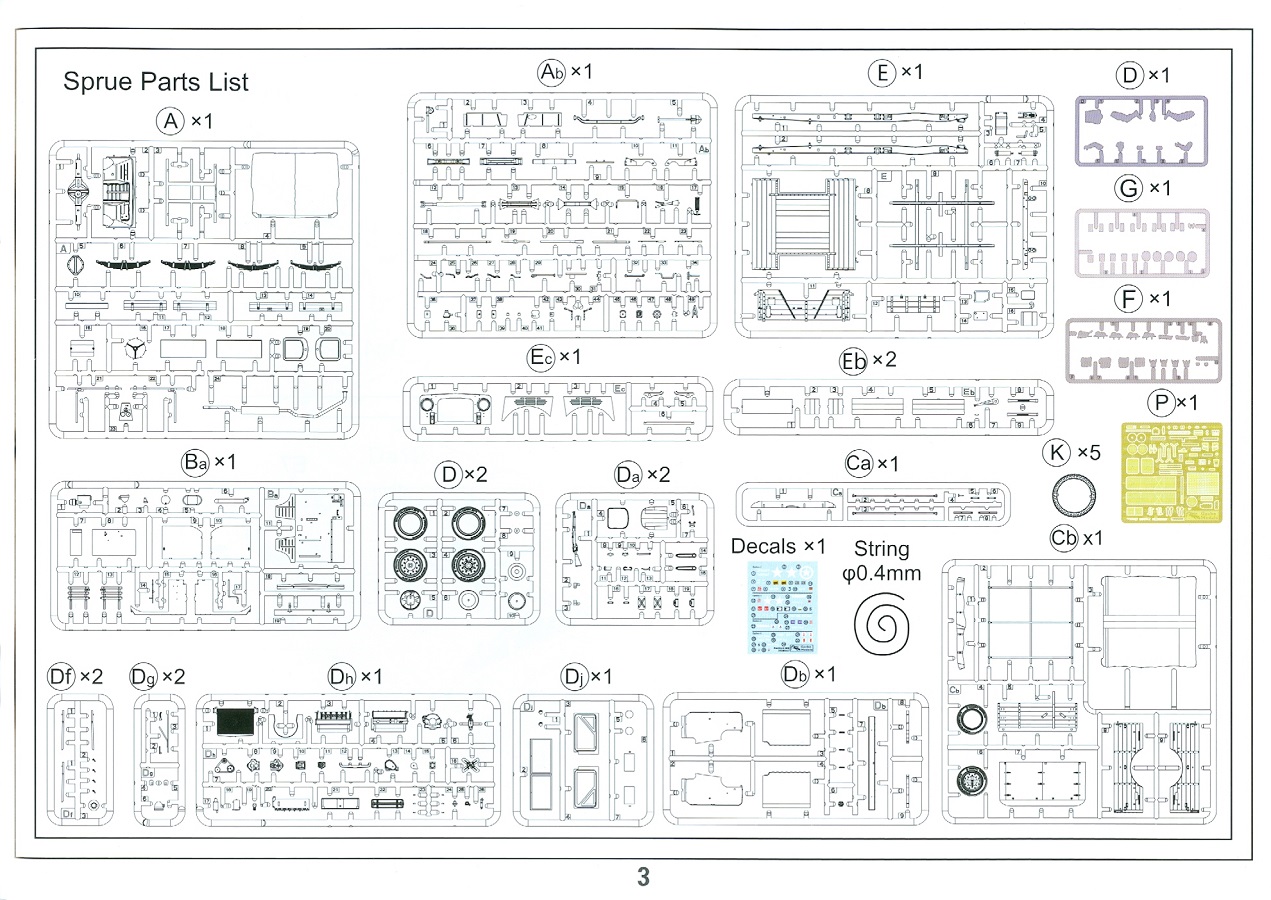
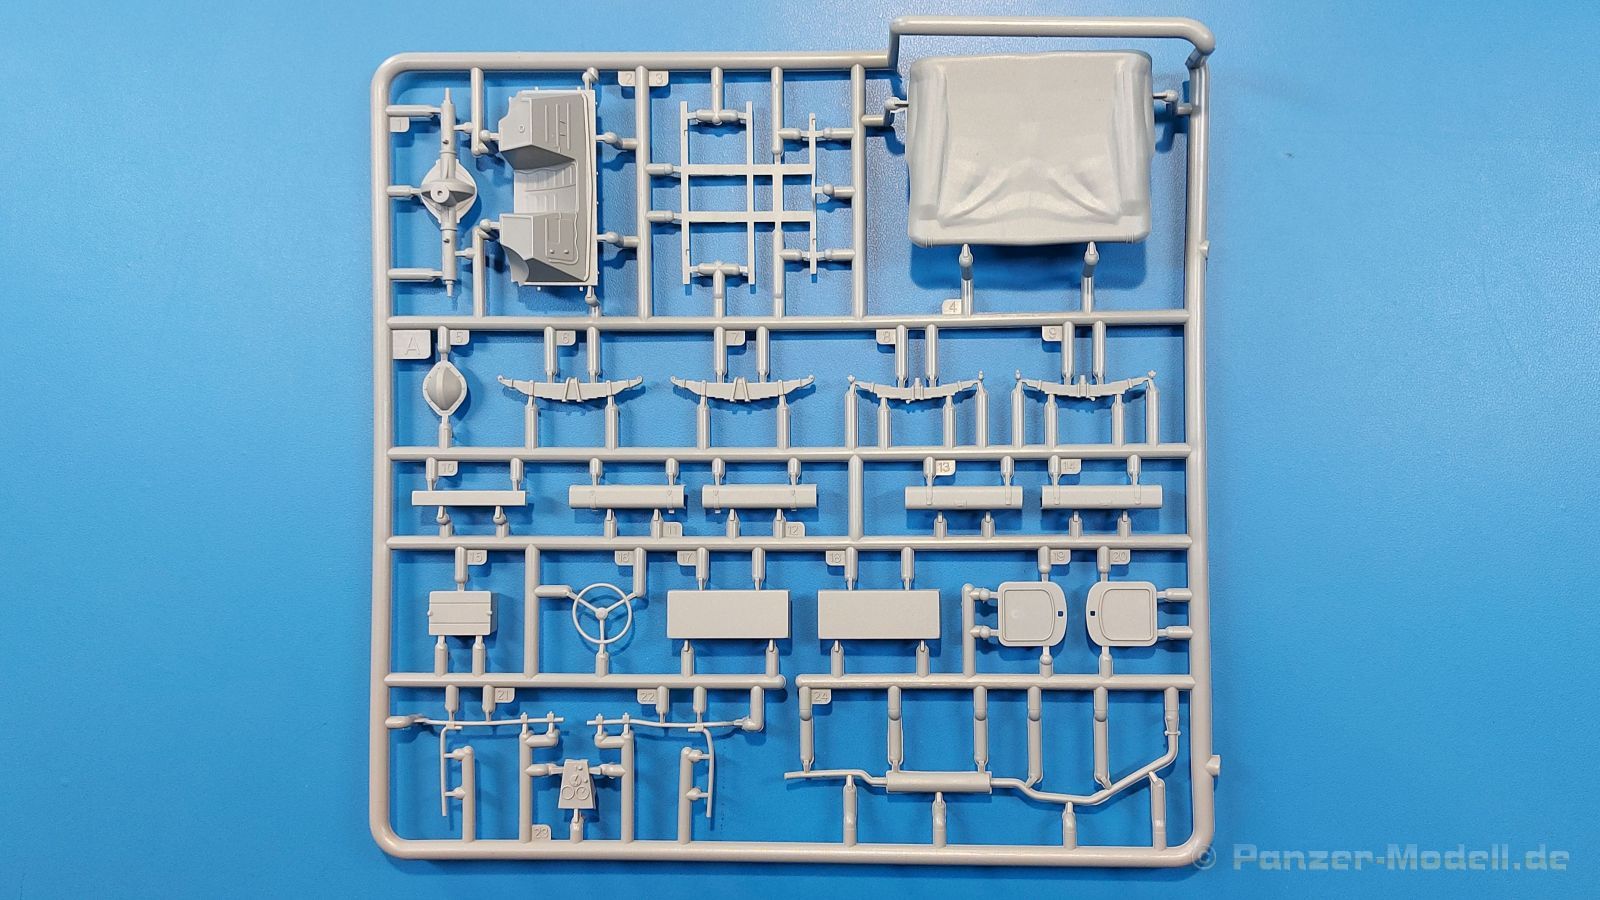
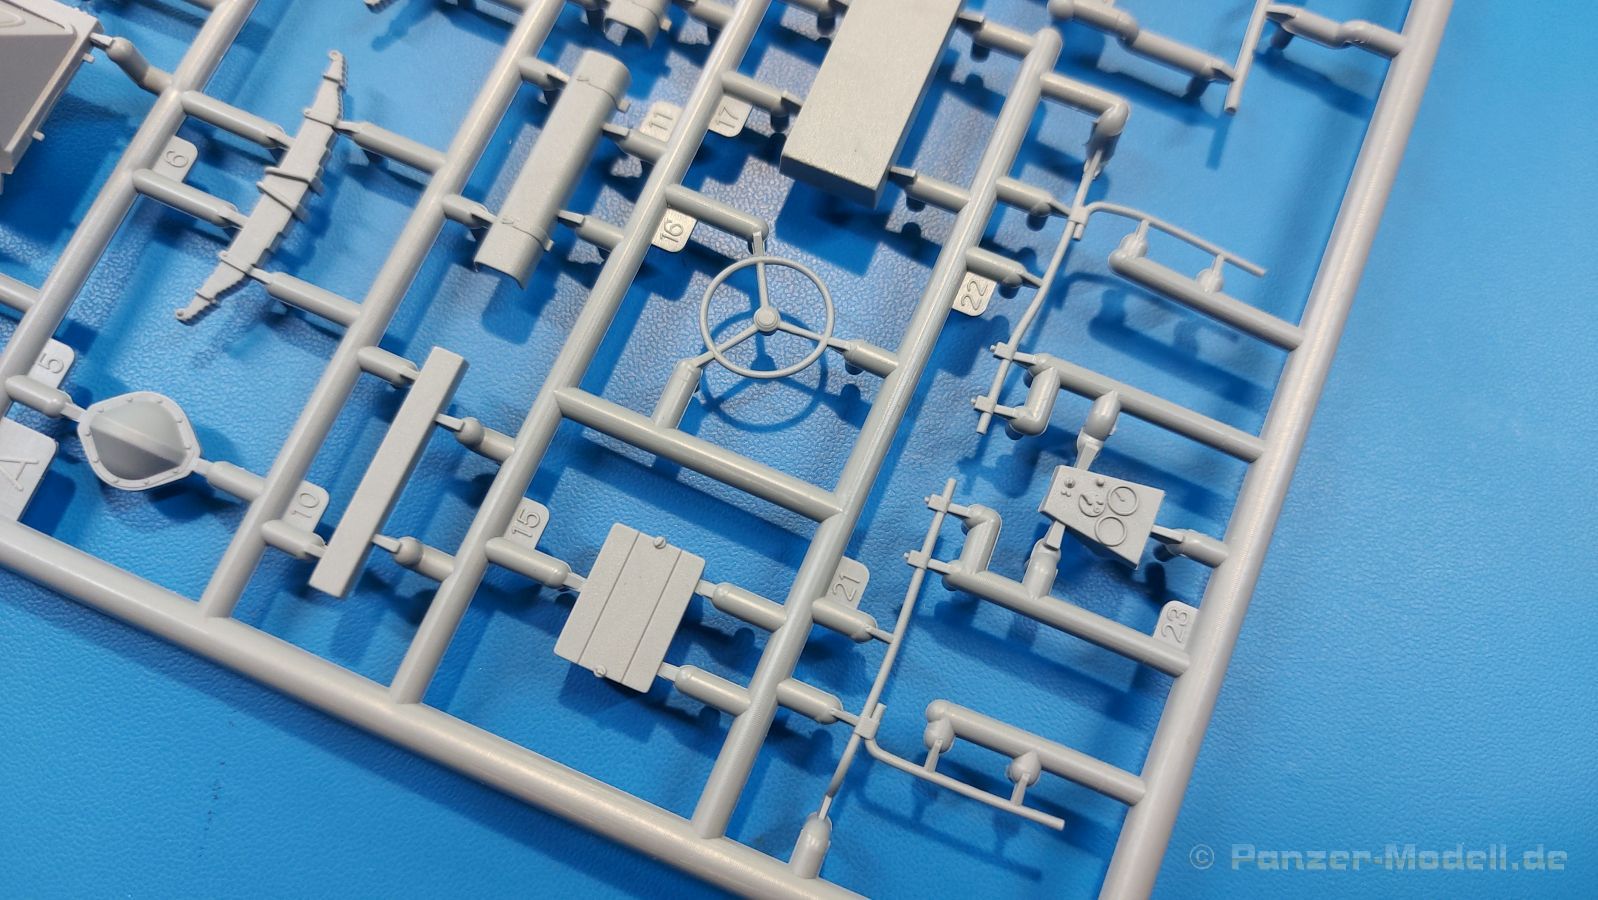
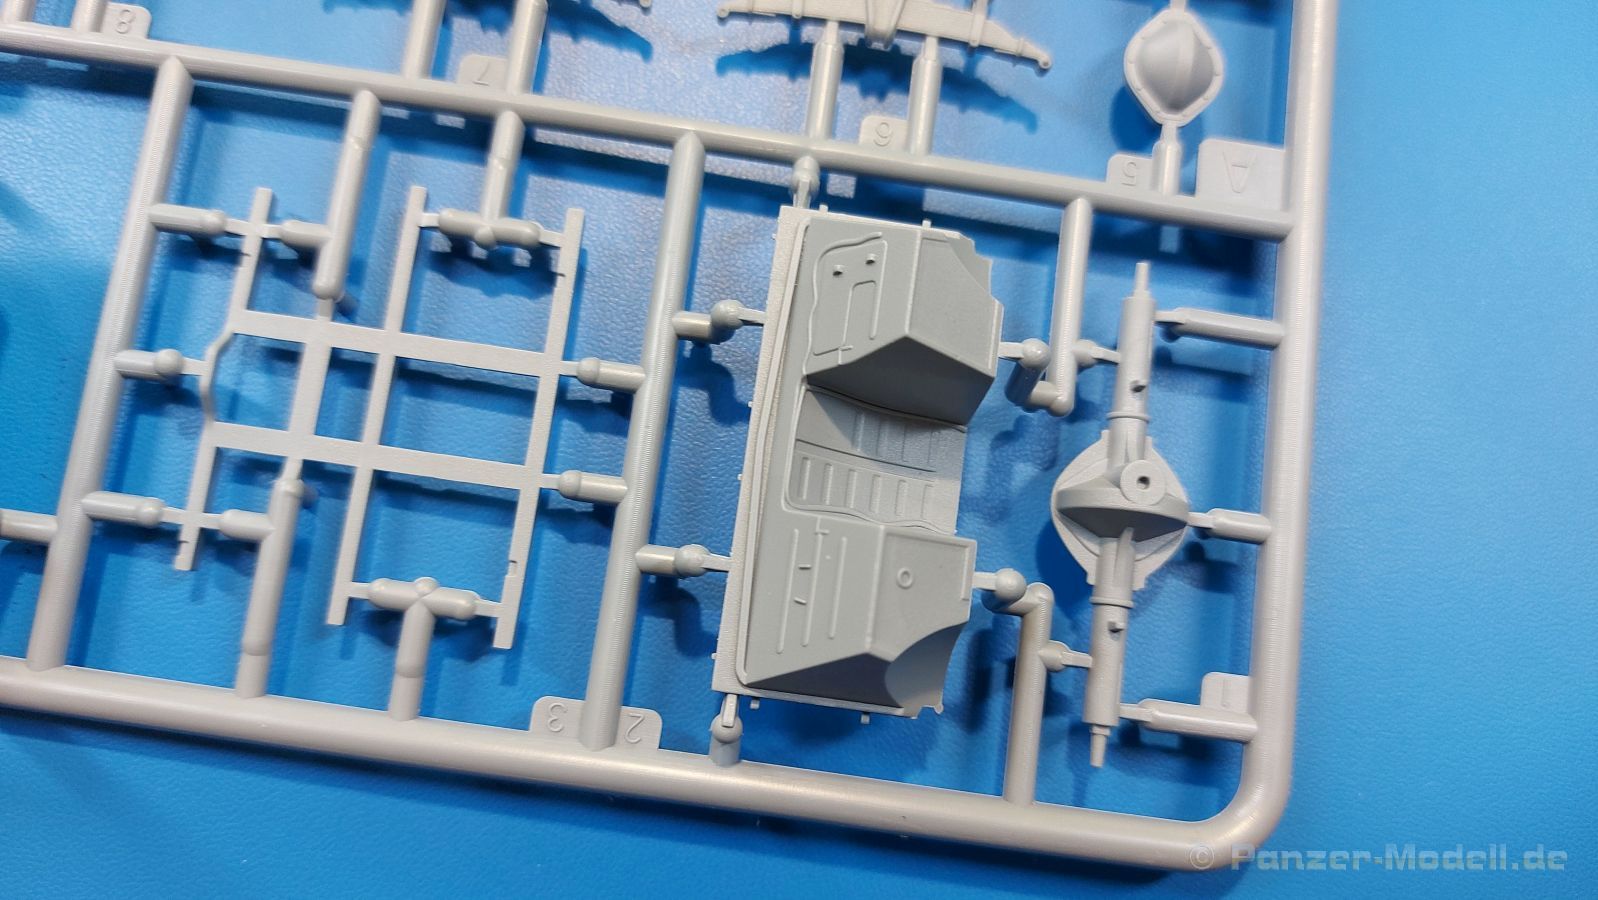
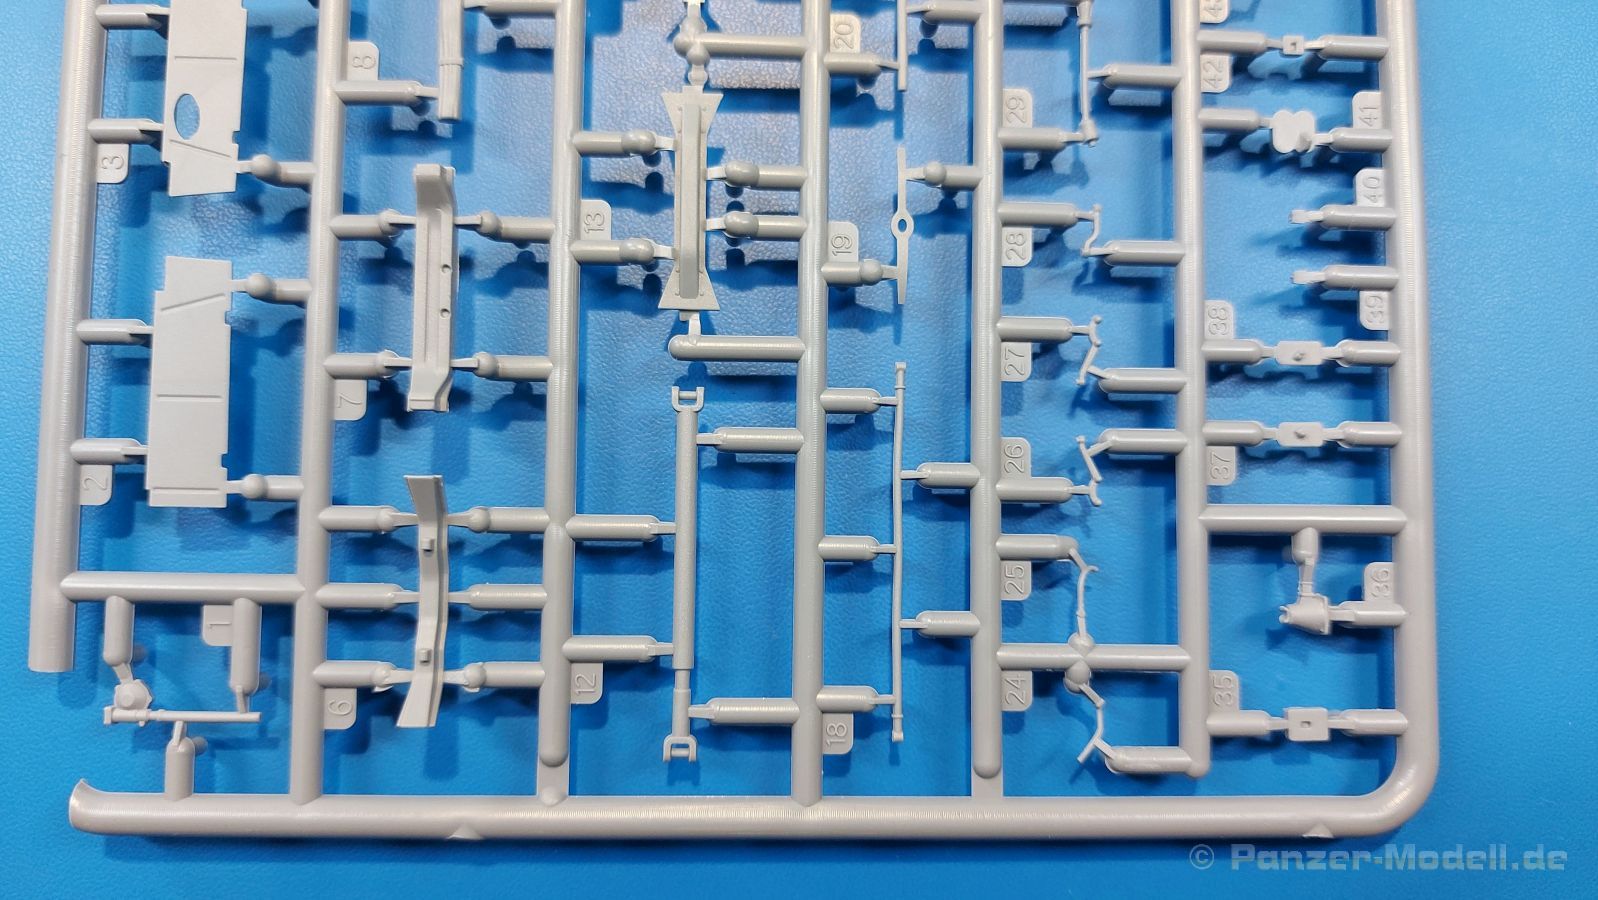
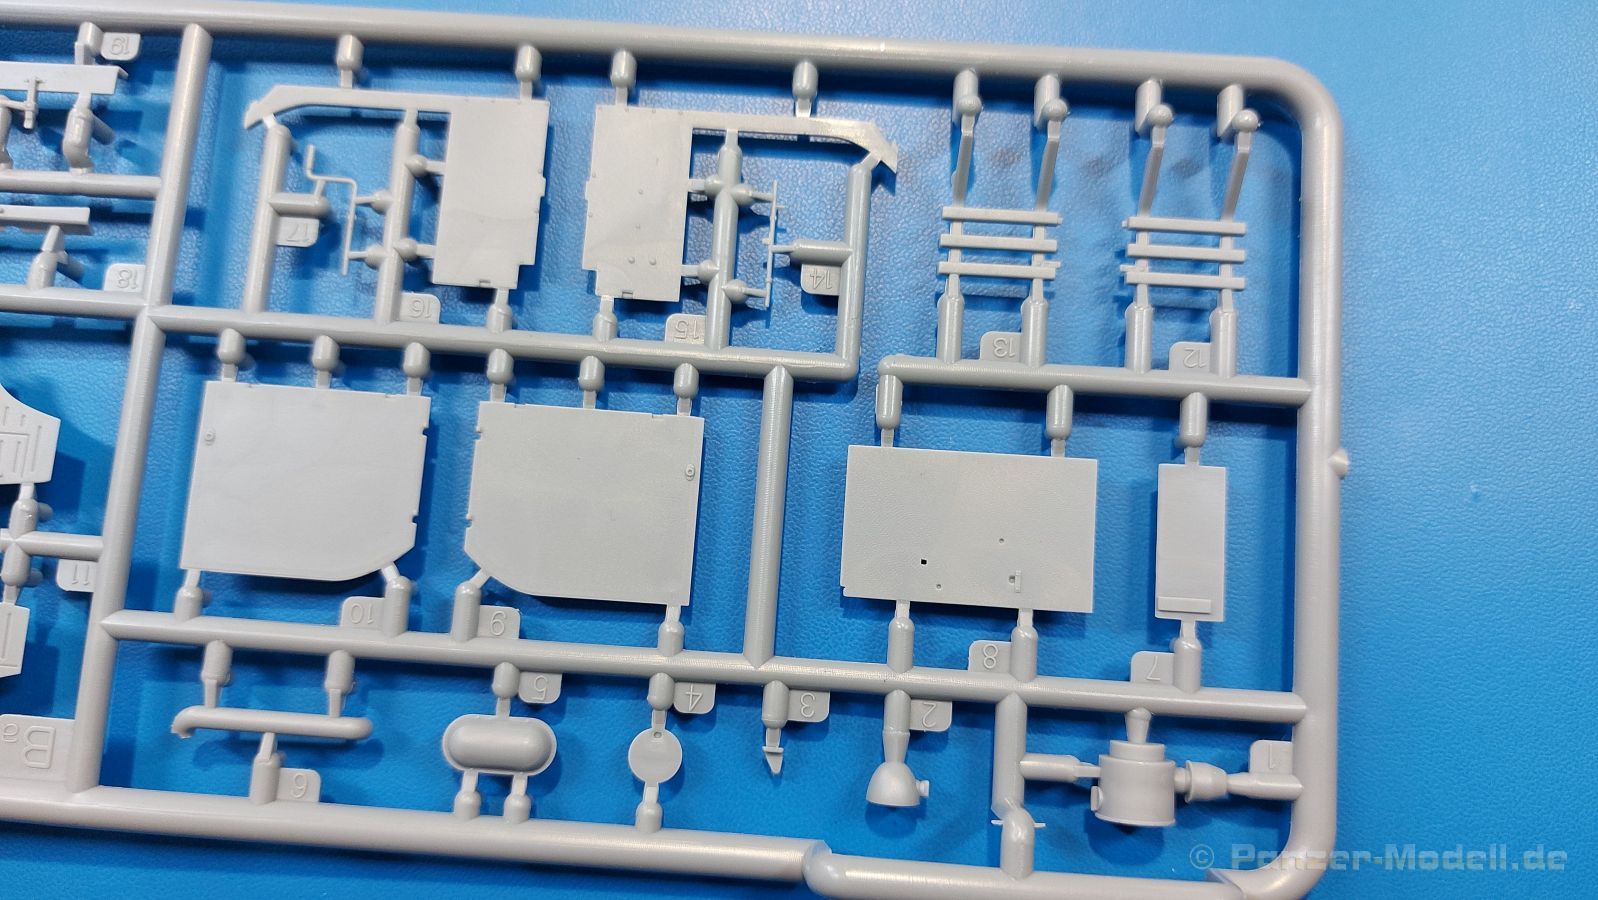
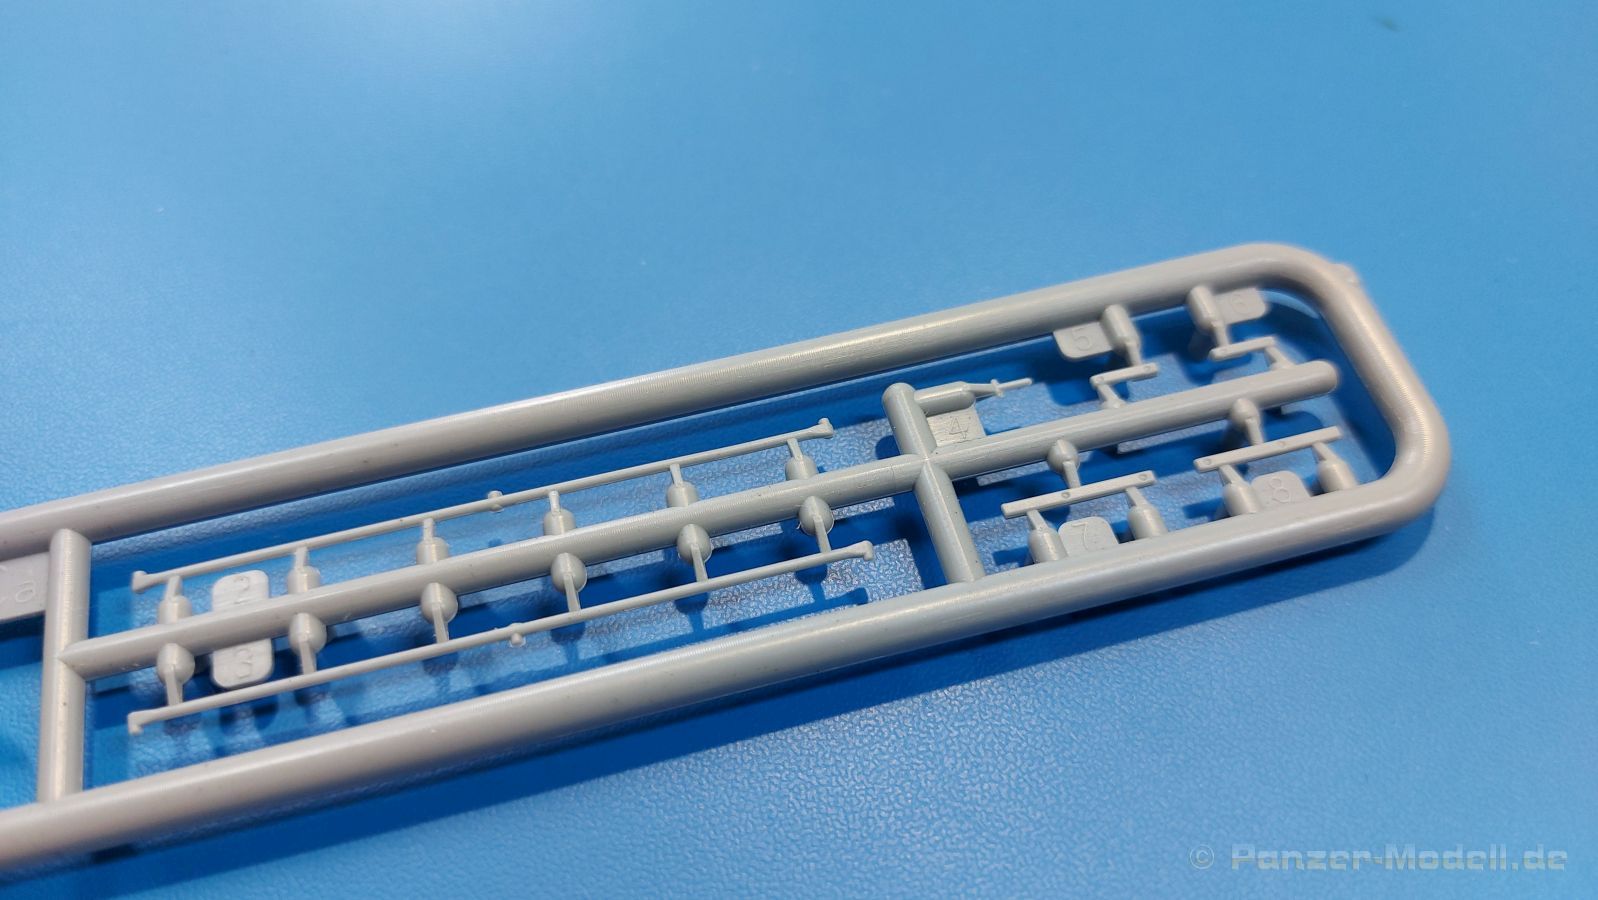
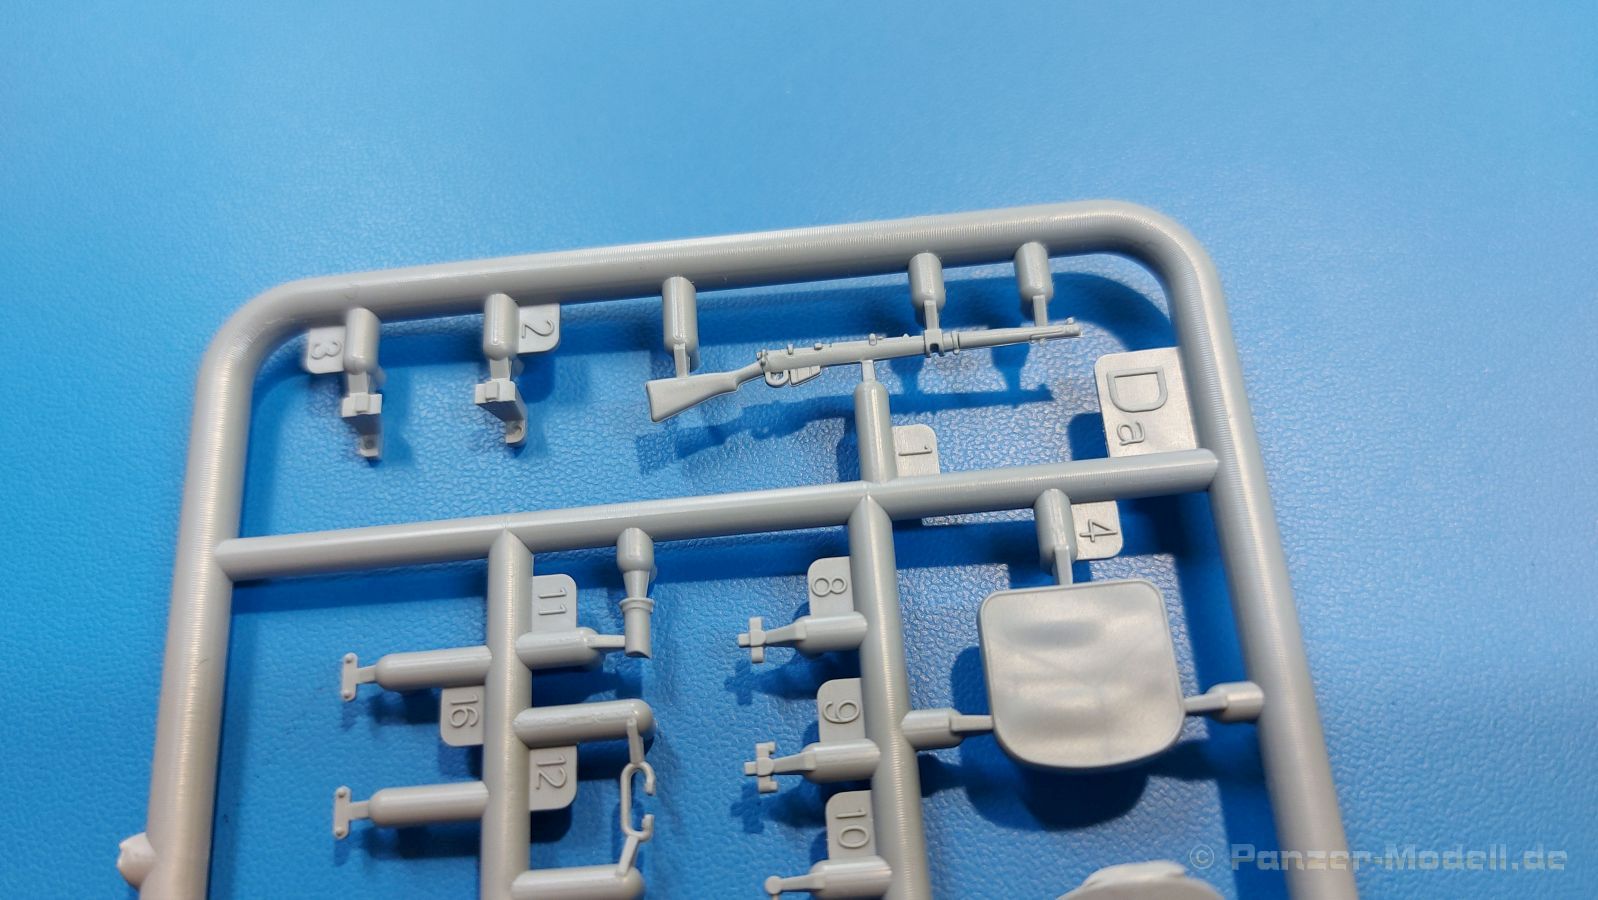
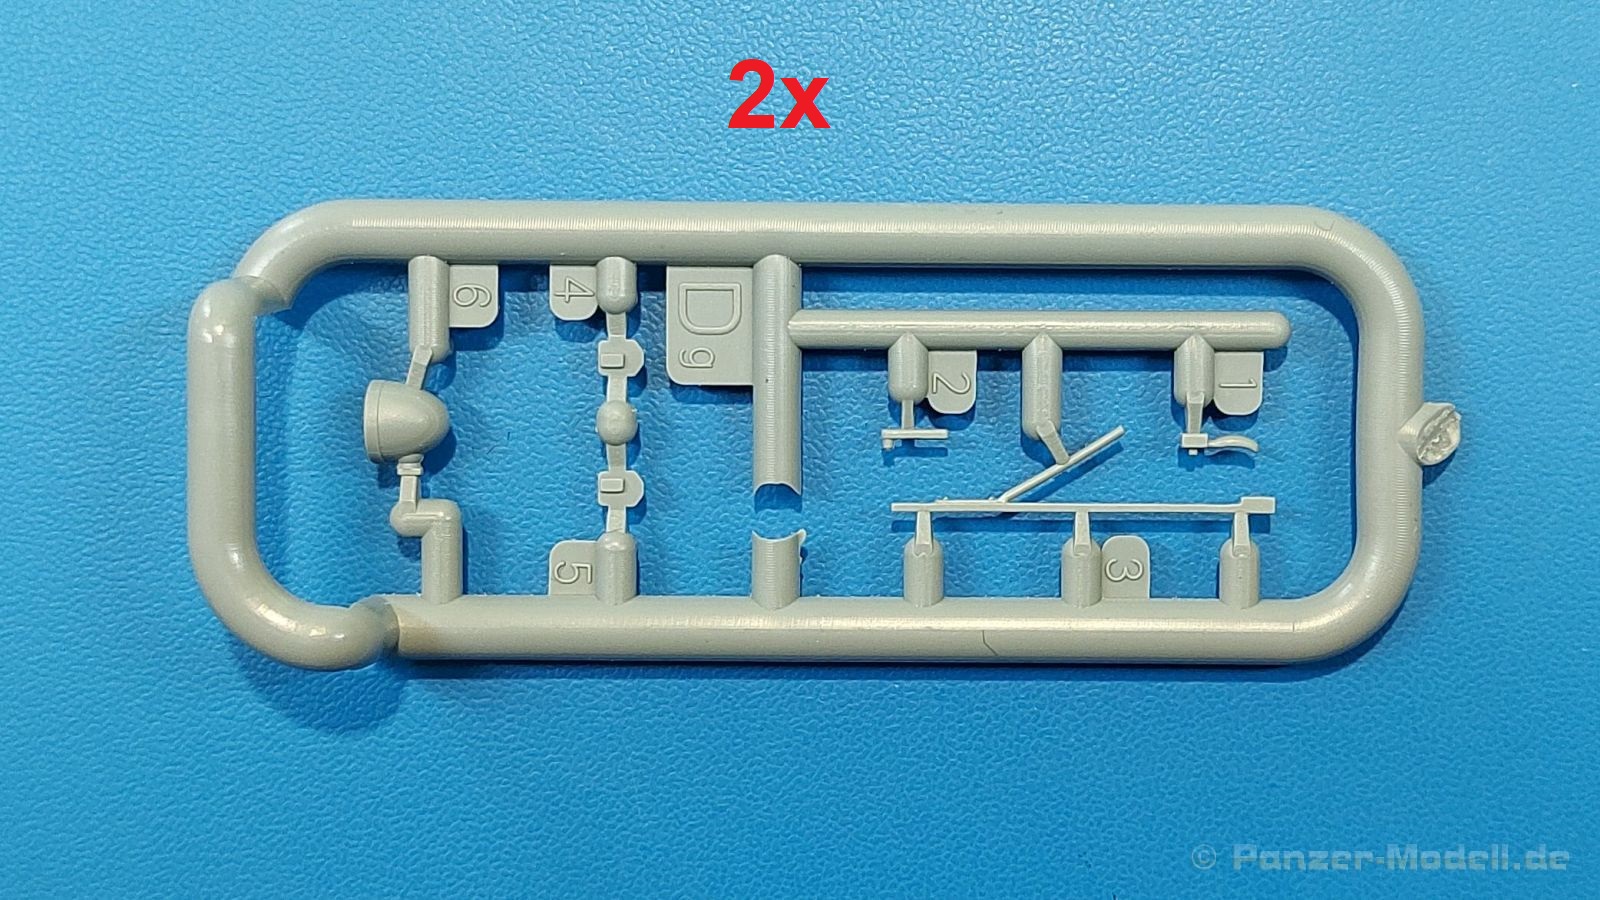
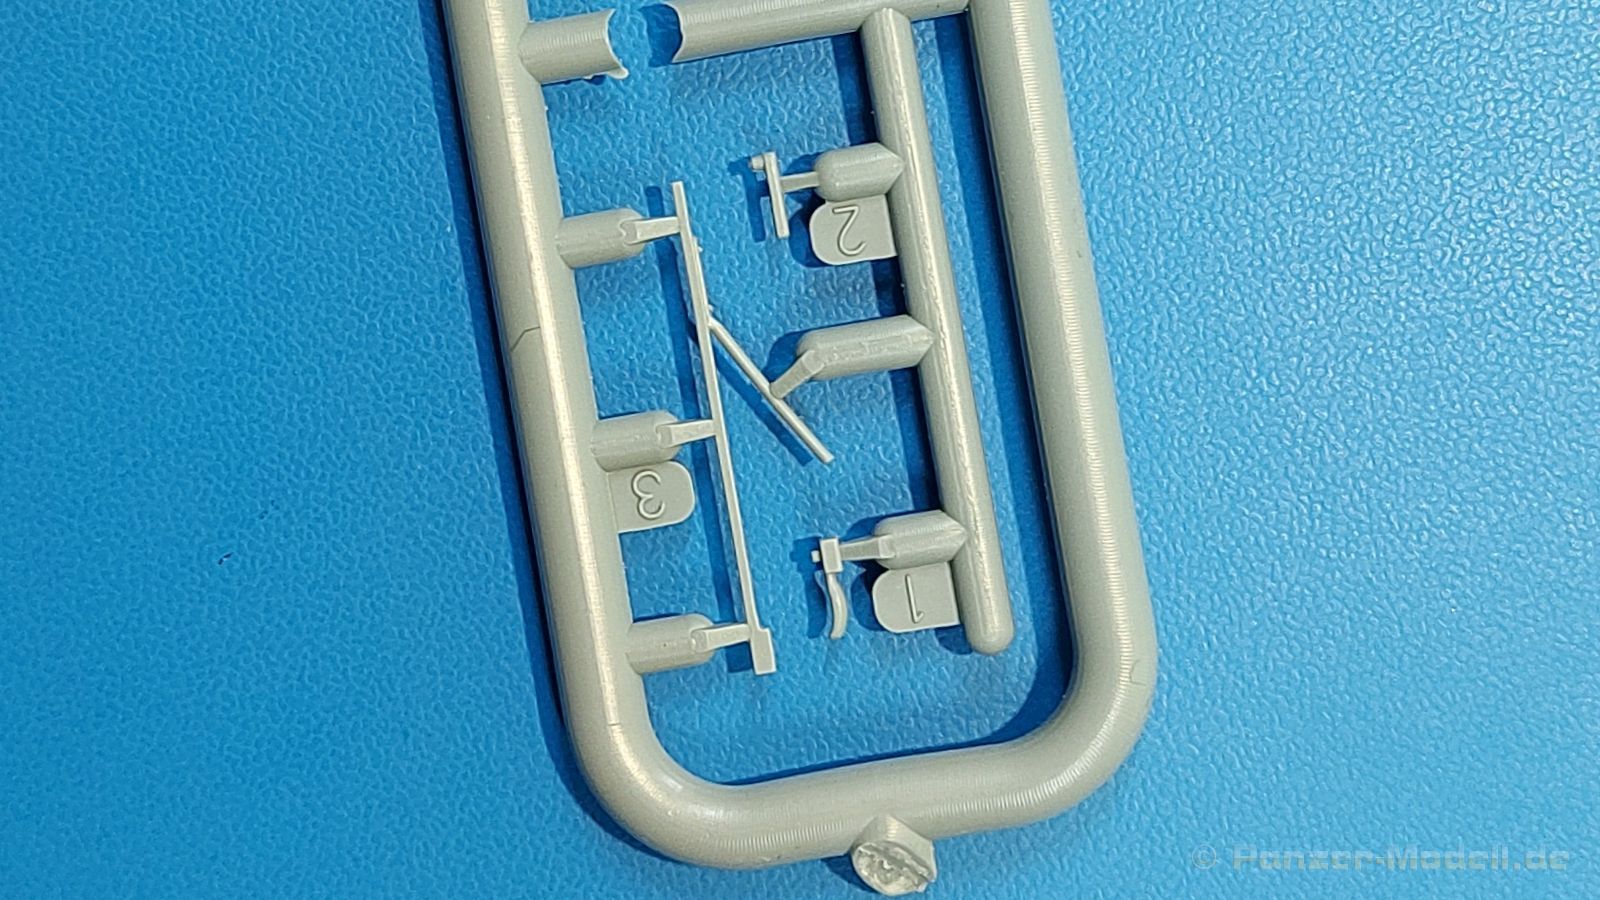
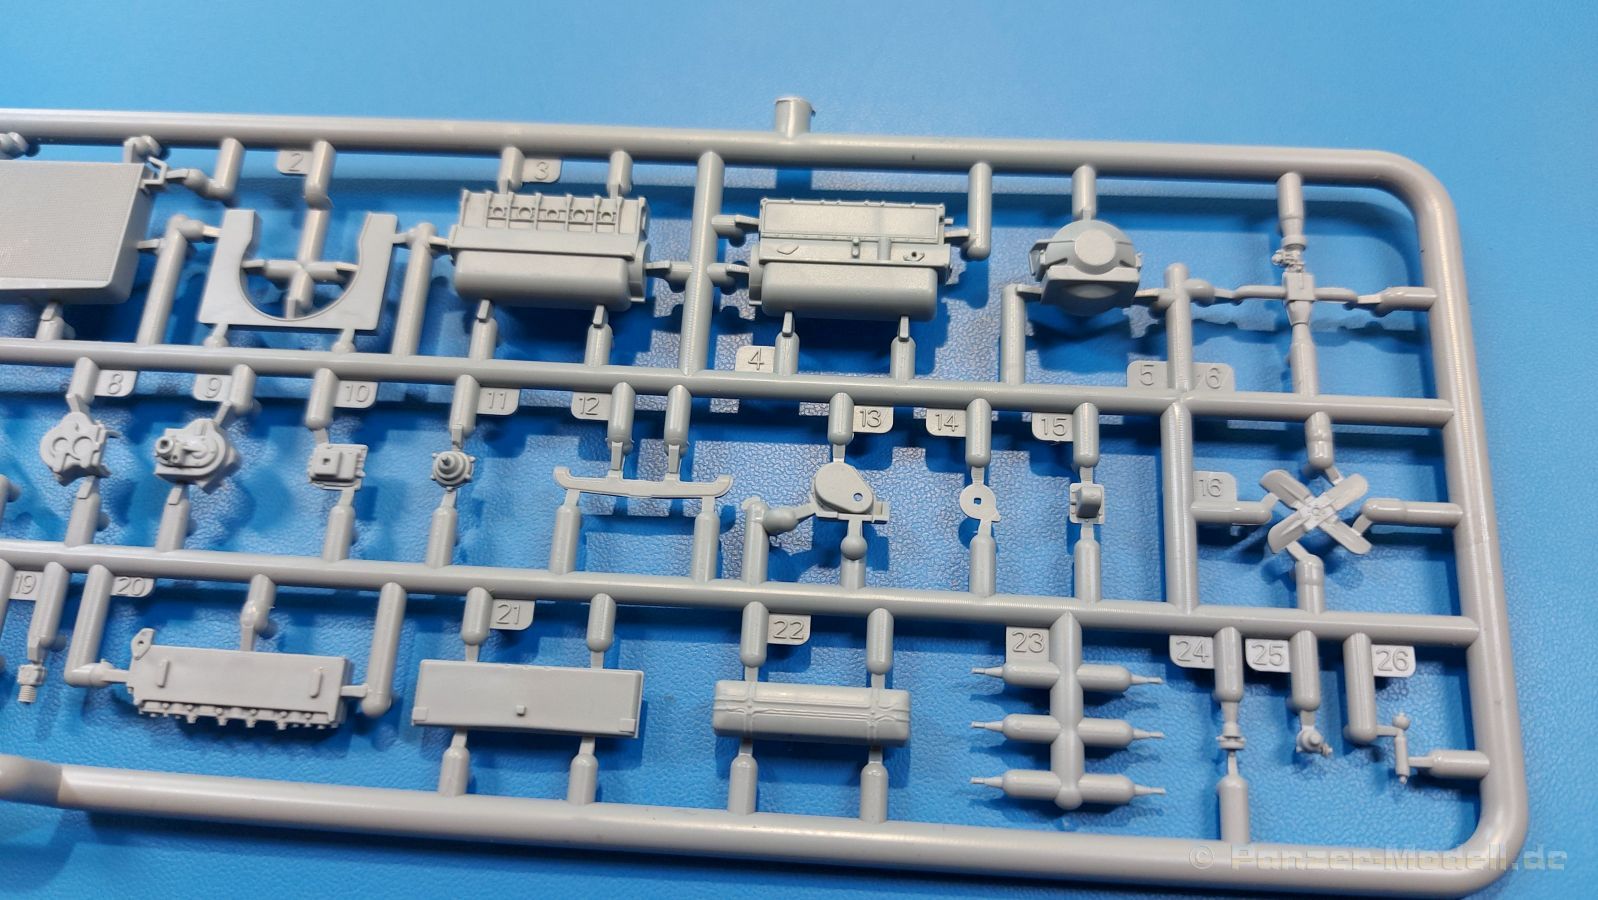
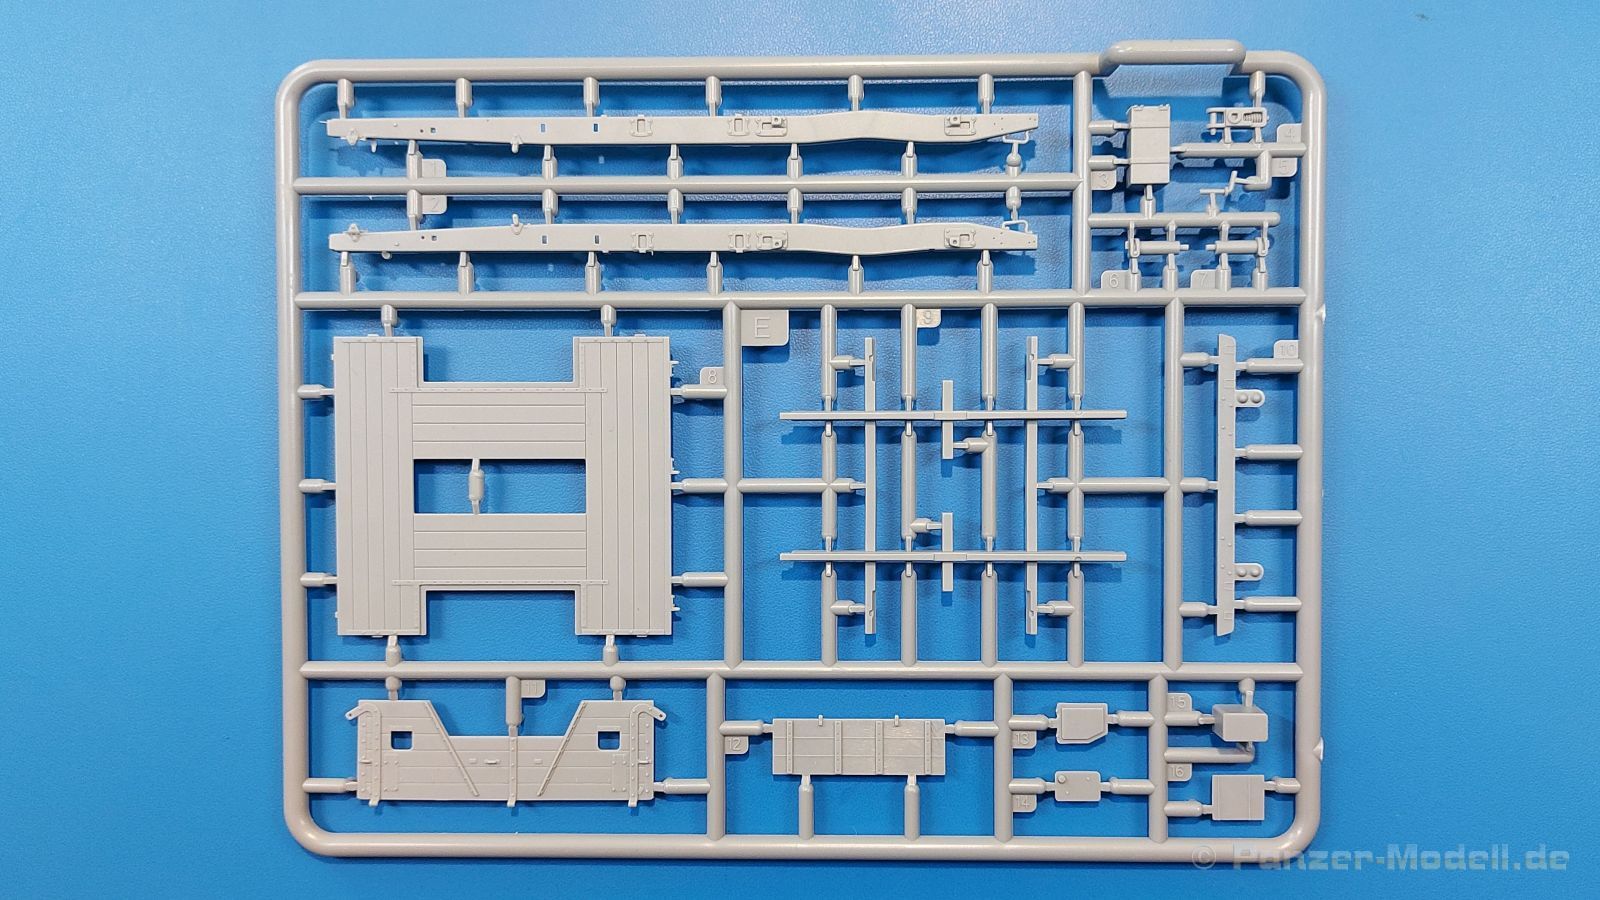
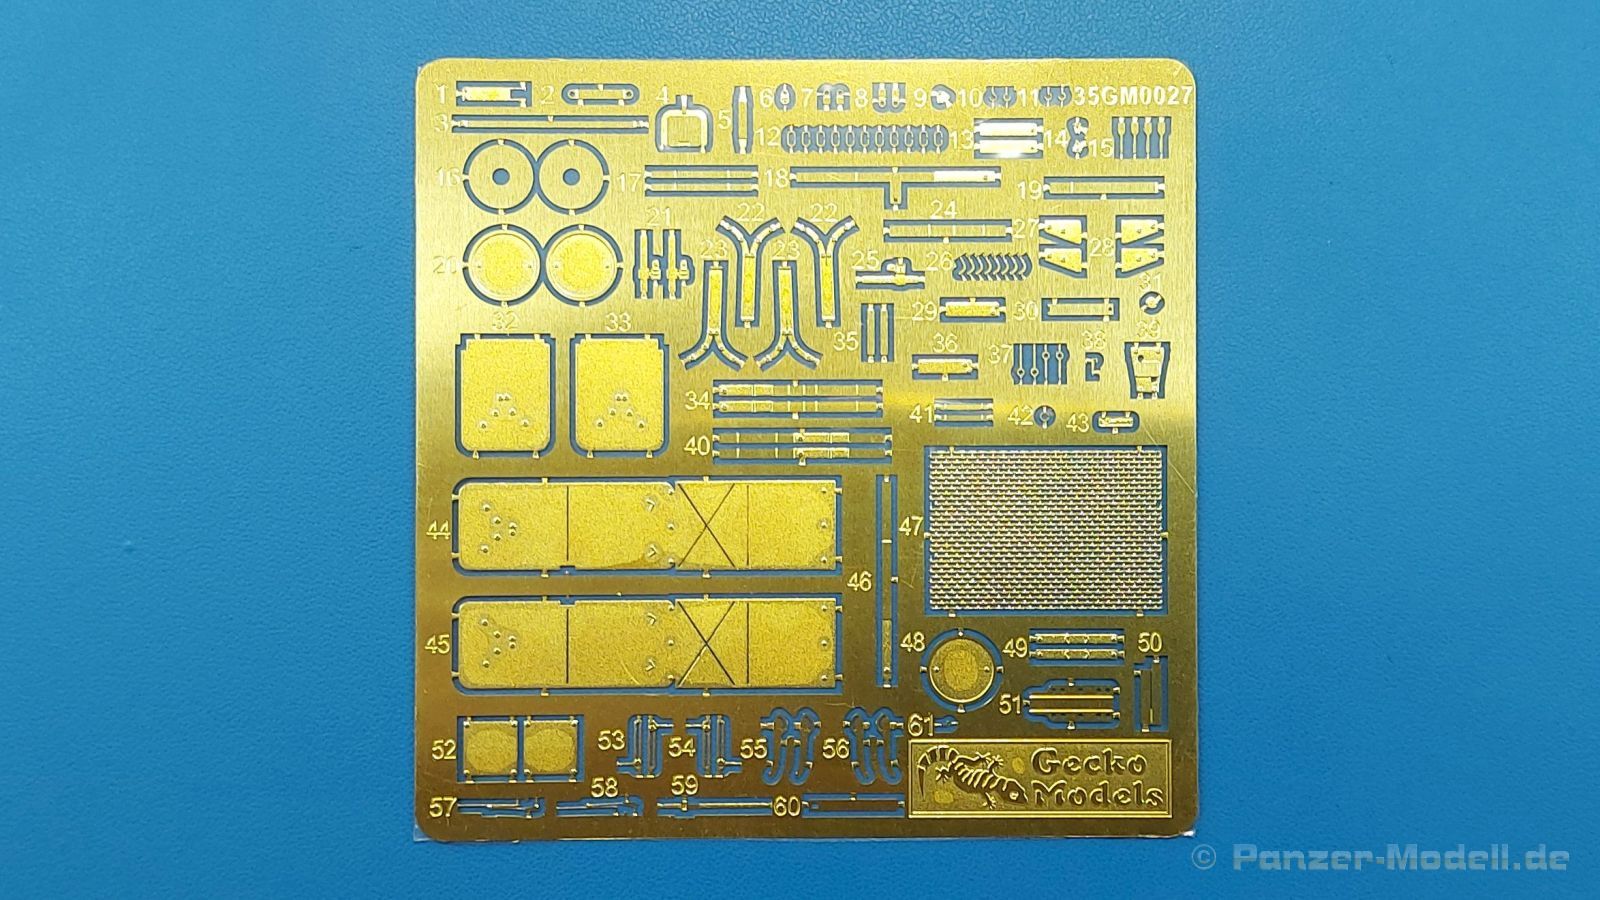
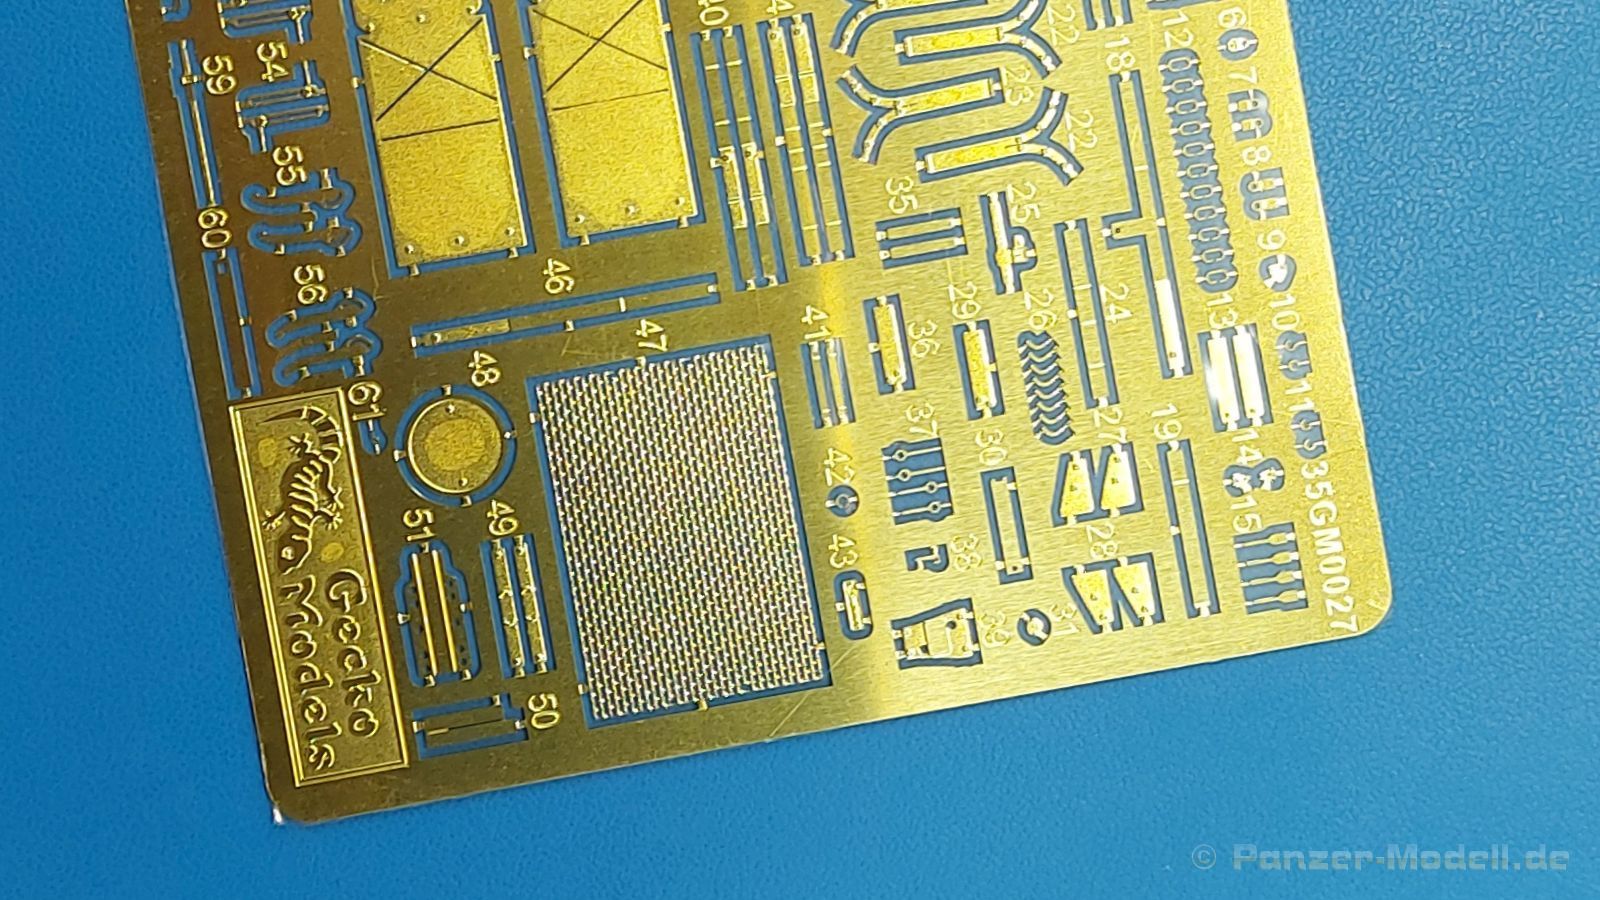
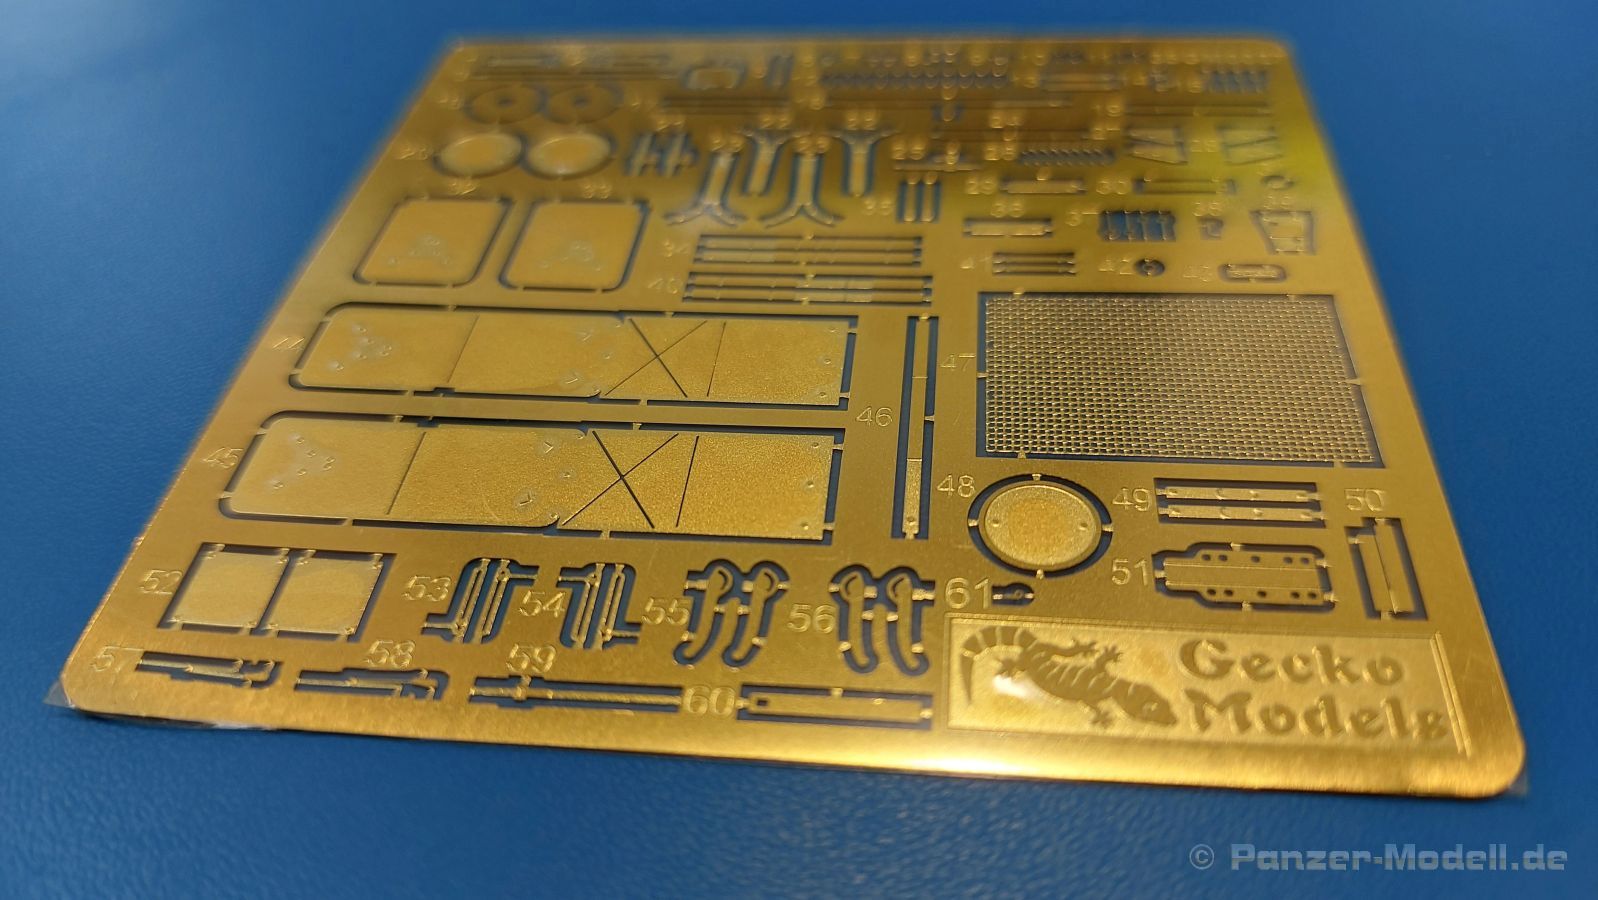
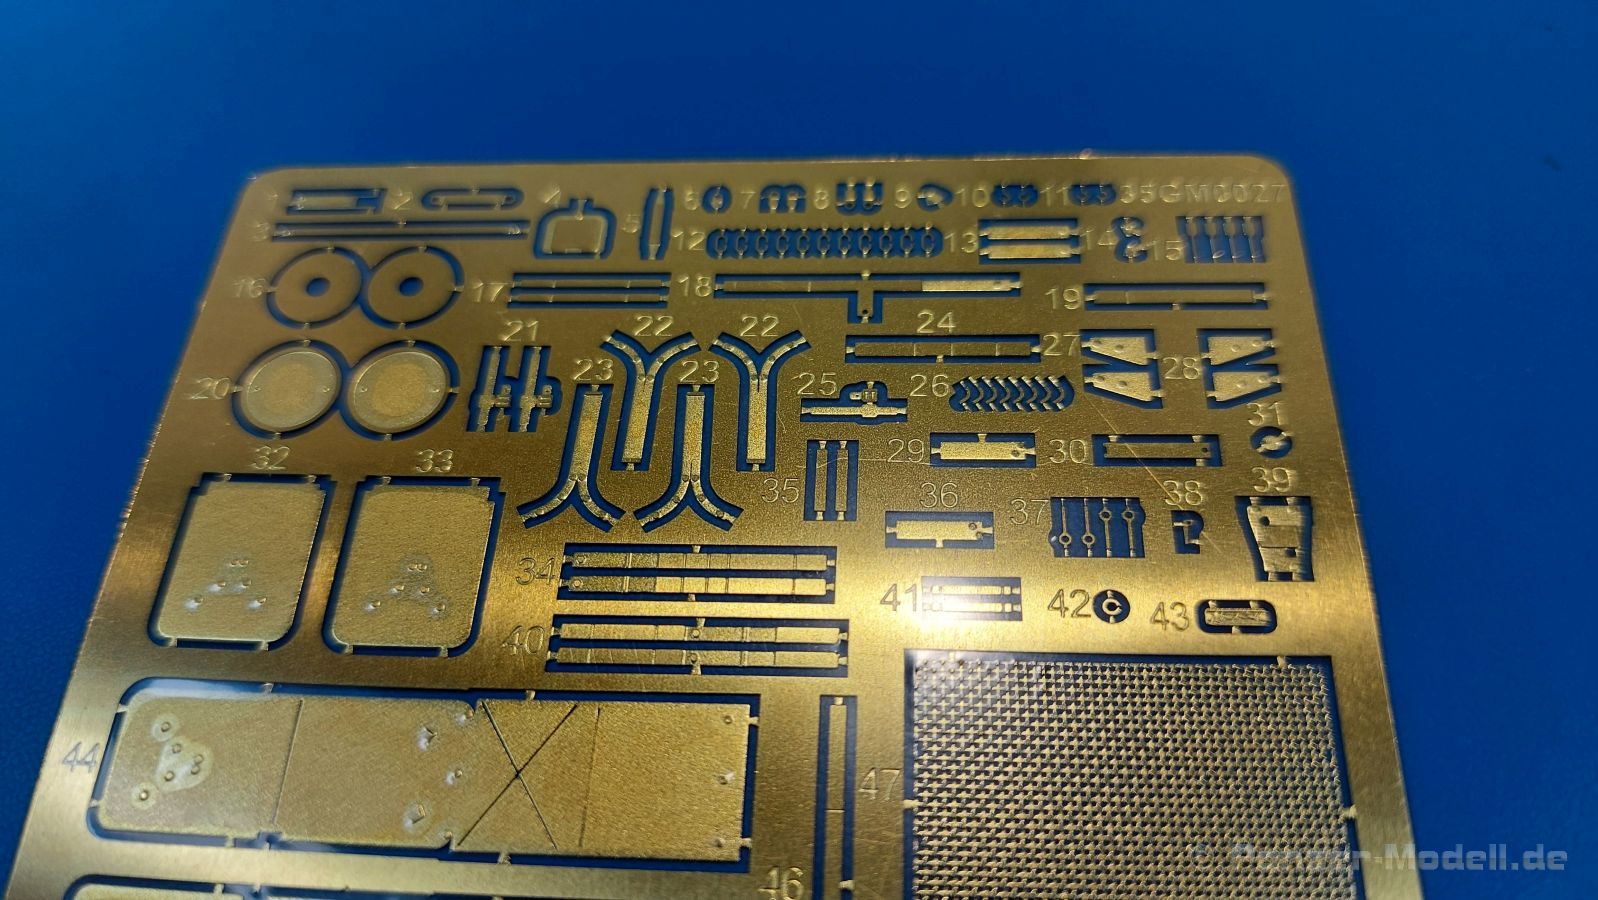
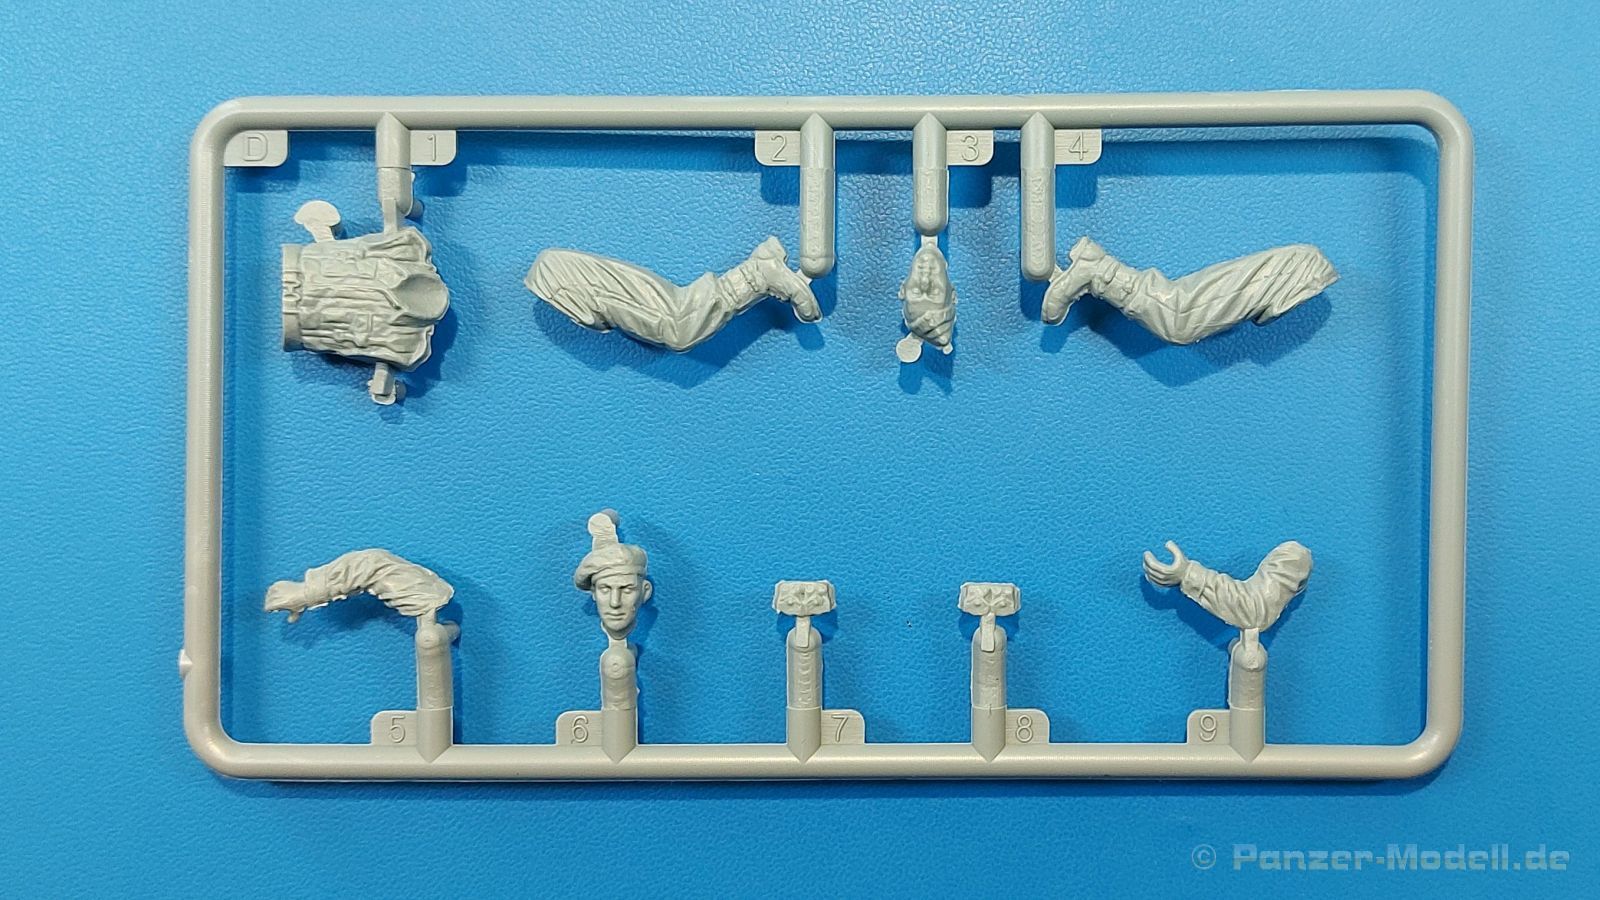
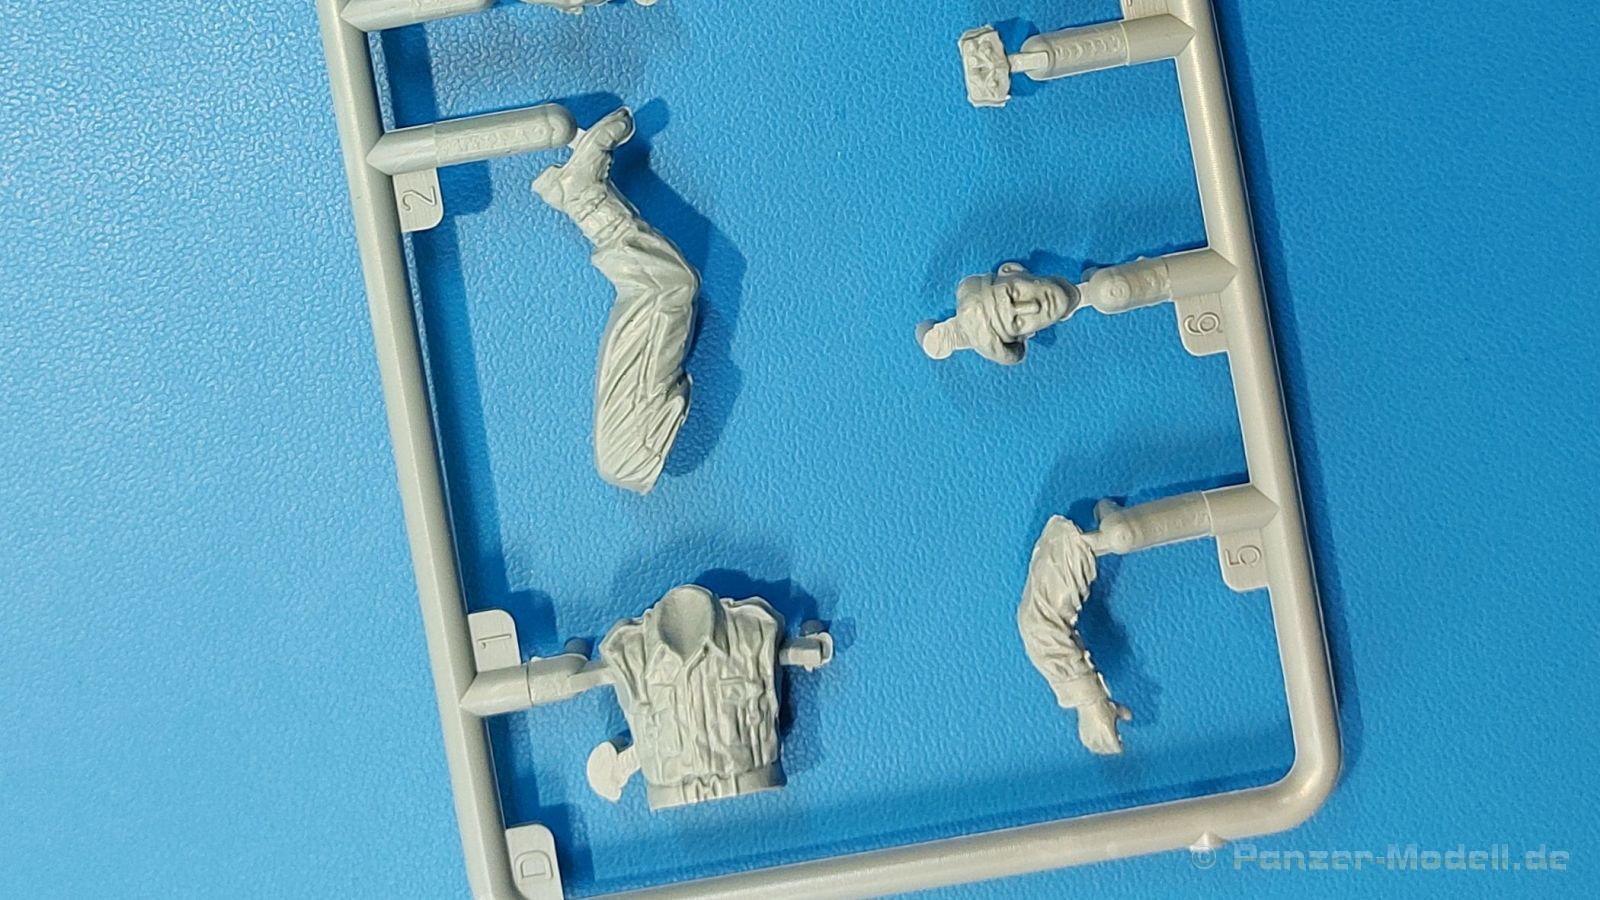
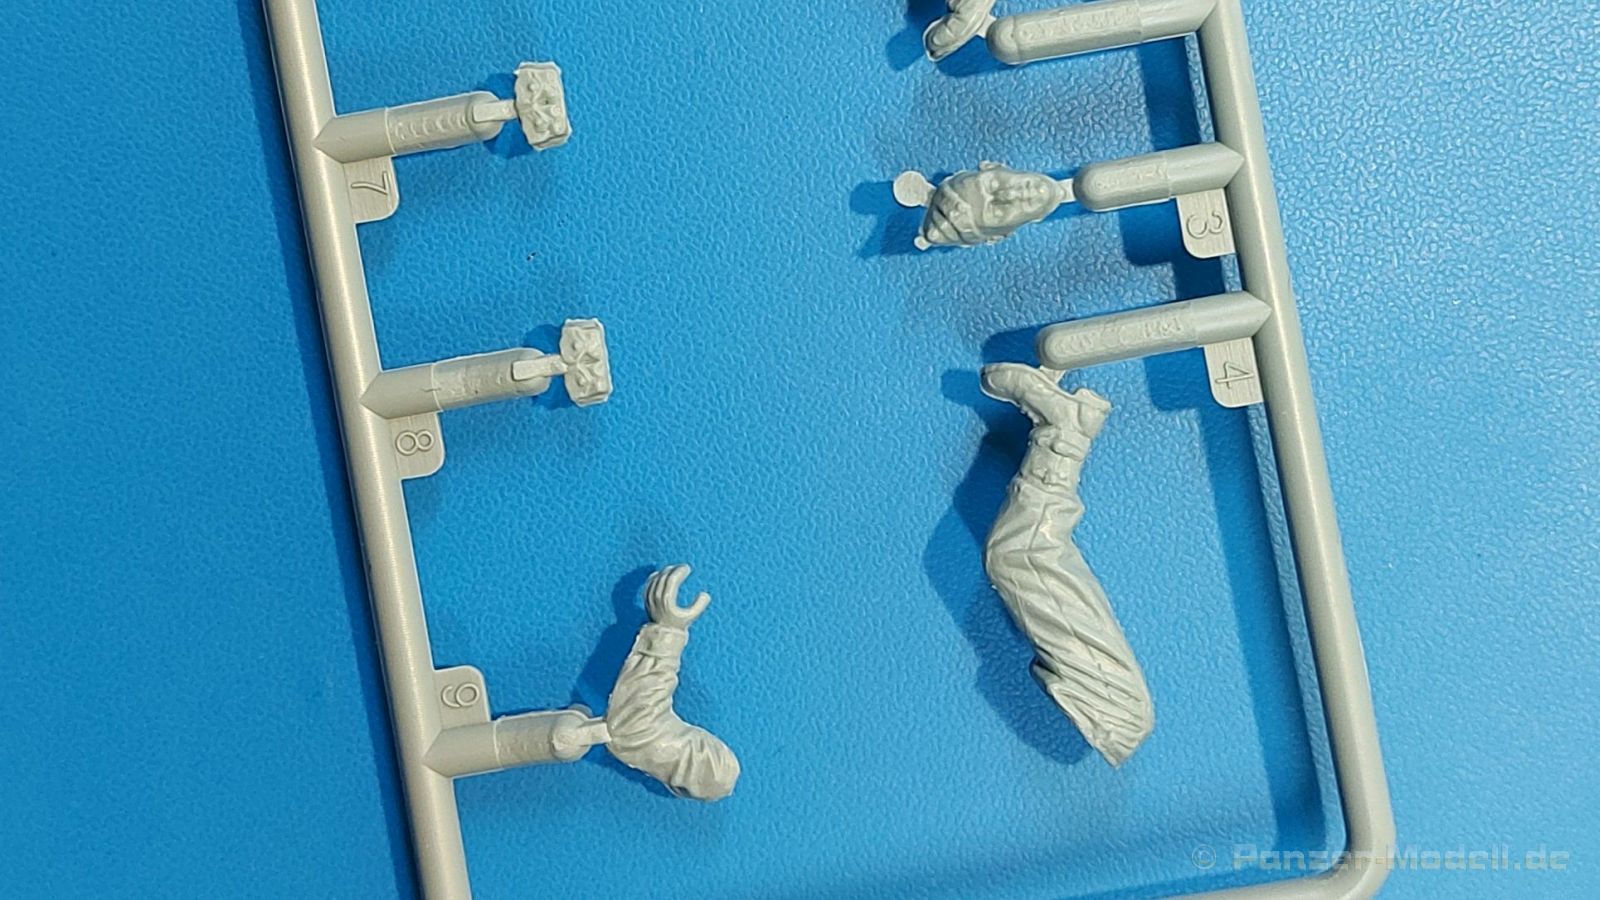
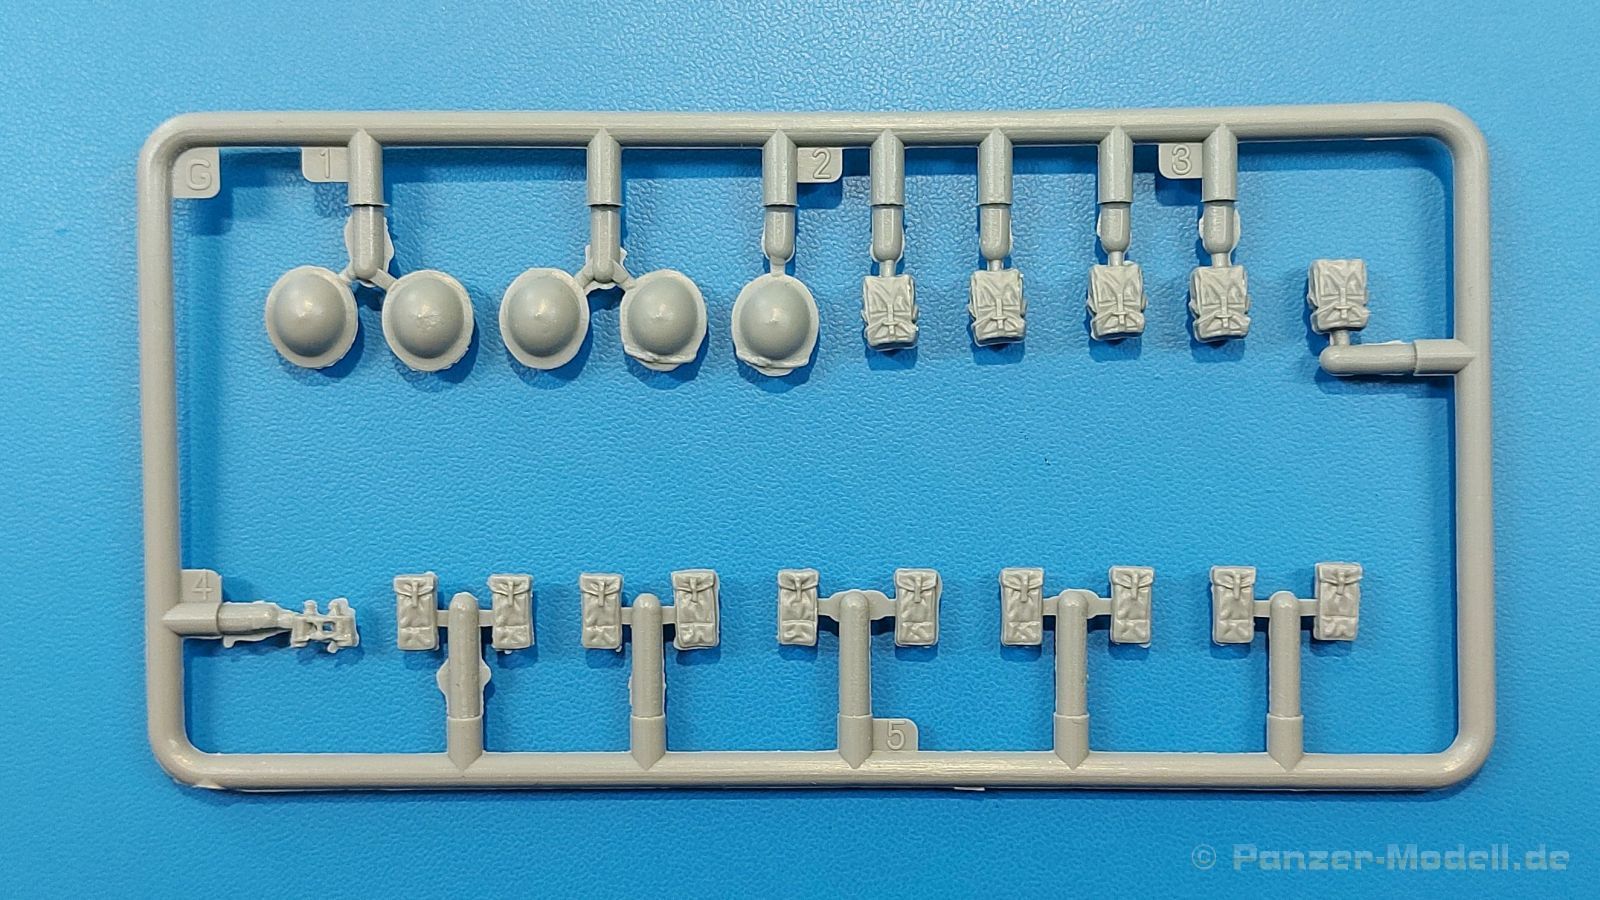
In the 330 x 190 x 90 mm cardboard box we find a transparent, 19 light gray injection molded sprues, 5 tires, 1 PE sheet, a thread and decals for the vehicle. In addition, there are 3 light gray injection molded sprue for 1 figure and its equipment and a 32-page assembly instruction.
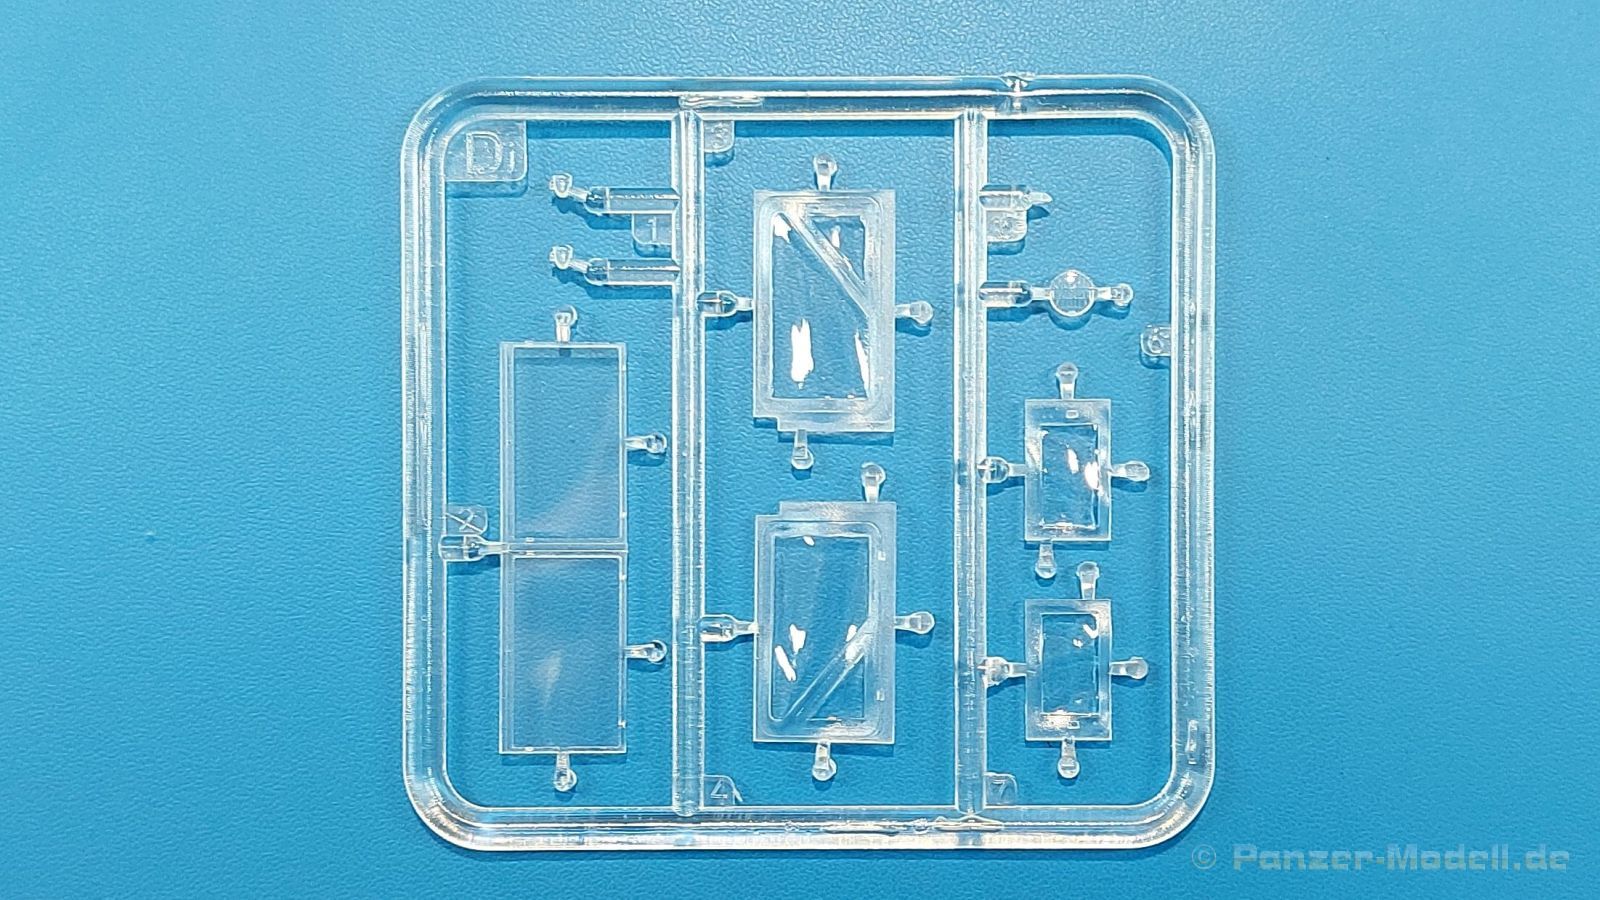
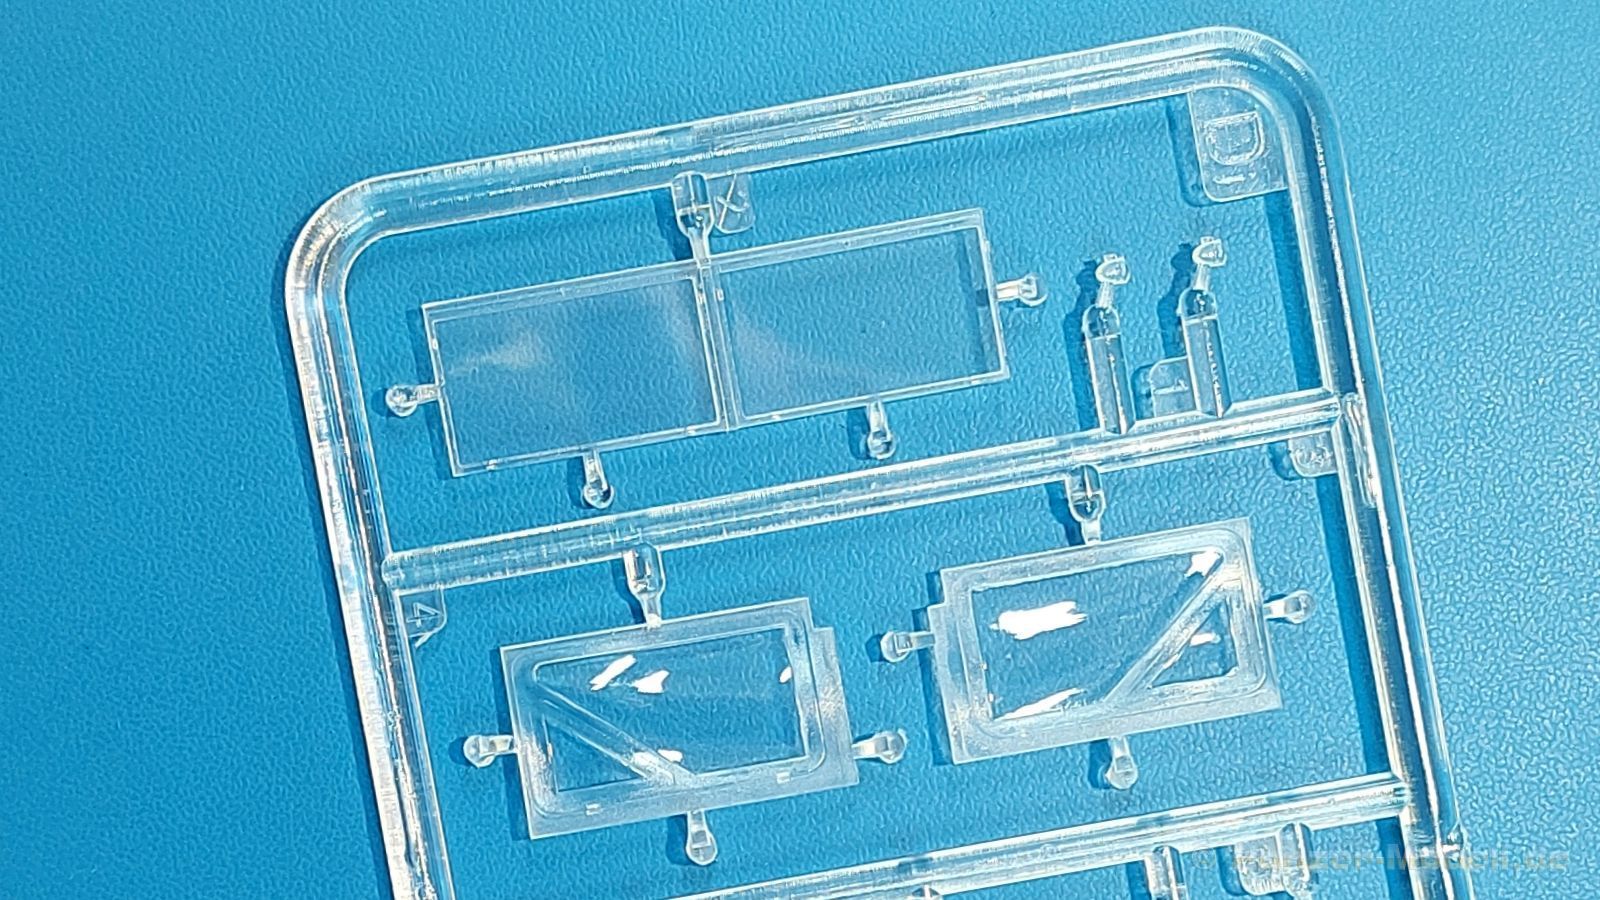
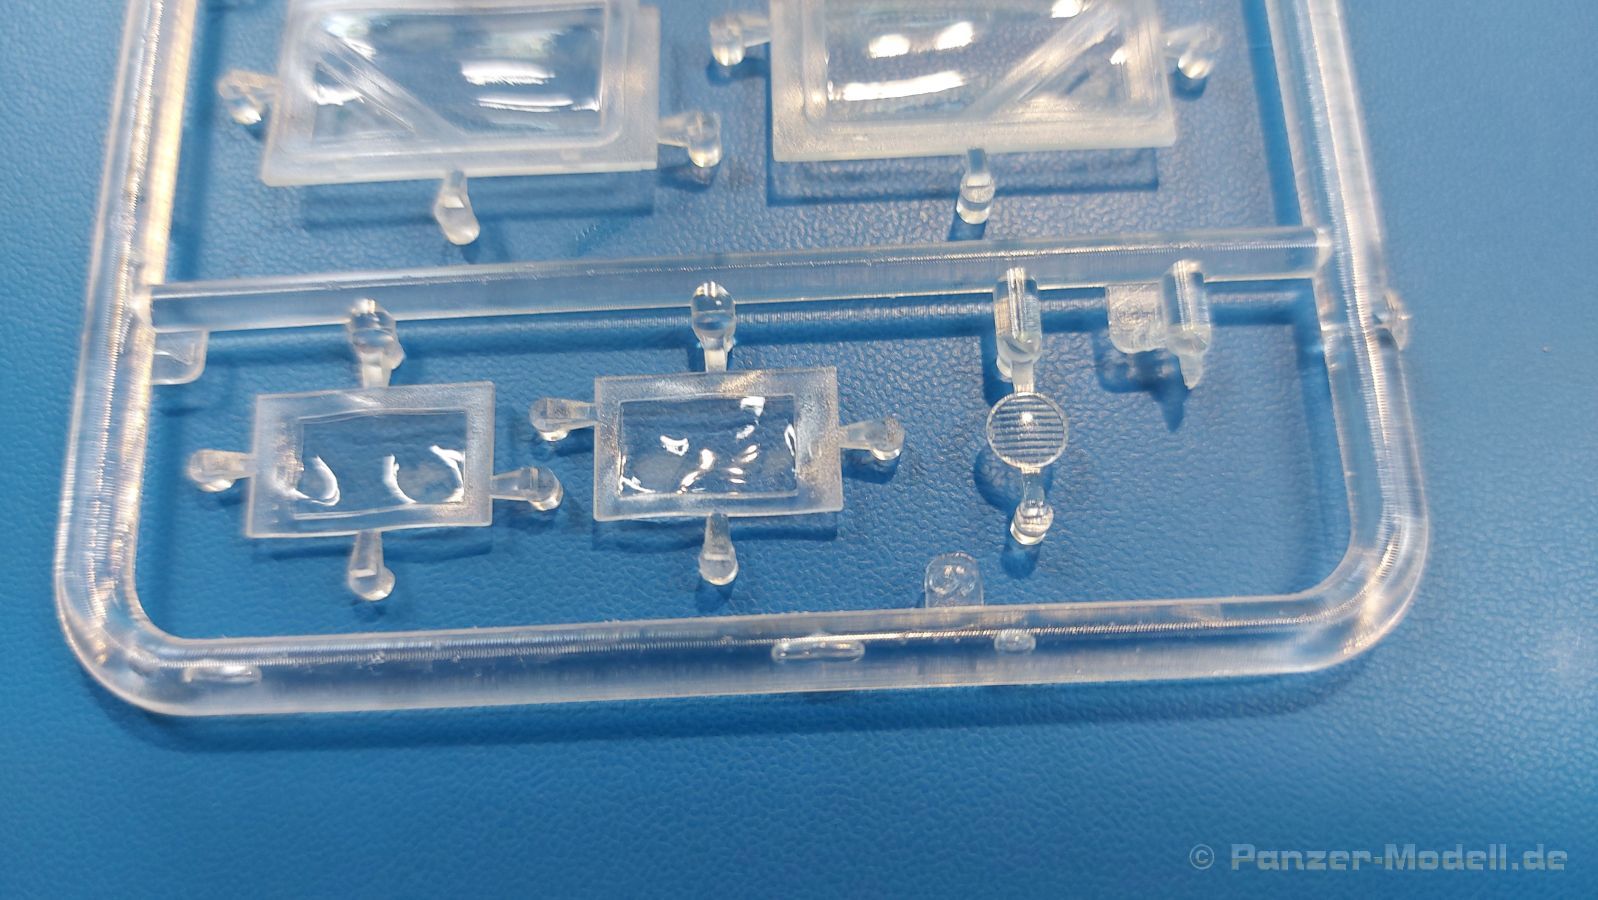
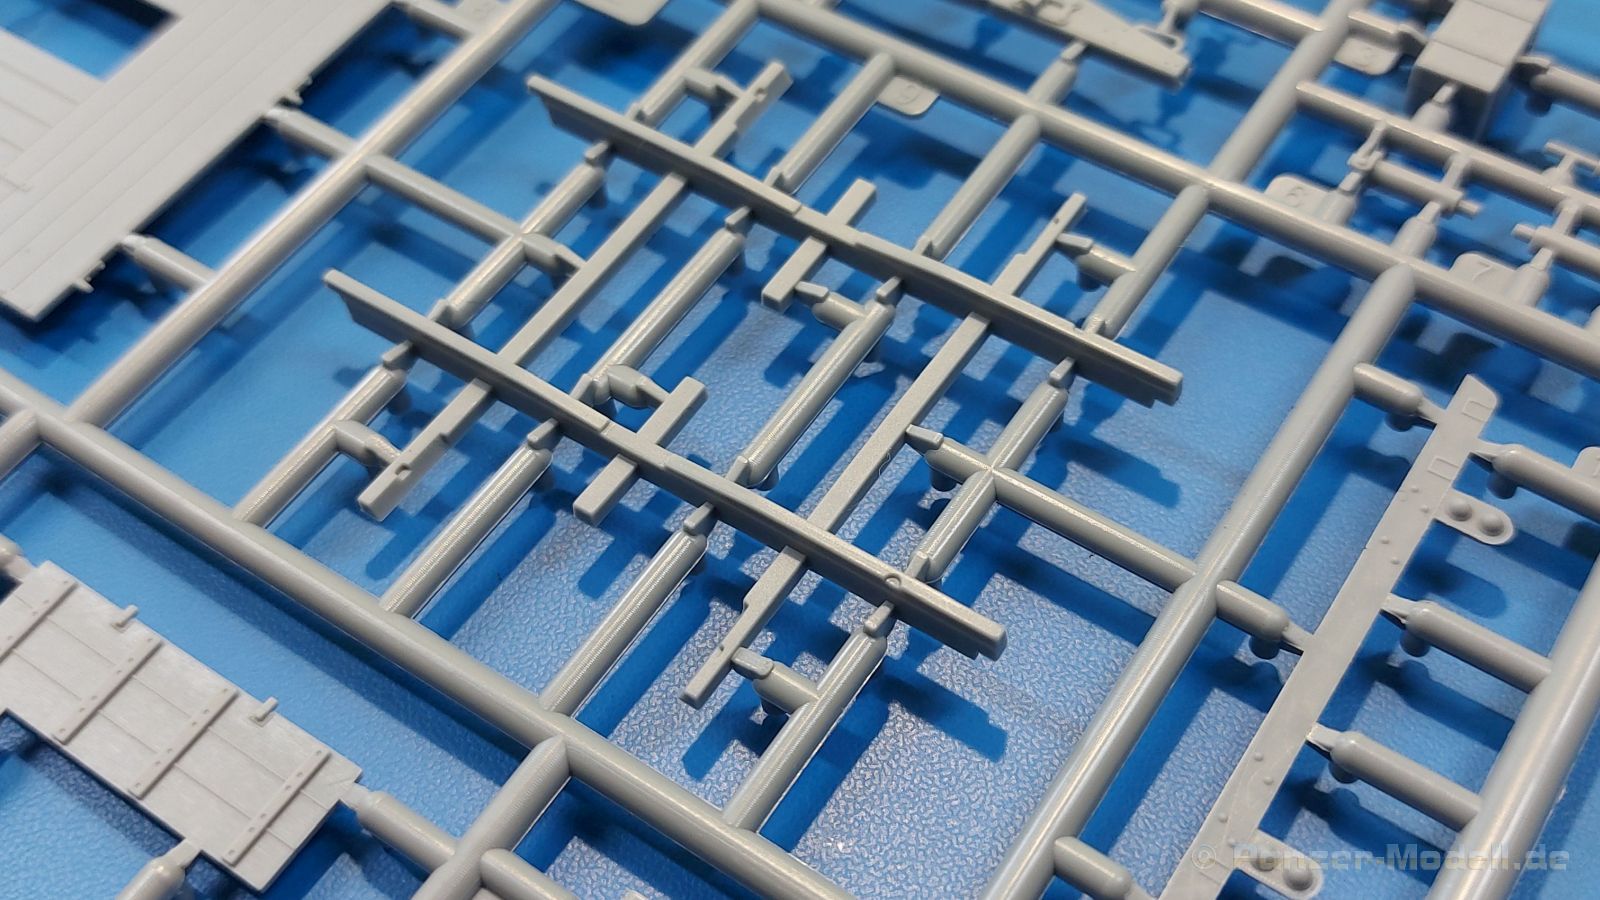
Small and easily accessible sprues make it easier to separate the molded part. Ejection marks can be found almost exclusively on the casting branches, and otherwise only in small numbers and flat on a few parts. And only in places that are no longer noticeable after assembly. The clear parts are crystal clear where they should be. There is a minimal burr, which can hardly be found with the naked eye, but it is not a problem.
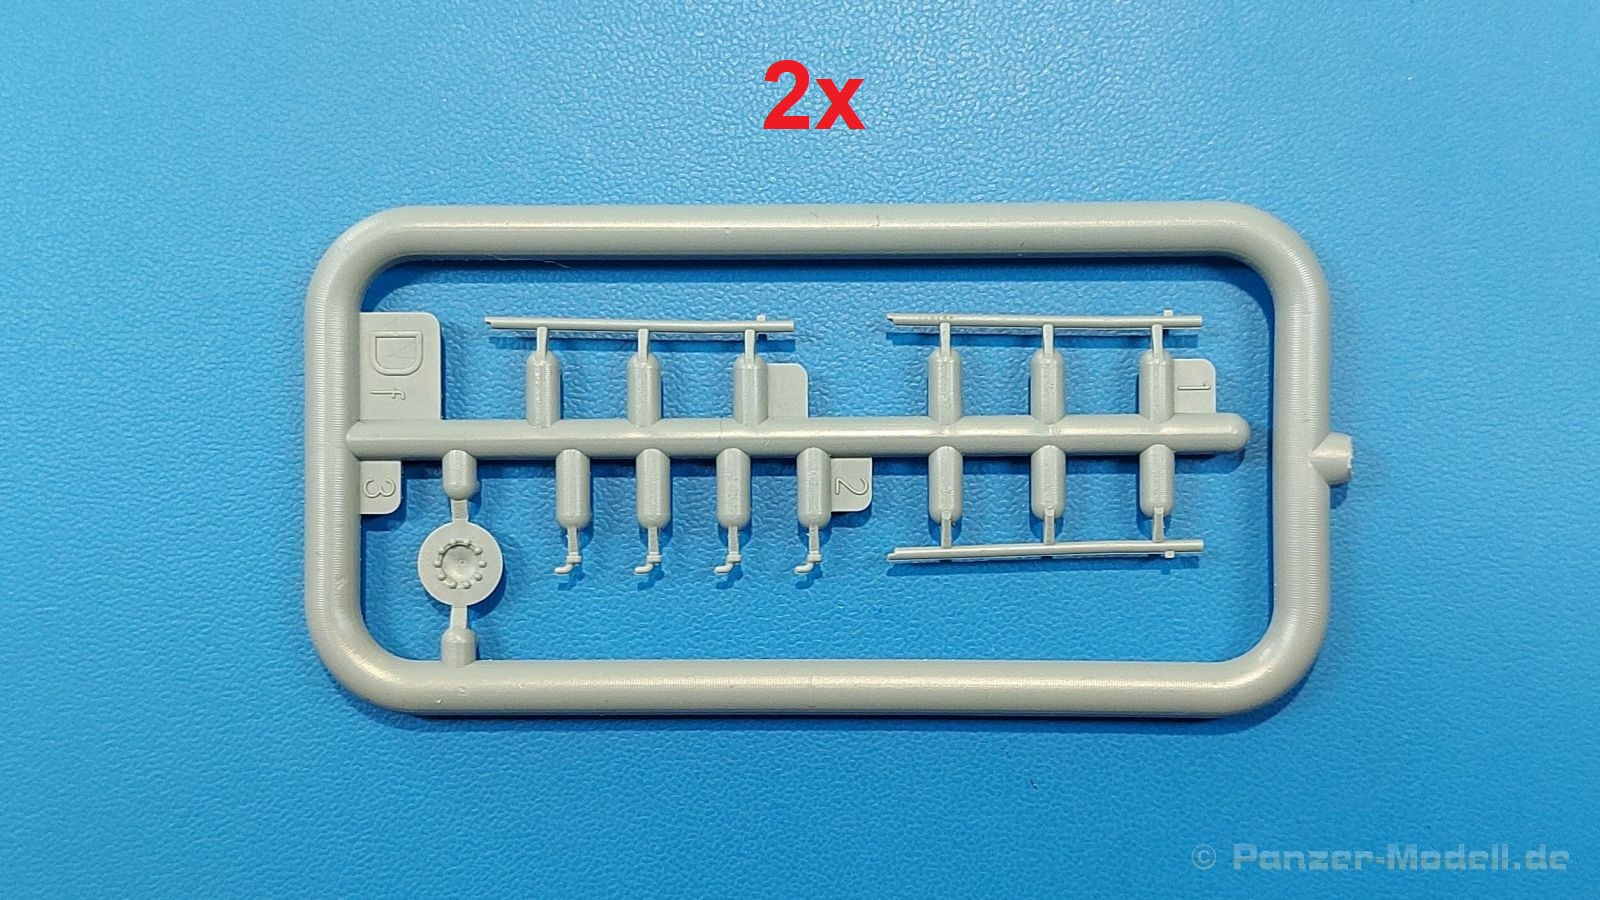
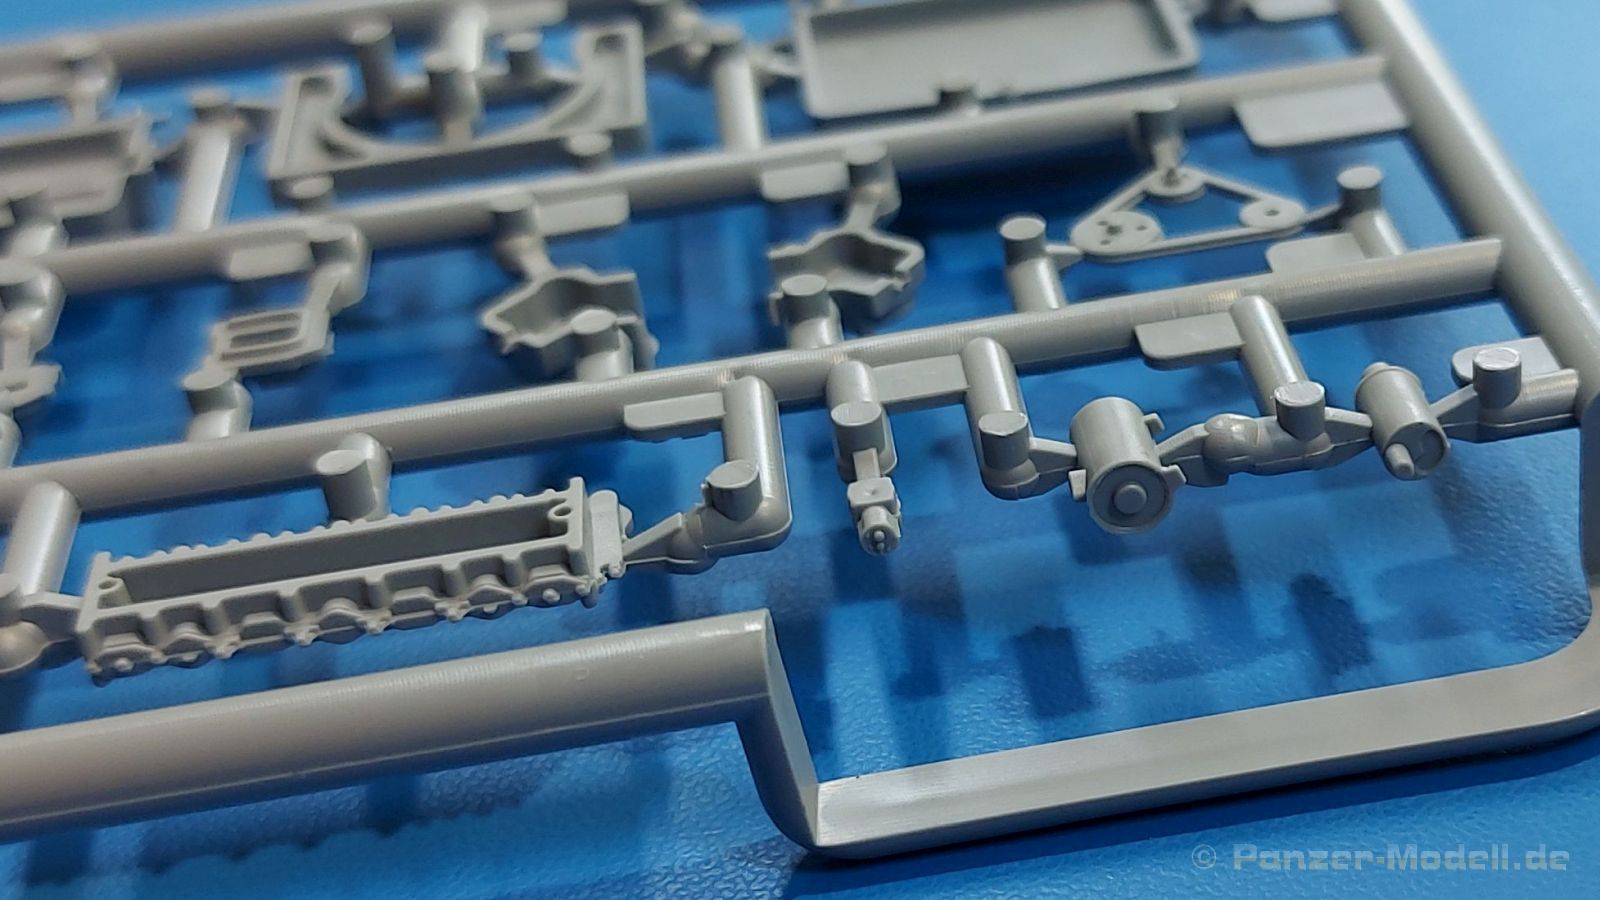
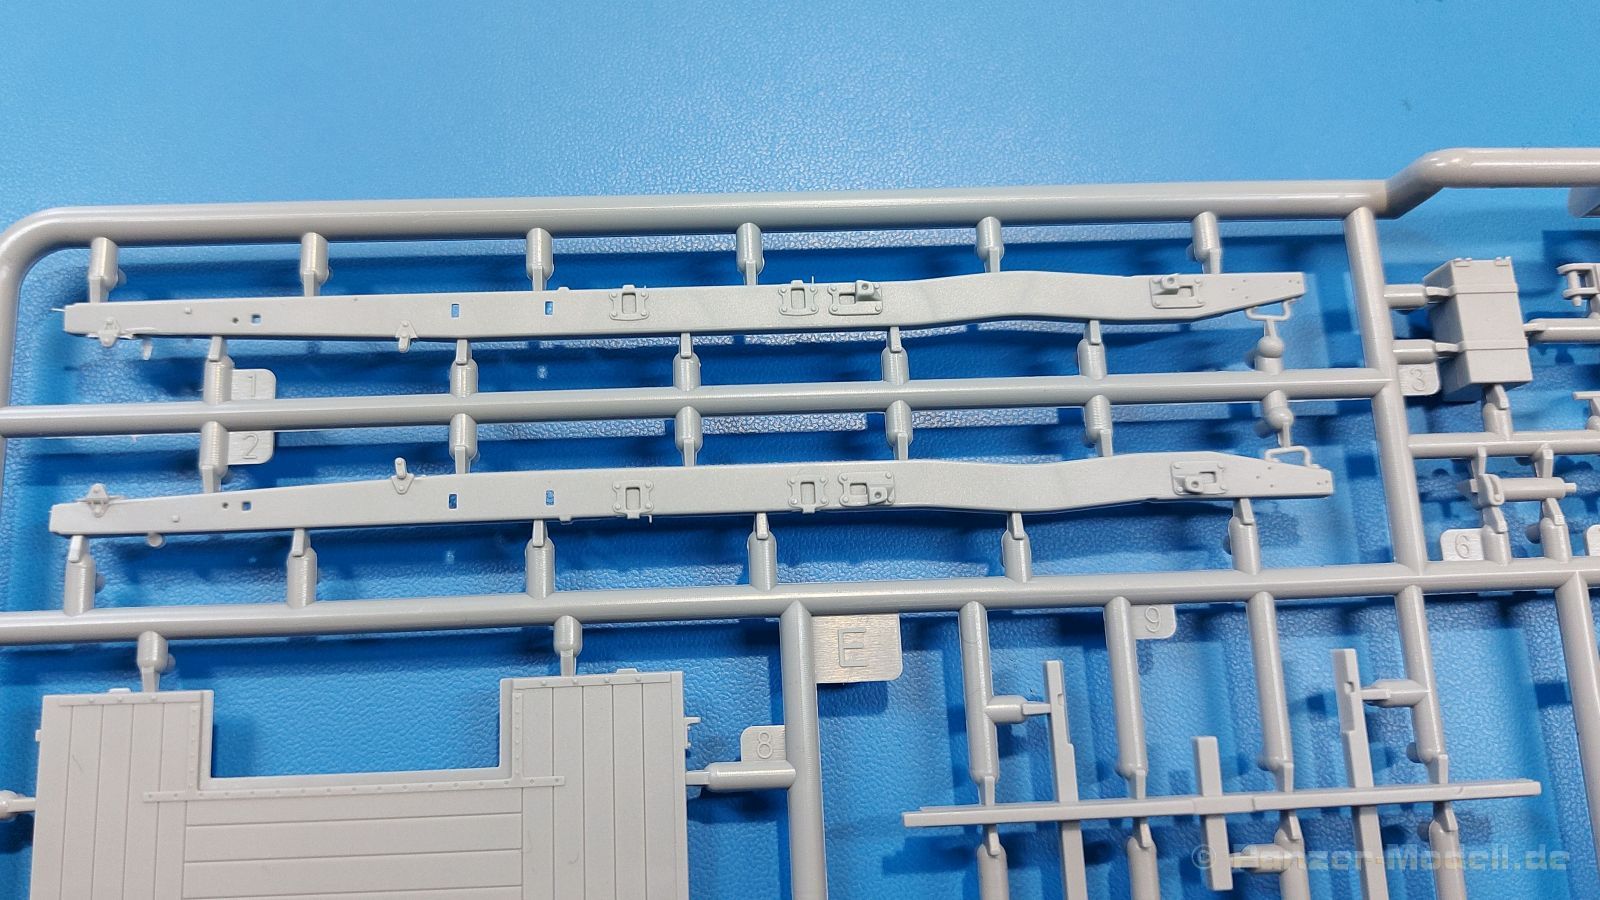
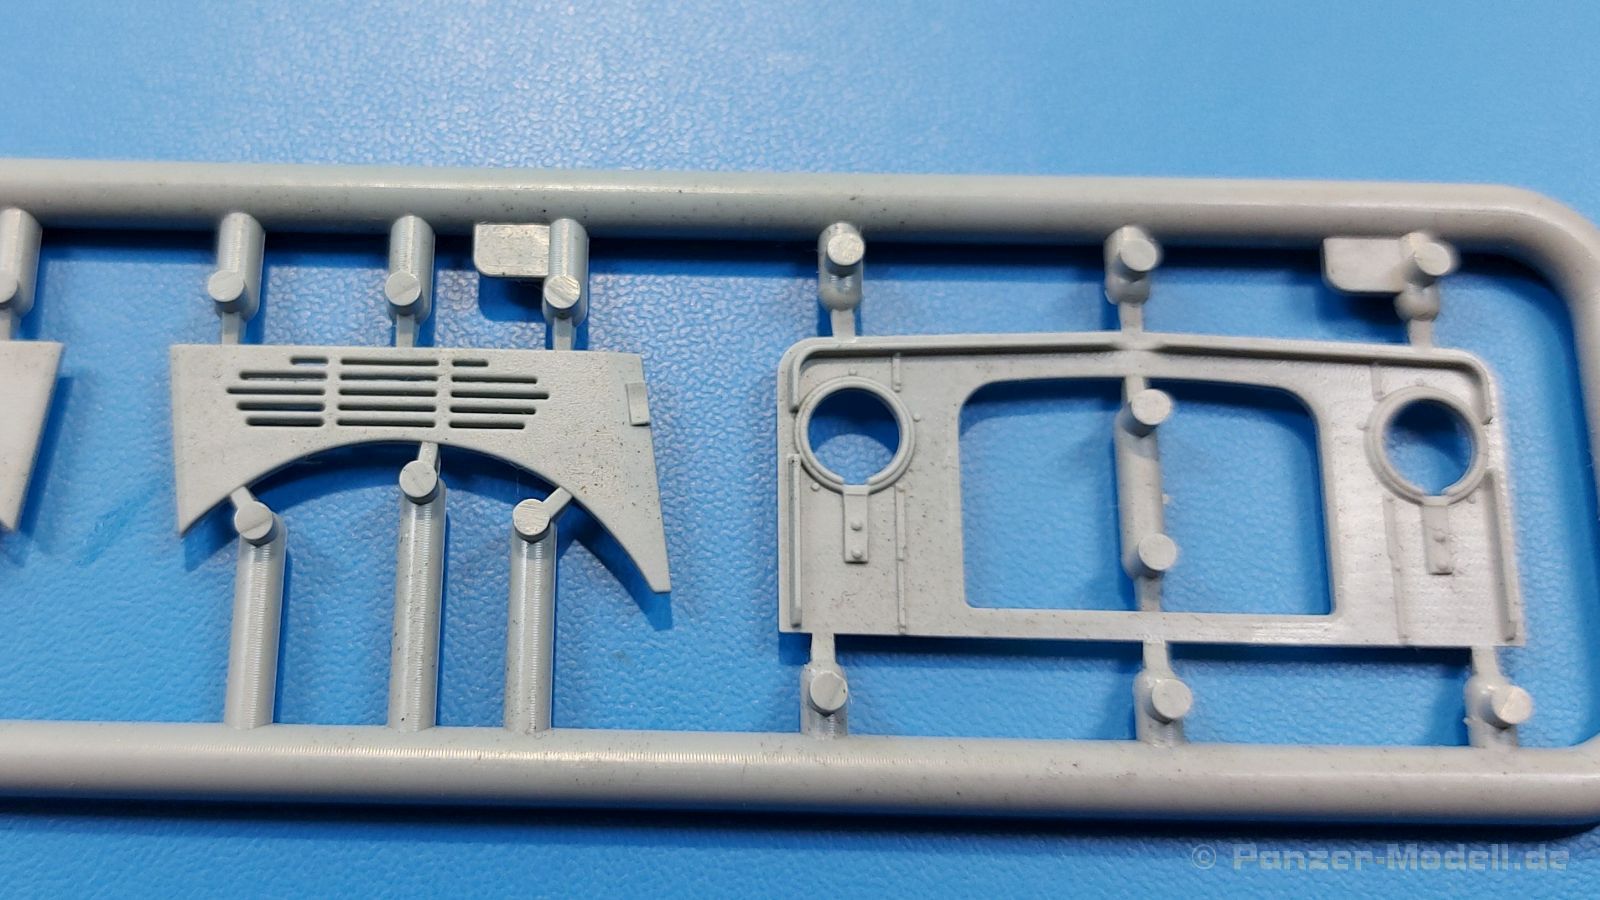
The frame of the vehicle consists of 2 longitudinal and 5 cross members, closed at the front by the bumper. 2 splash guards at the front of the frame protect the engine from dirt from below. The 4 leaf spring packages have separate suspension parts at the rear and trailing arm rods at the front. The rigid rear axle consists of the axle itself, the rear cover of the differential gear, the socket and the receptacle for the universal joint. The axle is secured to the frame via trailing arms. On both sides of the frame, on the one hand, the steps for the driver / front passenger are attached with perforated brackets, as well as the fuel tanks in storage trays.
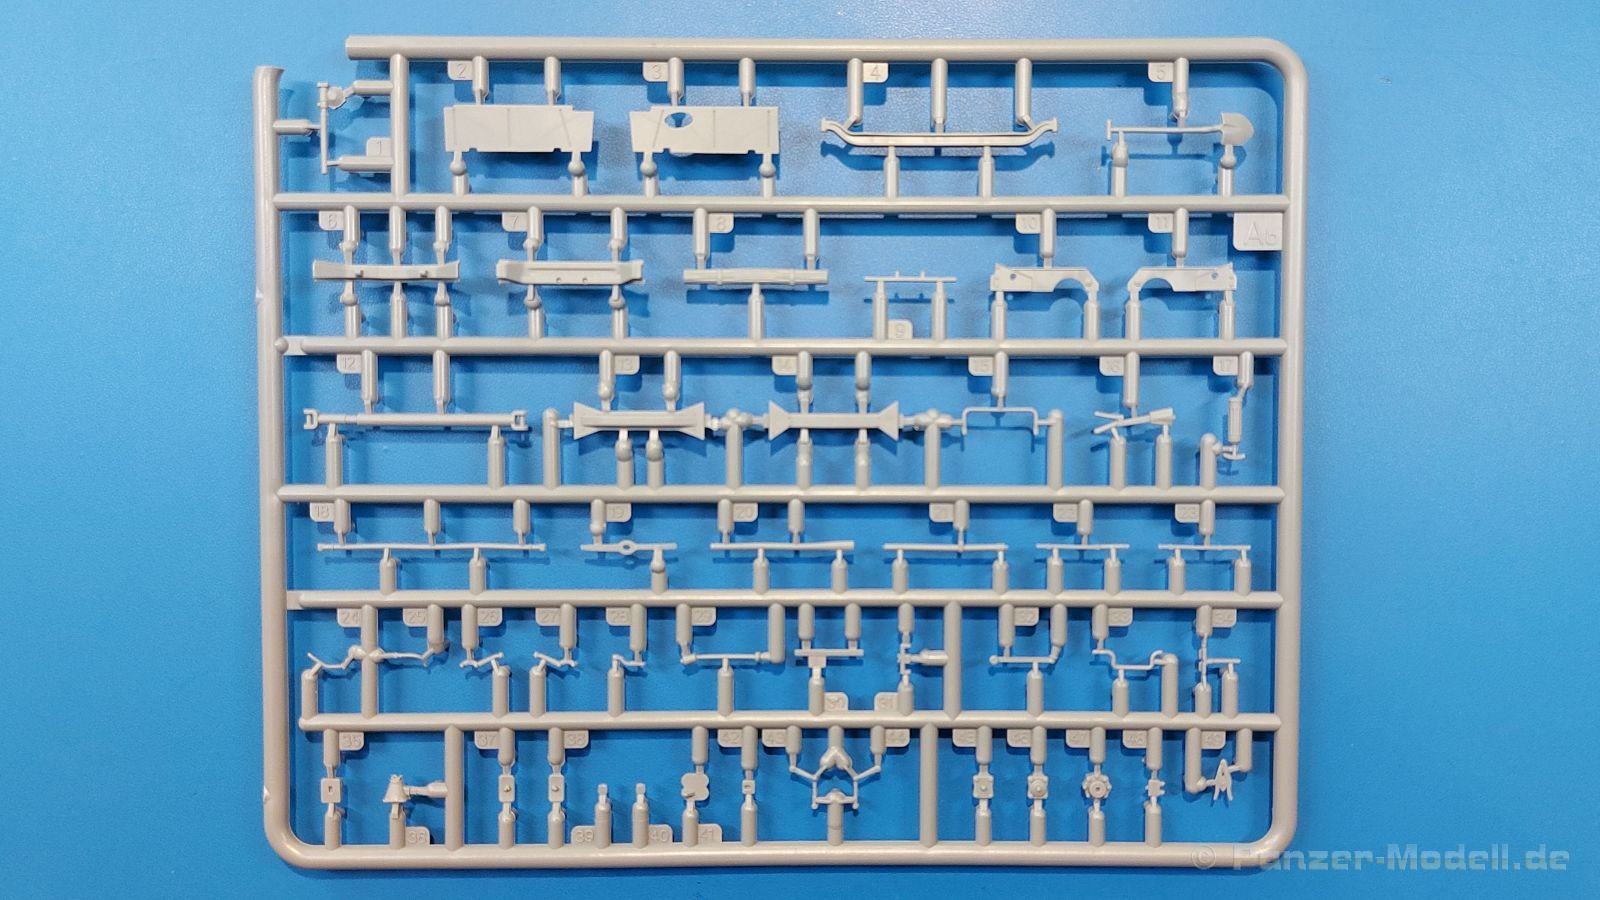
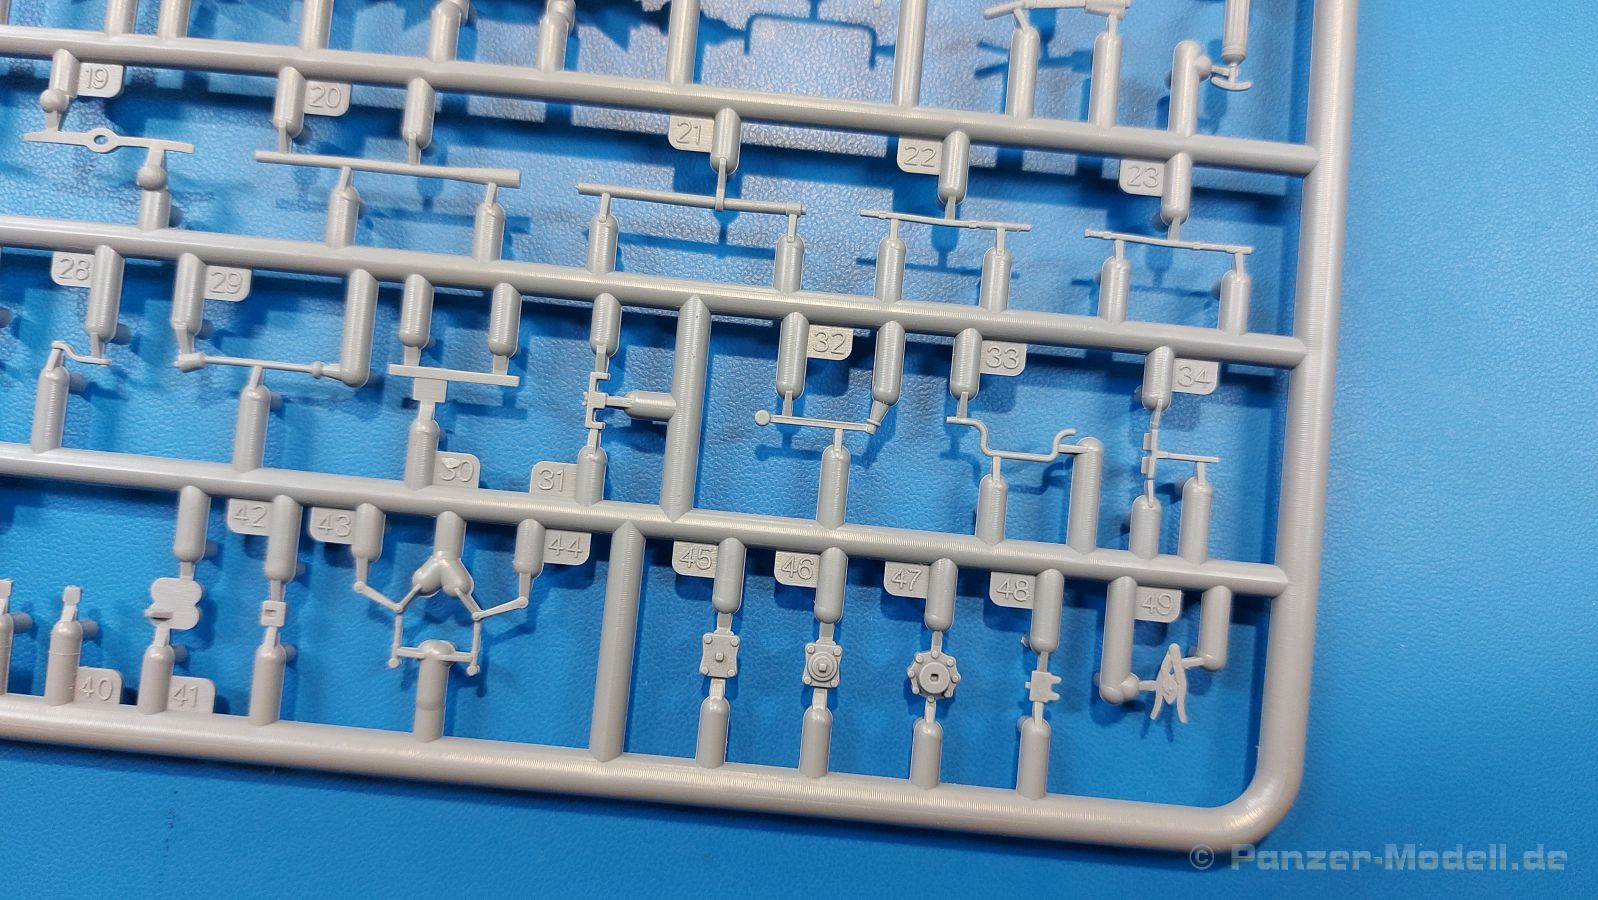
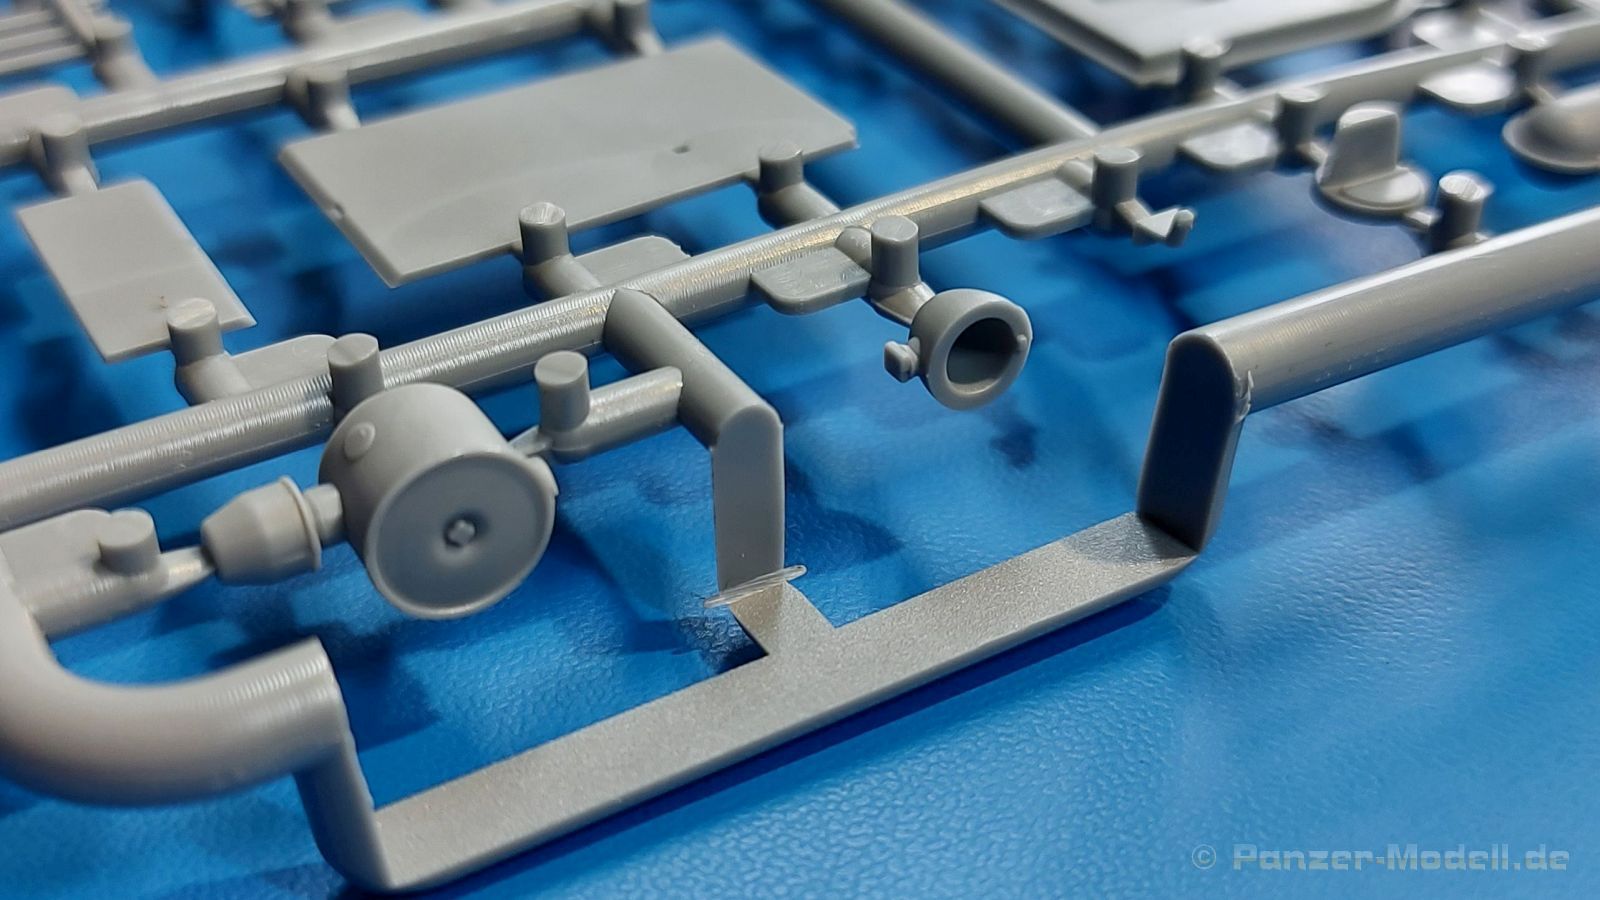
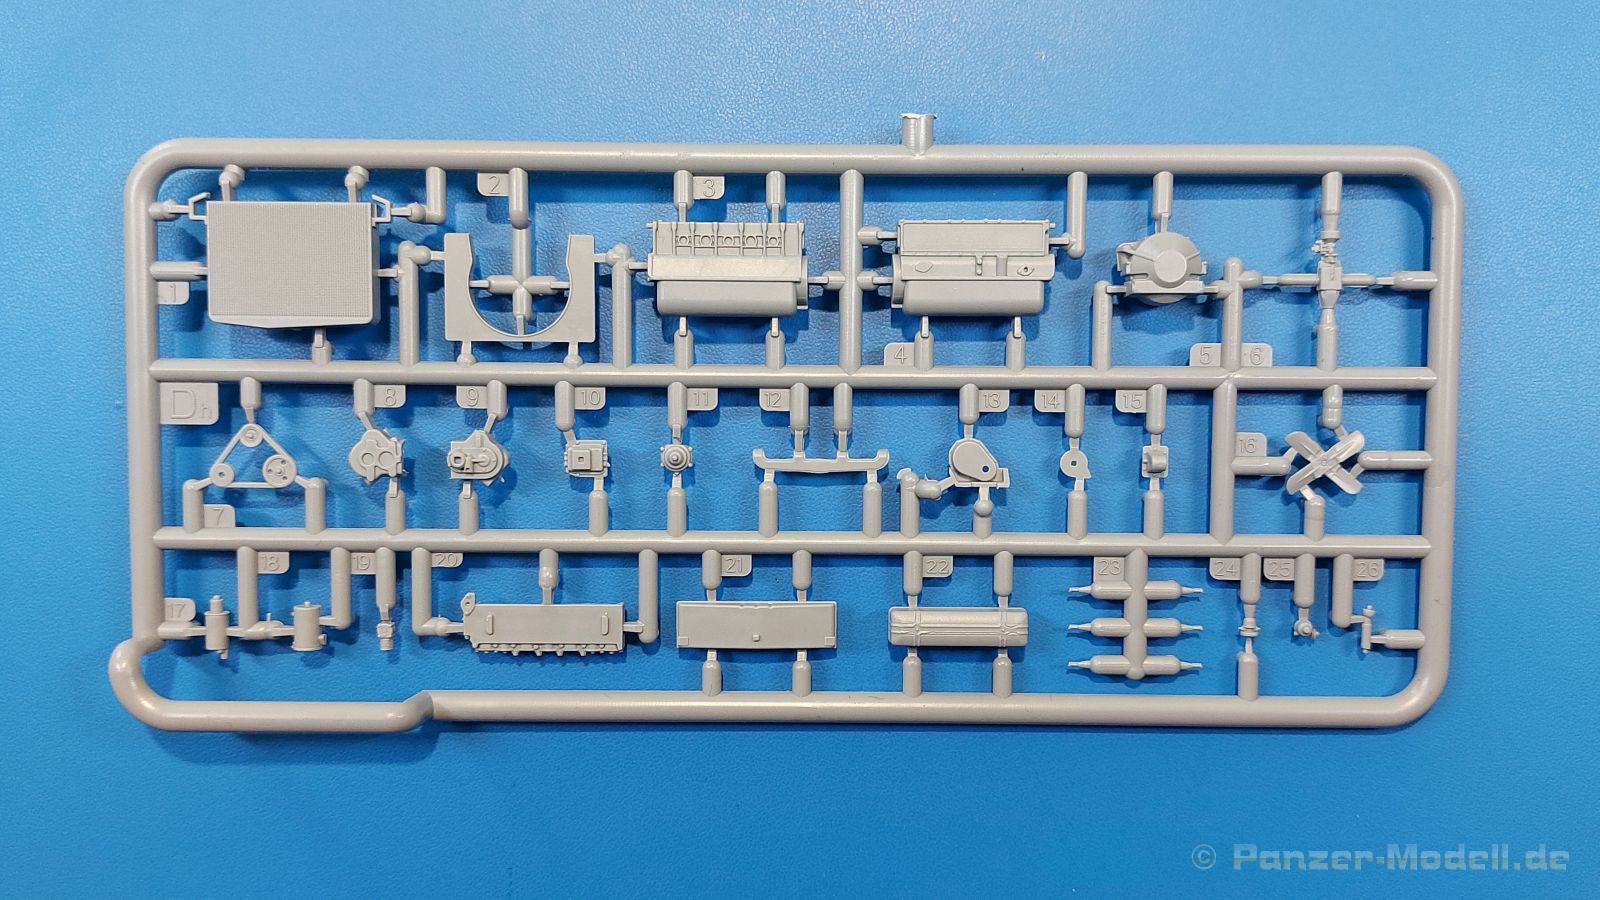
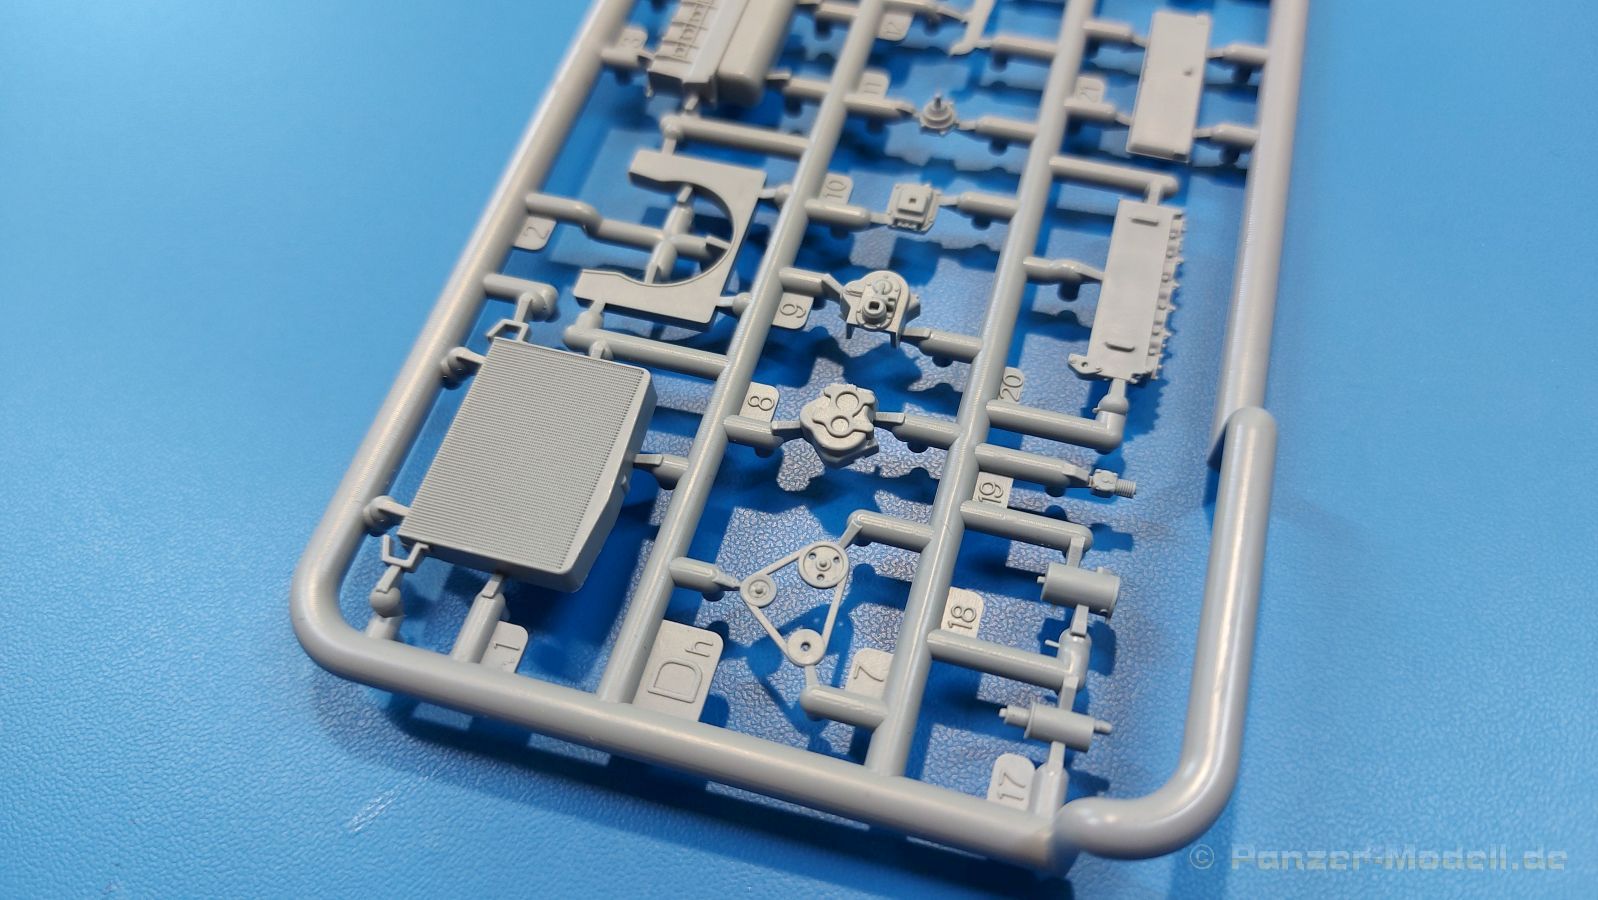
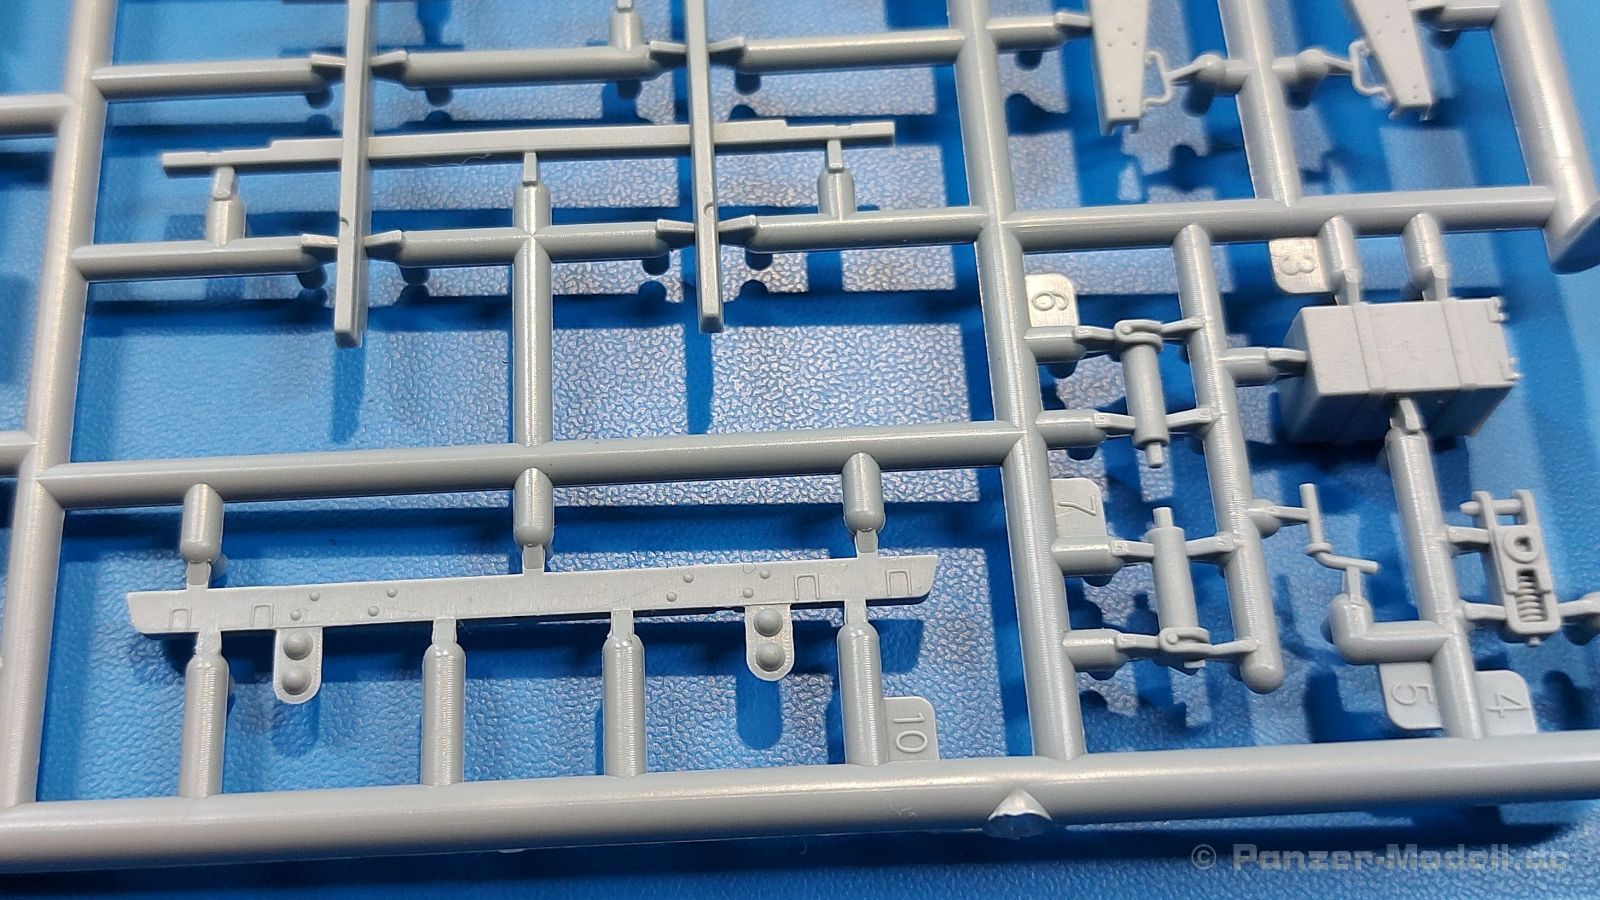
The 3.5 liter 6-cylinder petrol engine with all attachments consists of 32 parts - the engine block halves, the cylinder head, 6 spark plugs, the valve cover, ignition coil, ignition distributor, 4-part alternator, intake duct with carburetor, exhaust manifold, water pump, crankshaft cover, V-belt with V-belt pulleys, fan wheel, 3-part air filter, 3-part radiator, cooling hose to the engine and coupling dome with starter. Experts may want to attach the ignition cables. The 4-speed manual transmission consists of 6 parts including the gear lever. The cardan shaft is connected to the rear axle via the cardan joint. The one-piece exhaust pipe with silencer is attached to the exhaust manifold and laid over the rear axle. I couldn't find any brackets holding the exhaust at the frame.
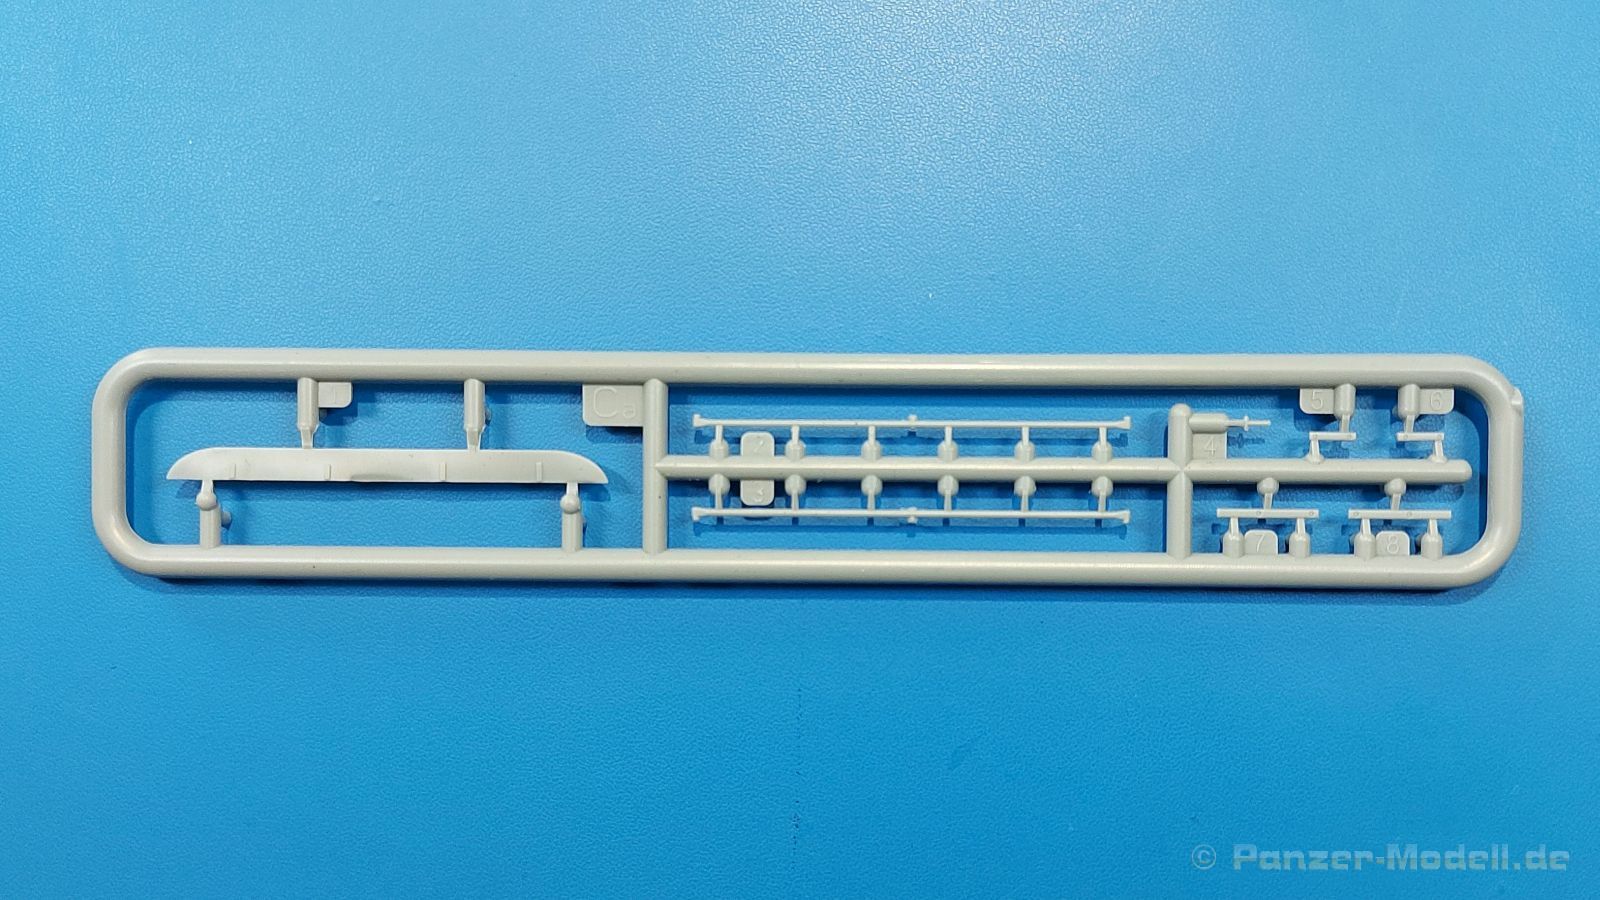
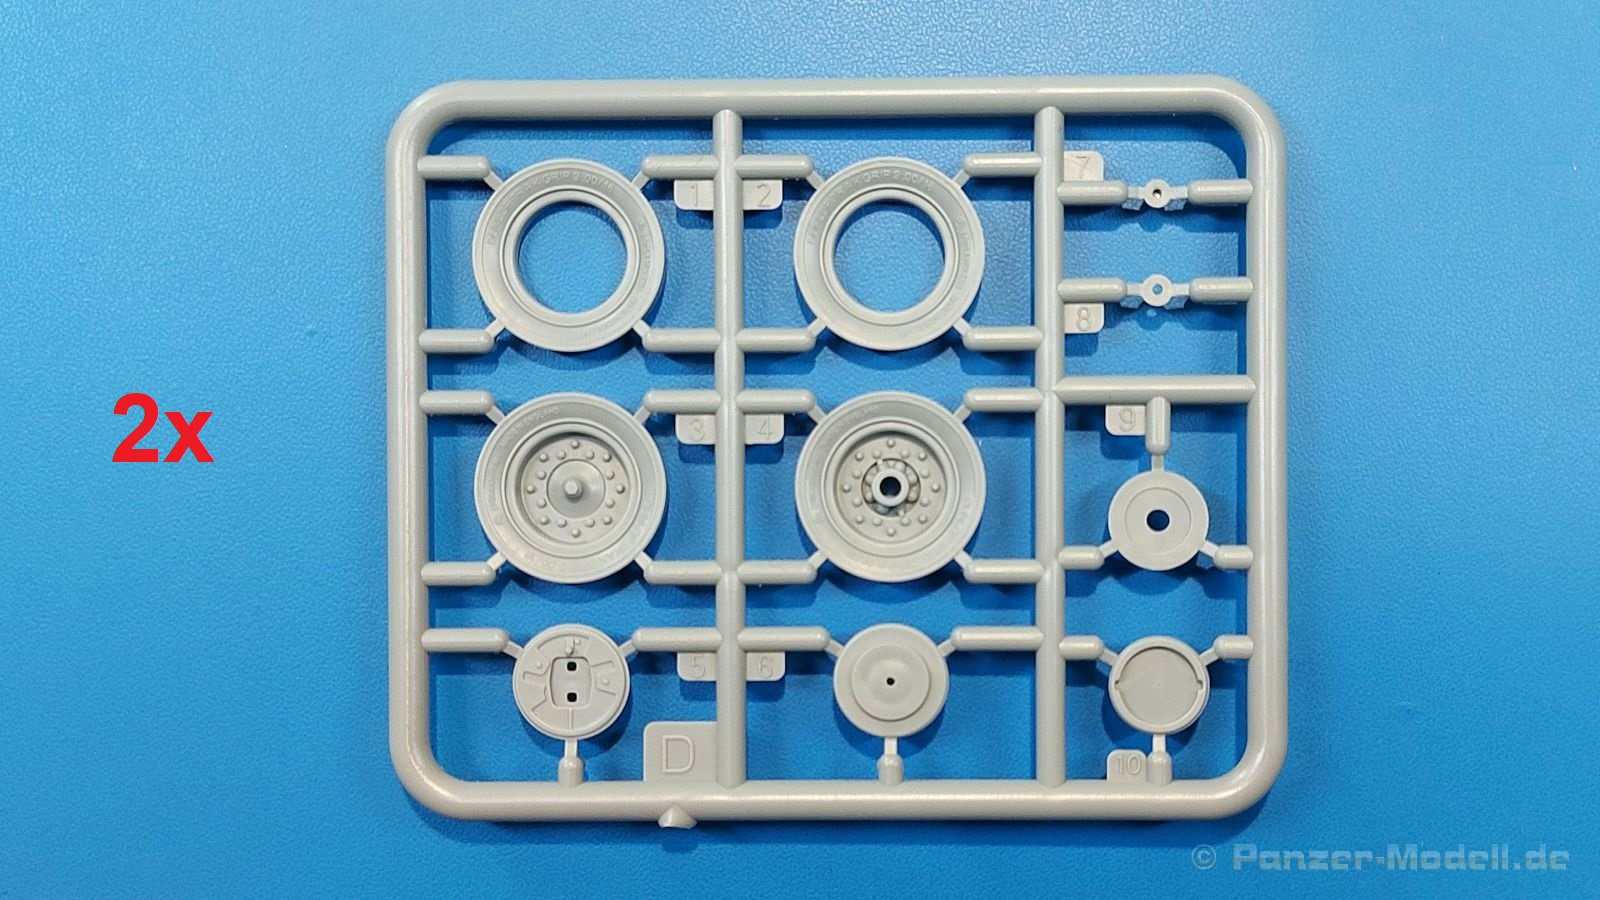
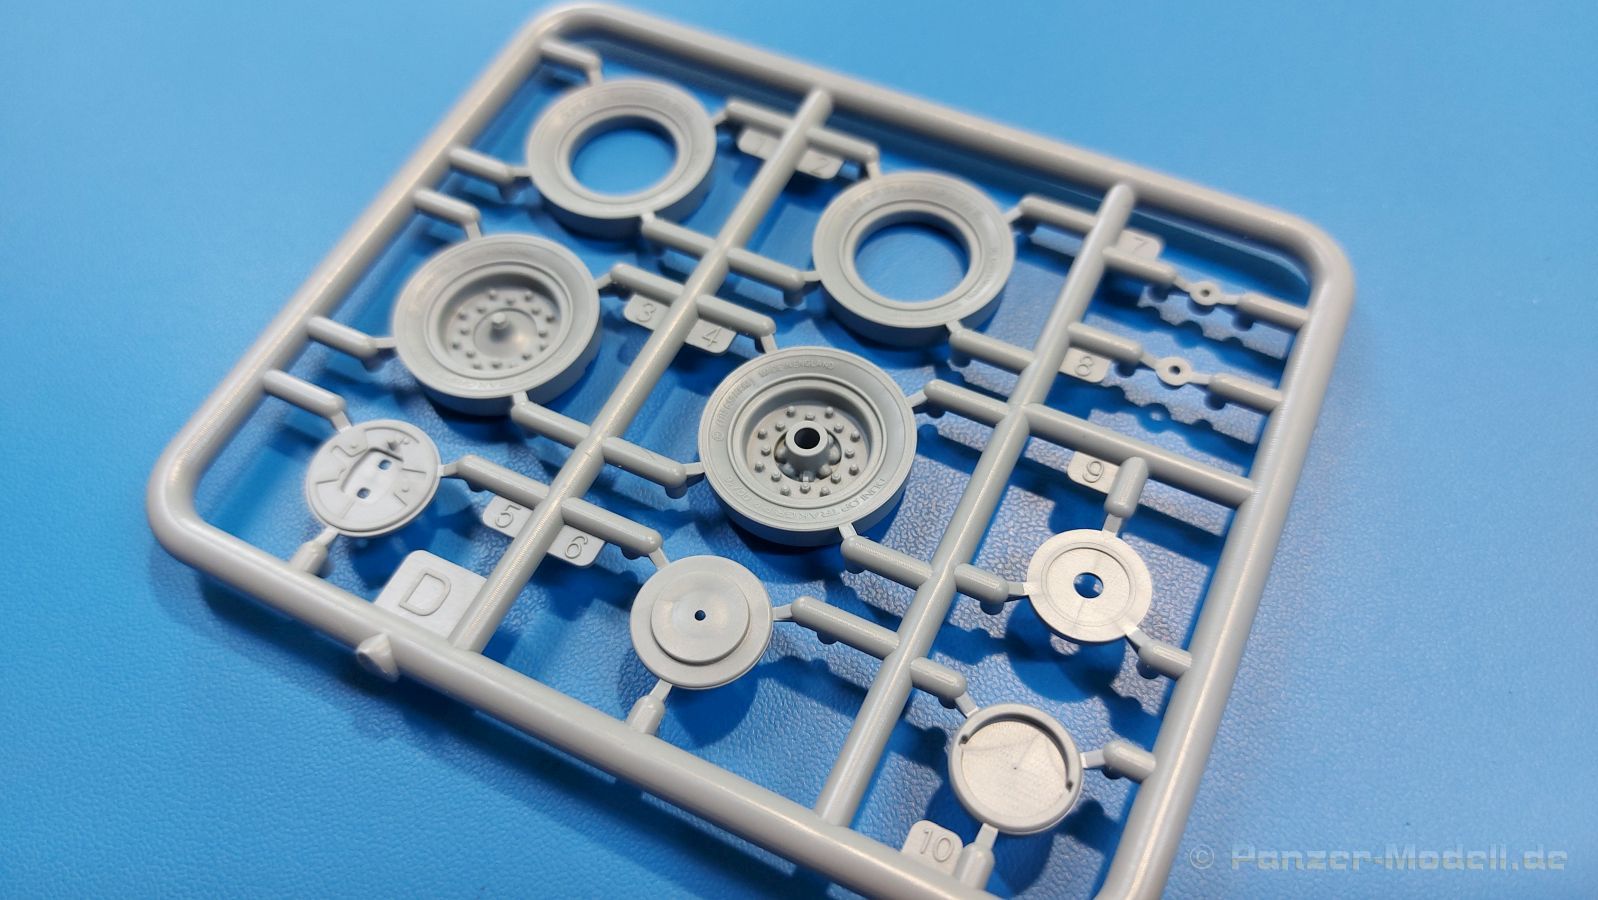
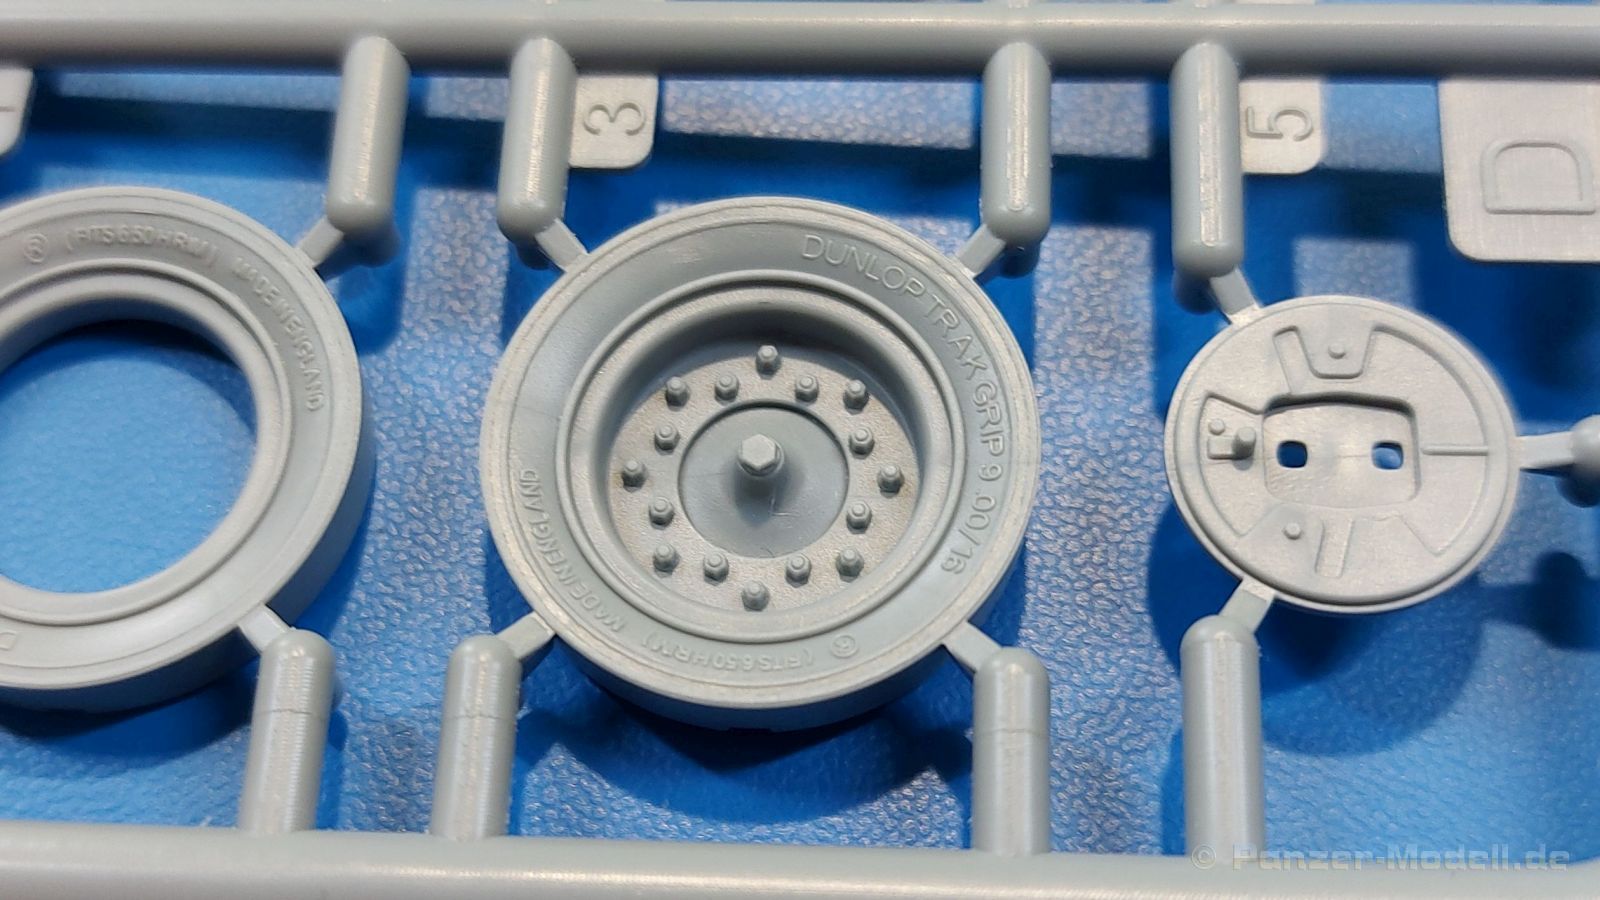
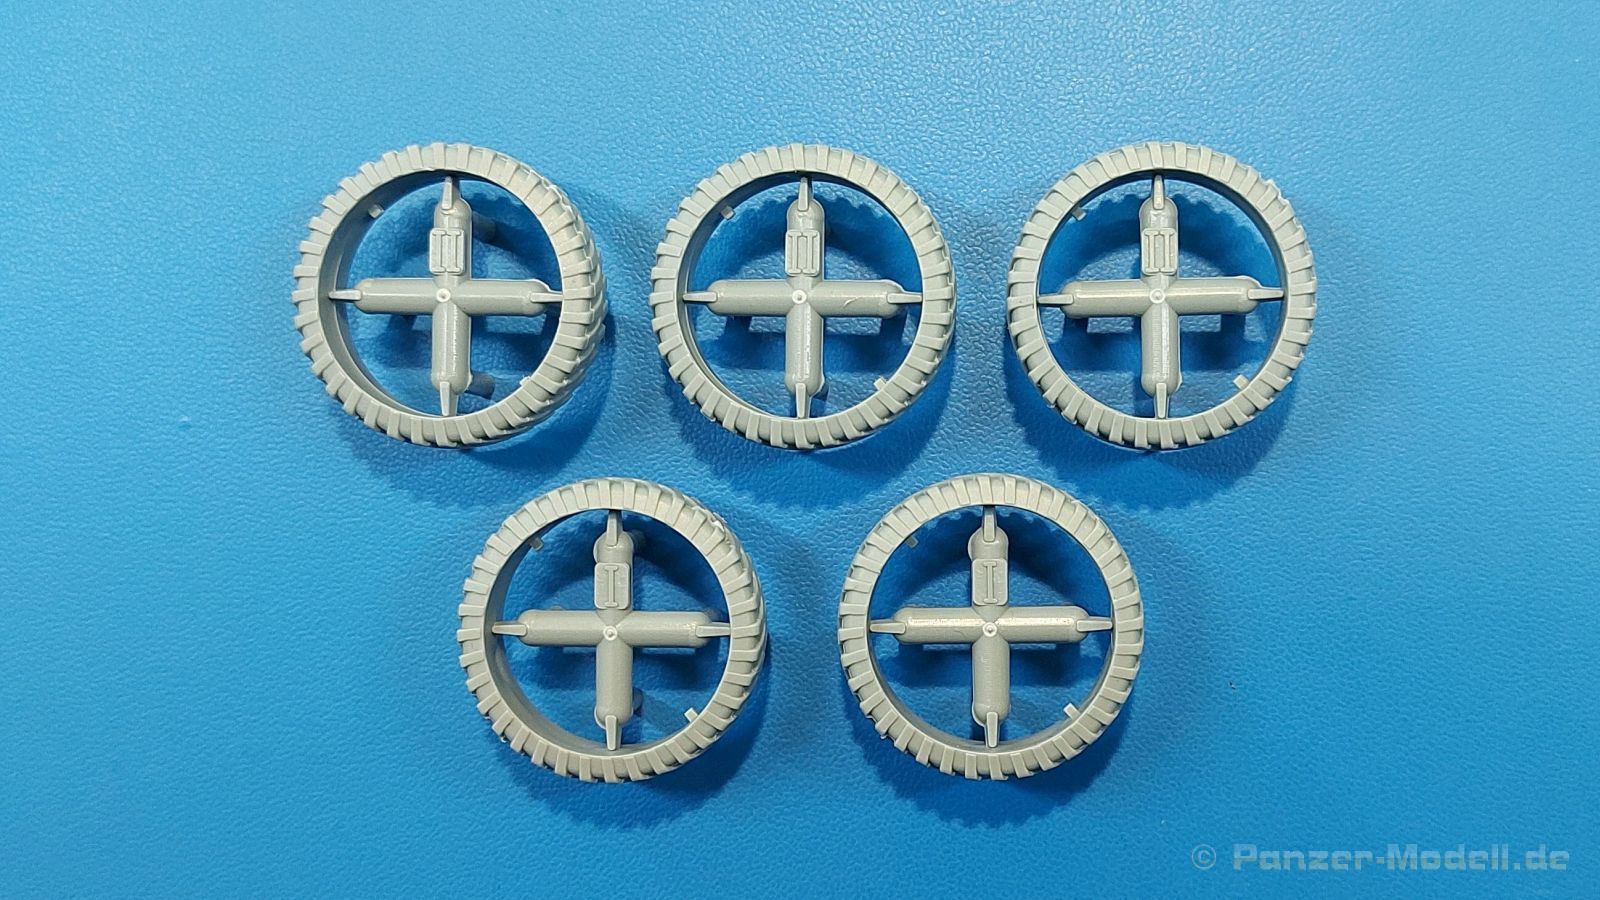
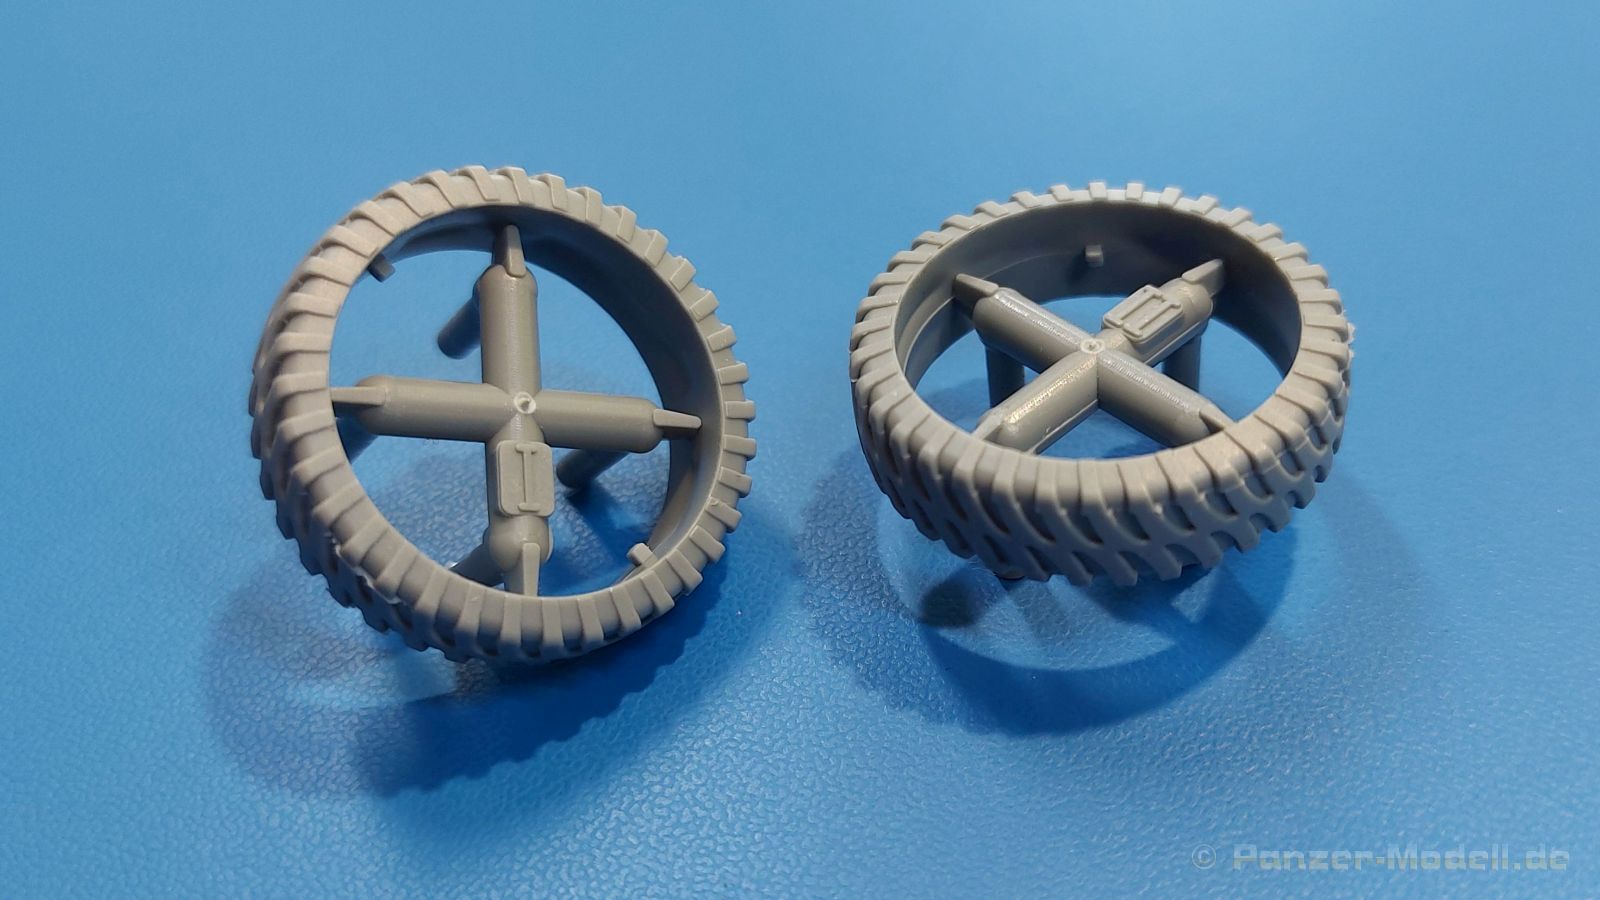
The rigid front axle is composed of 13 parts. The division makes it possible to represent a steering angle. Each front and rear wheel consists of 6 parts that can be built to rotate. Here, the manufacturer's information, tire size, etc. on the tire flanks are particularly impressive. The profile is also nicely reproduced.
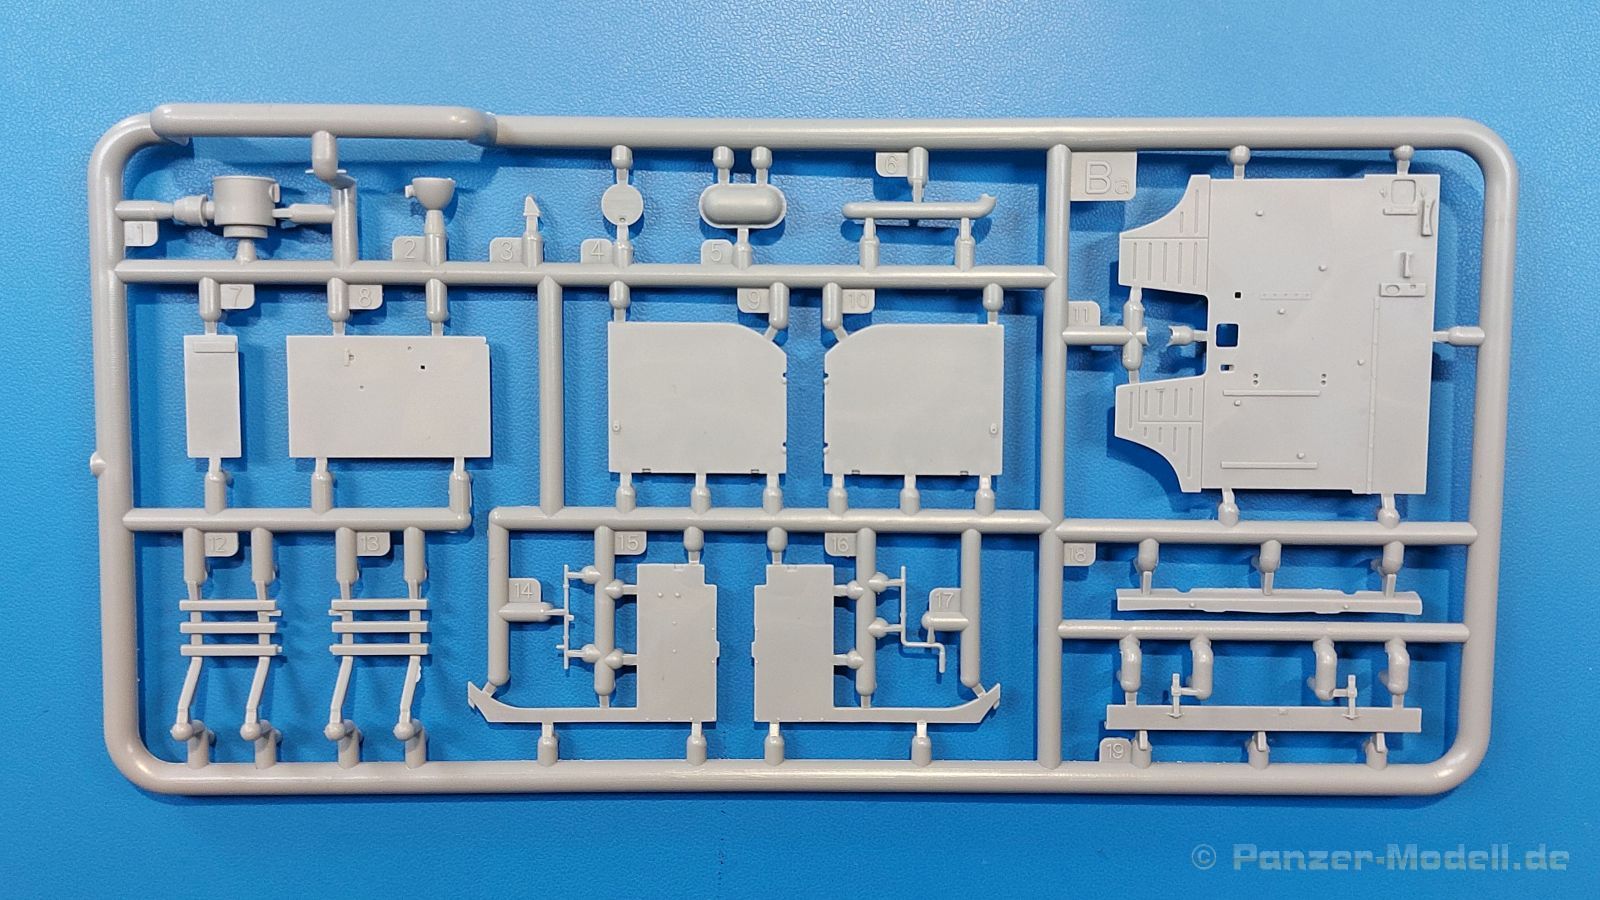
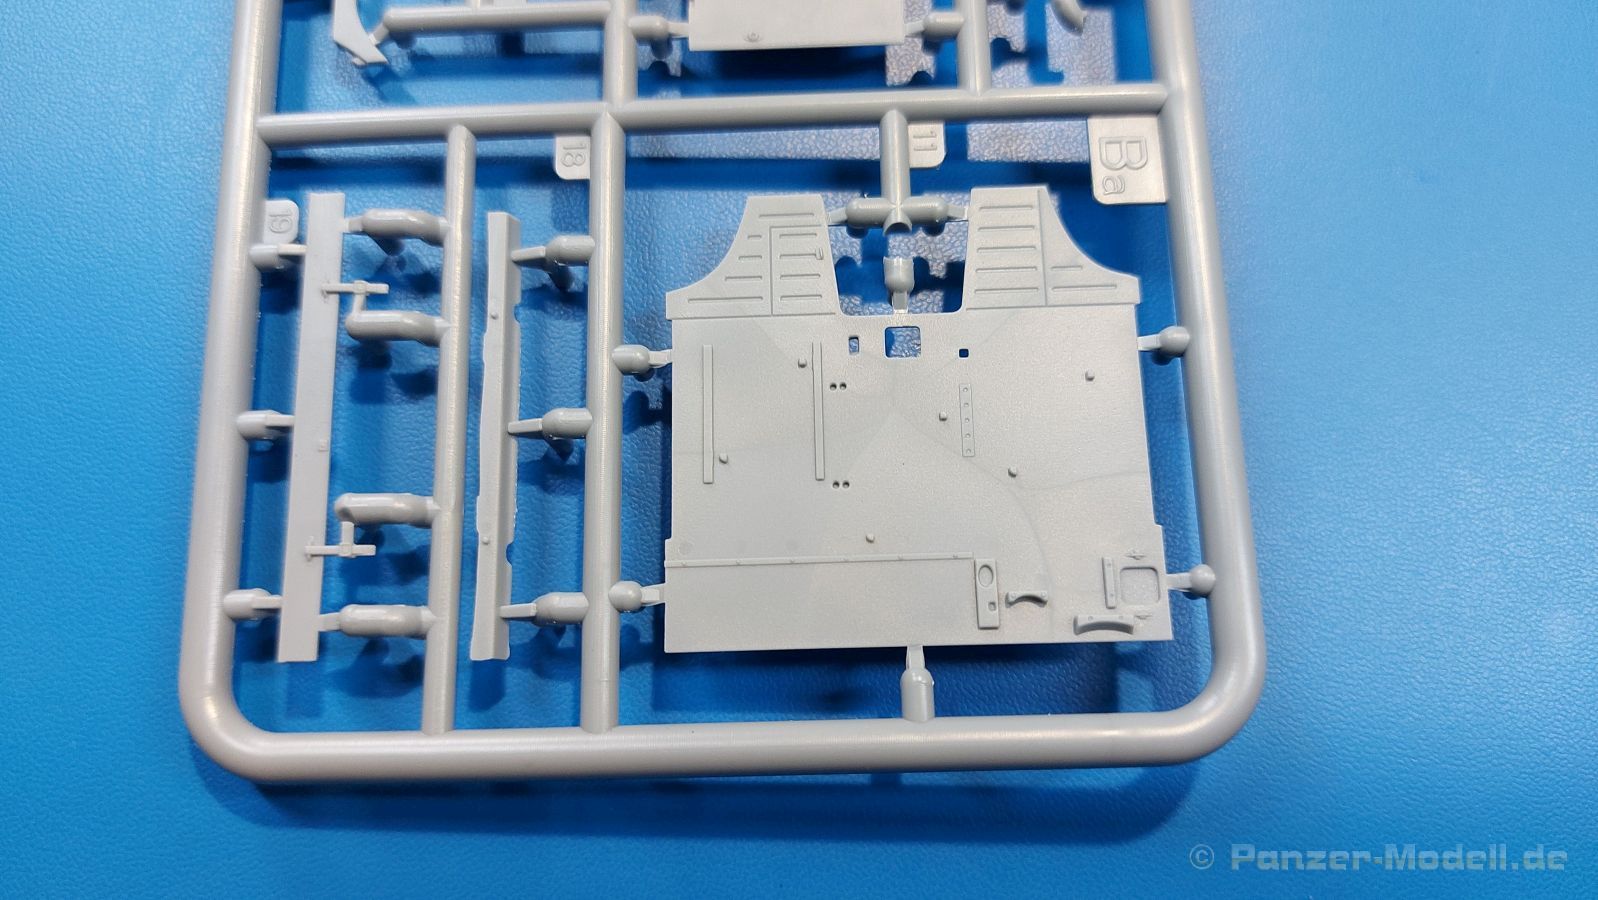
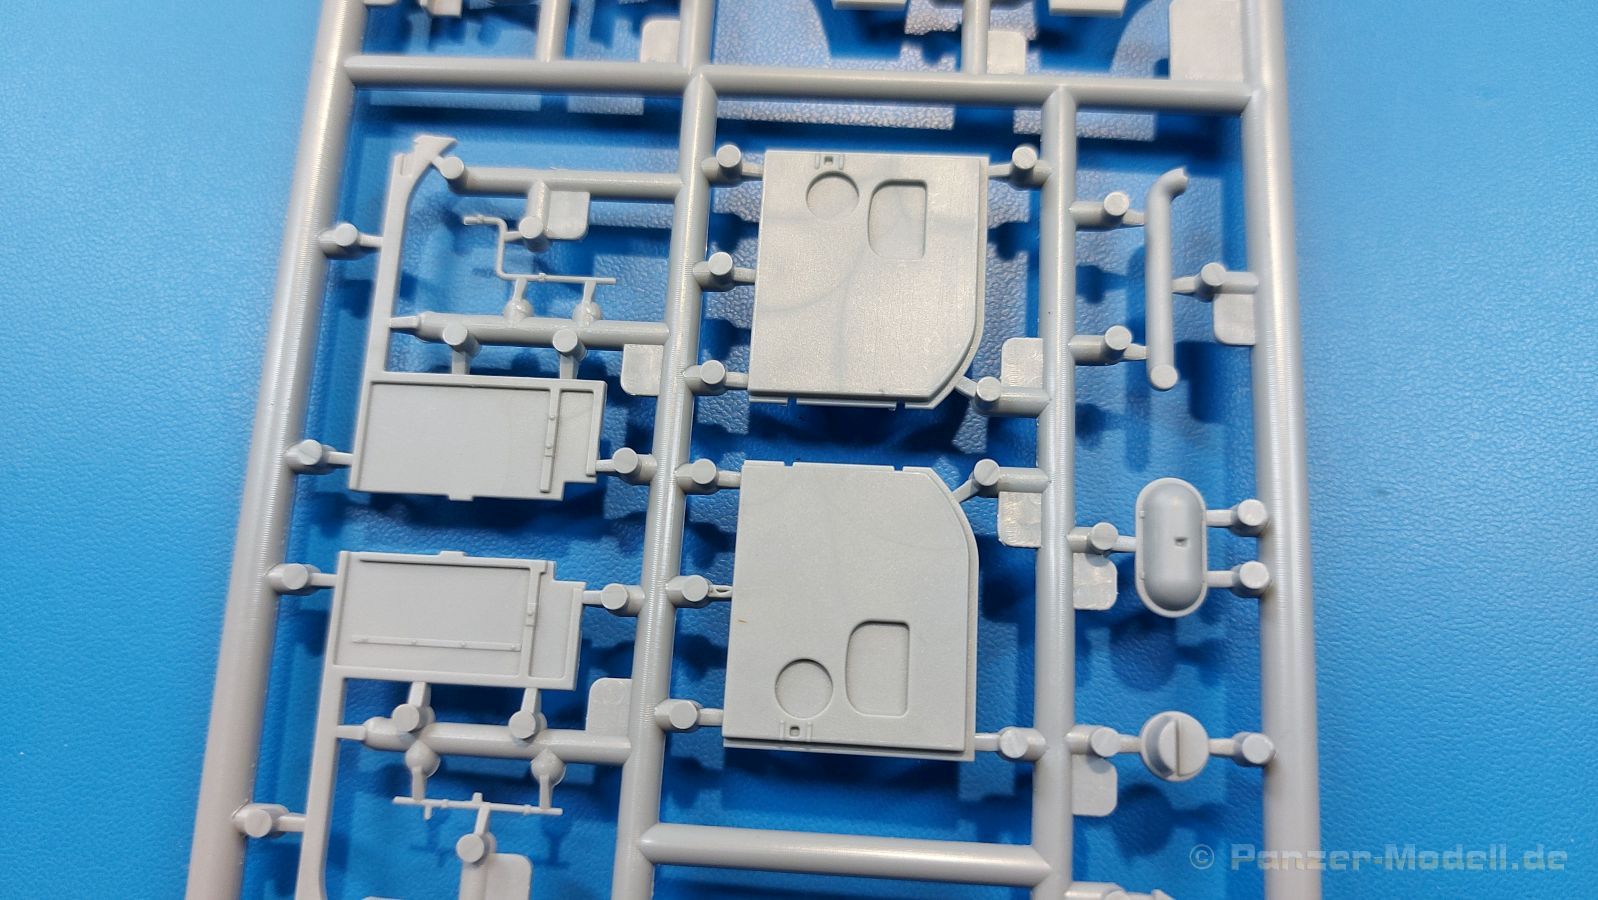
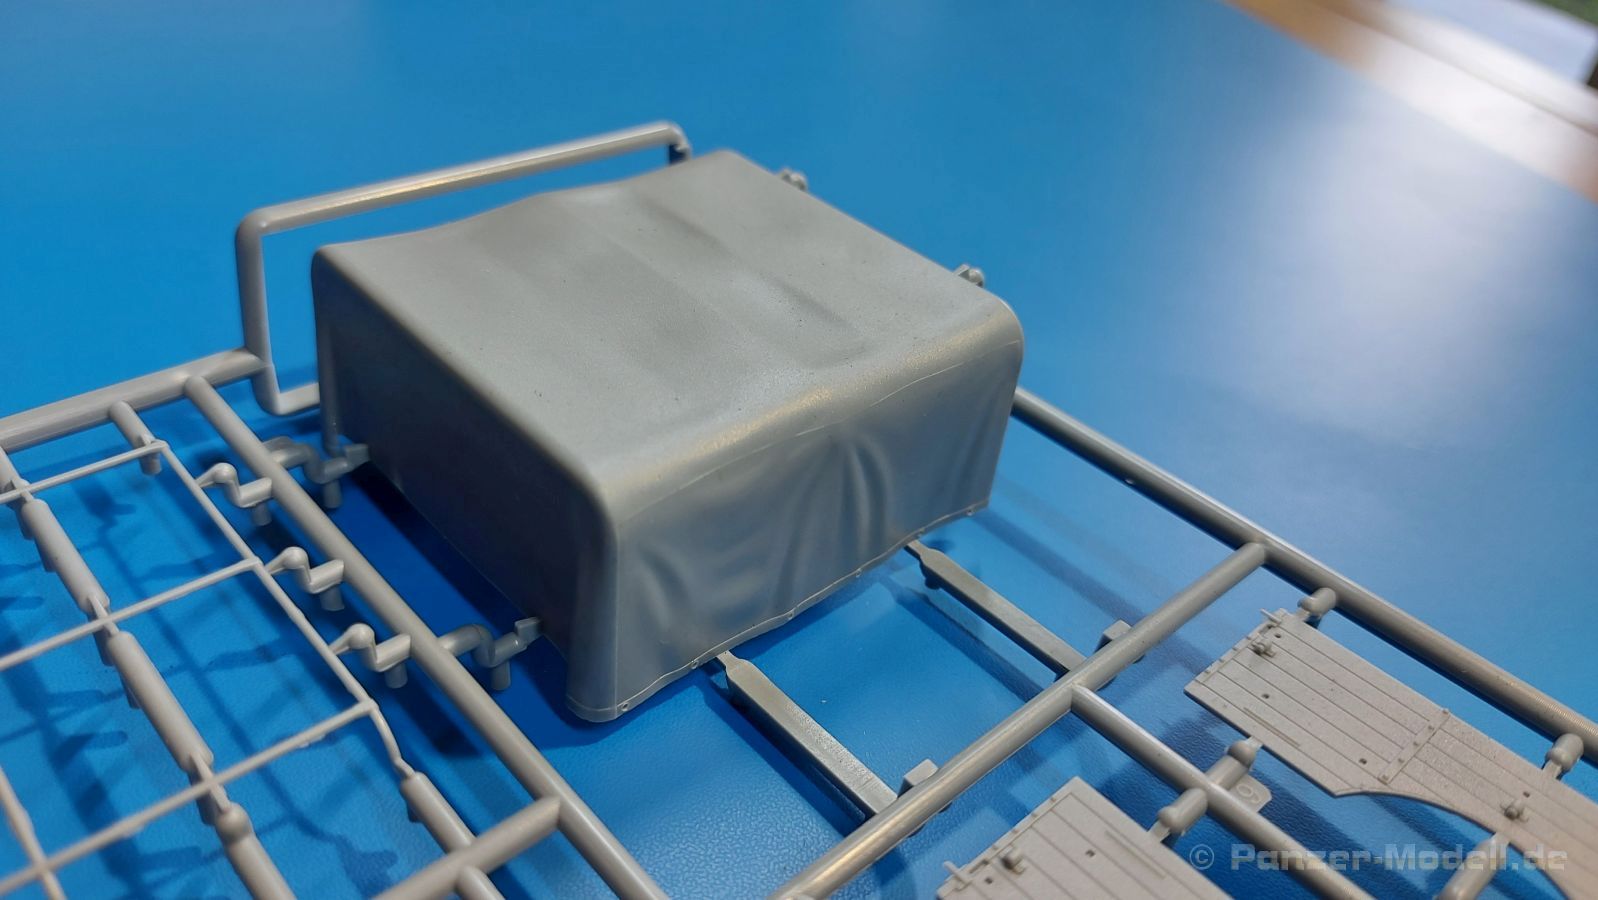
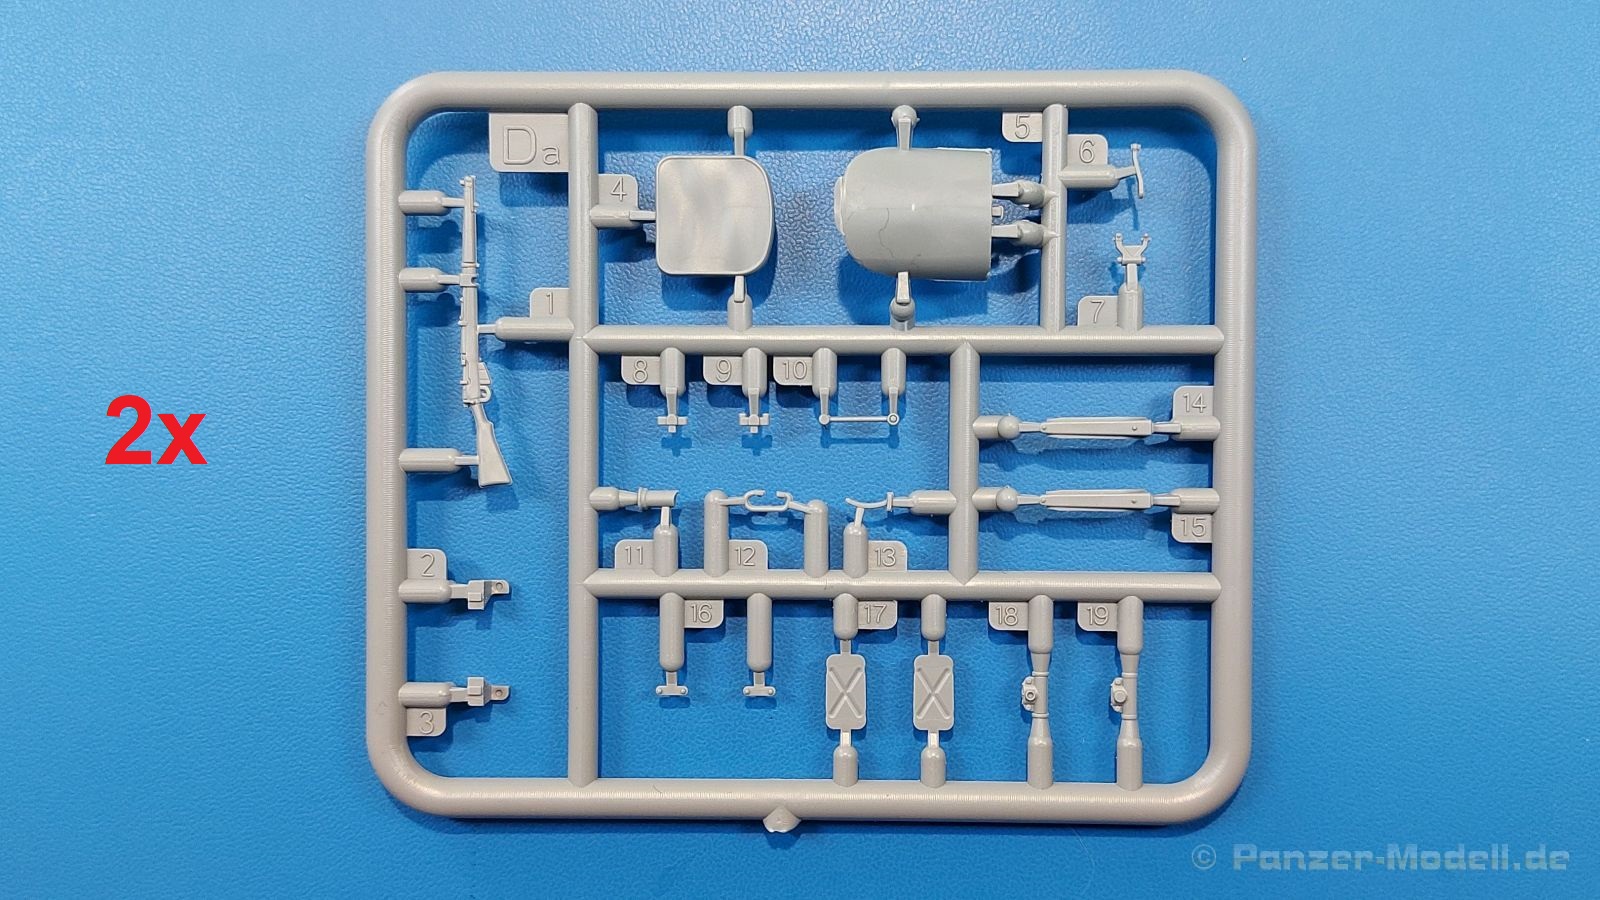
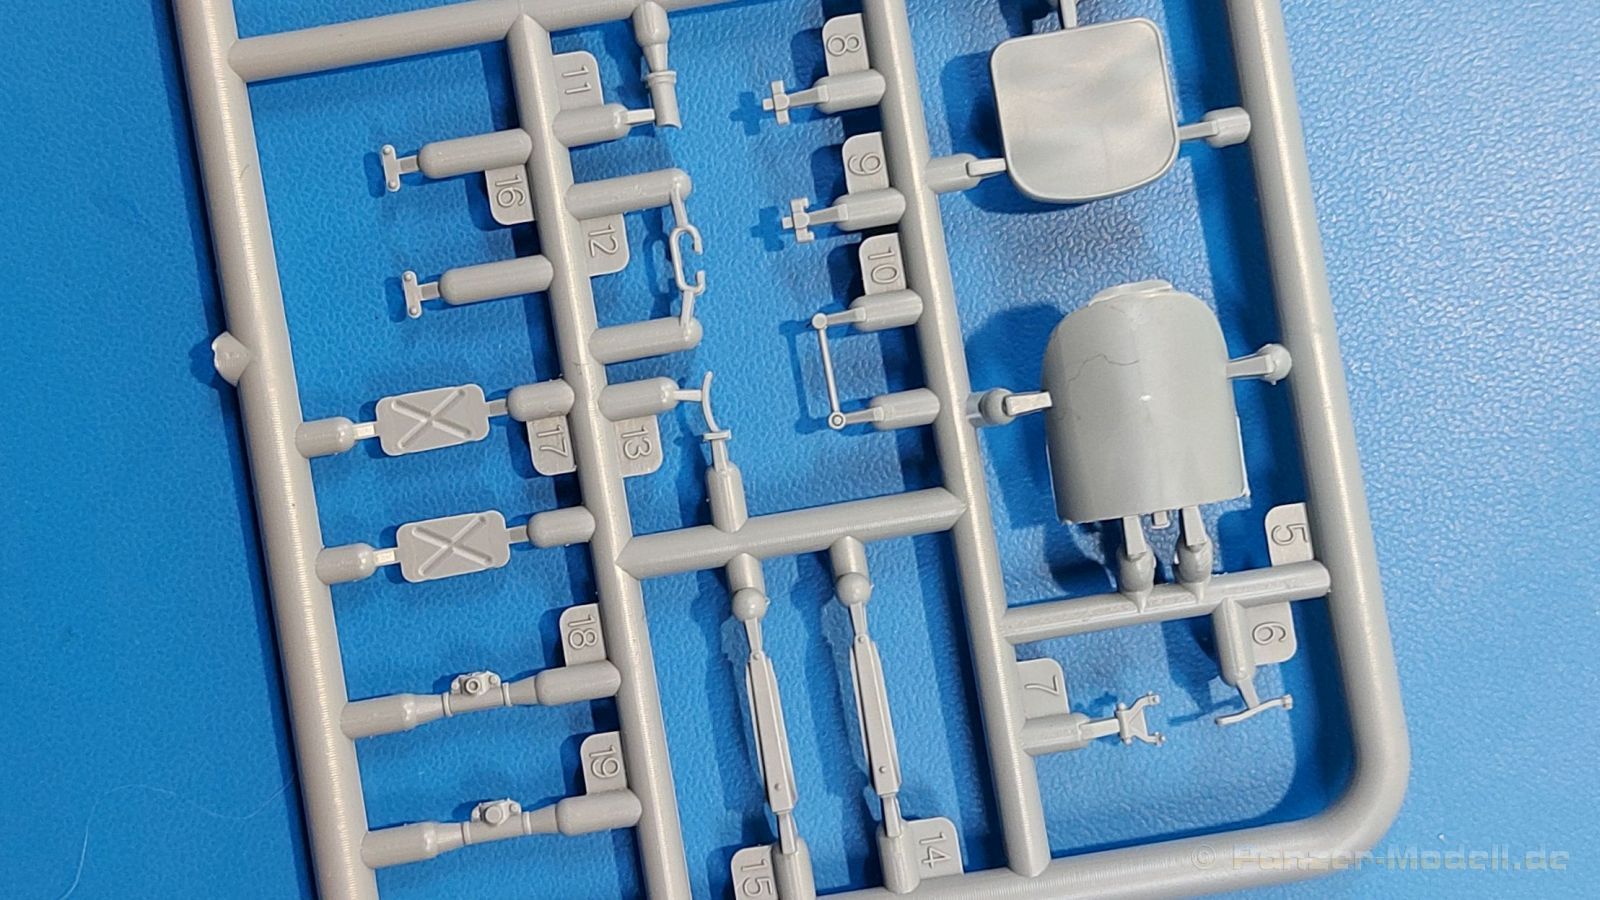
As with the Bedford MWC tank truck, we have a closed driver's cab that requires a little patience with over 60 parts. There we have parts such as the dashboard, pedals, steering wheel, handlebar, seats, rifle mounts, storage boxes, various tools, parking brakes, fire extinguishers, windshields with opening angles and windshield wipers made of PE, doors plus handles inside and outside. The doors can be displayed both closed and open. The side windows deserve special mention. In the original, these were made of transparent plastic and therefore somewhat wavy. Gecko portrayed this very well. The fabric top shows natural folds and is also detailed inside. The board structure of the back wall is also worth seeing. The exterior mirrors are installed vertically according to the instructions, but there are also enough photos of originals where the mirrors are also horizontal. The cab is placed on a subframe before it is placed on the ladder frame. Here you should remember that the gearshift lever is already mounted on the gearbox and must be guided through the opening in the cab floor.
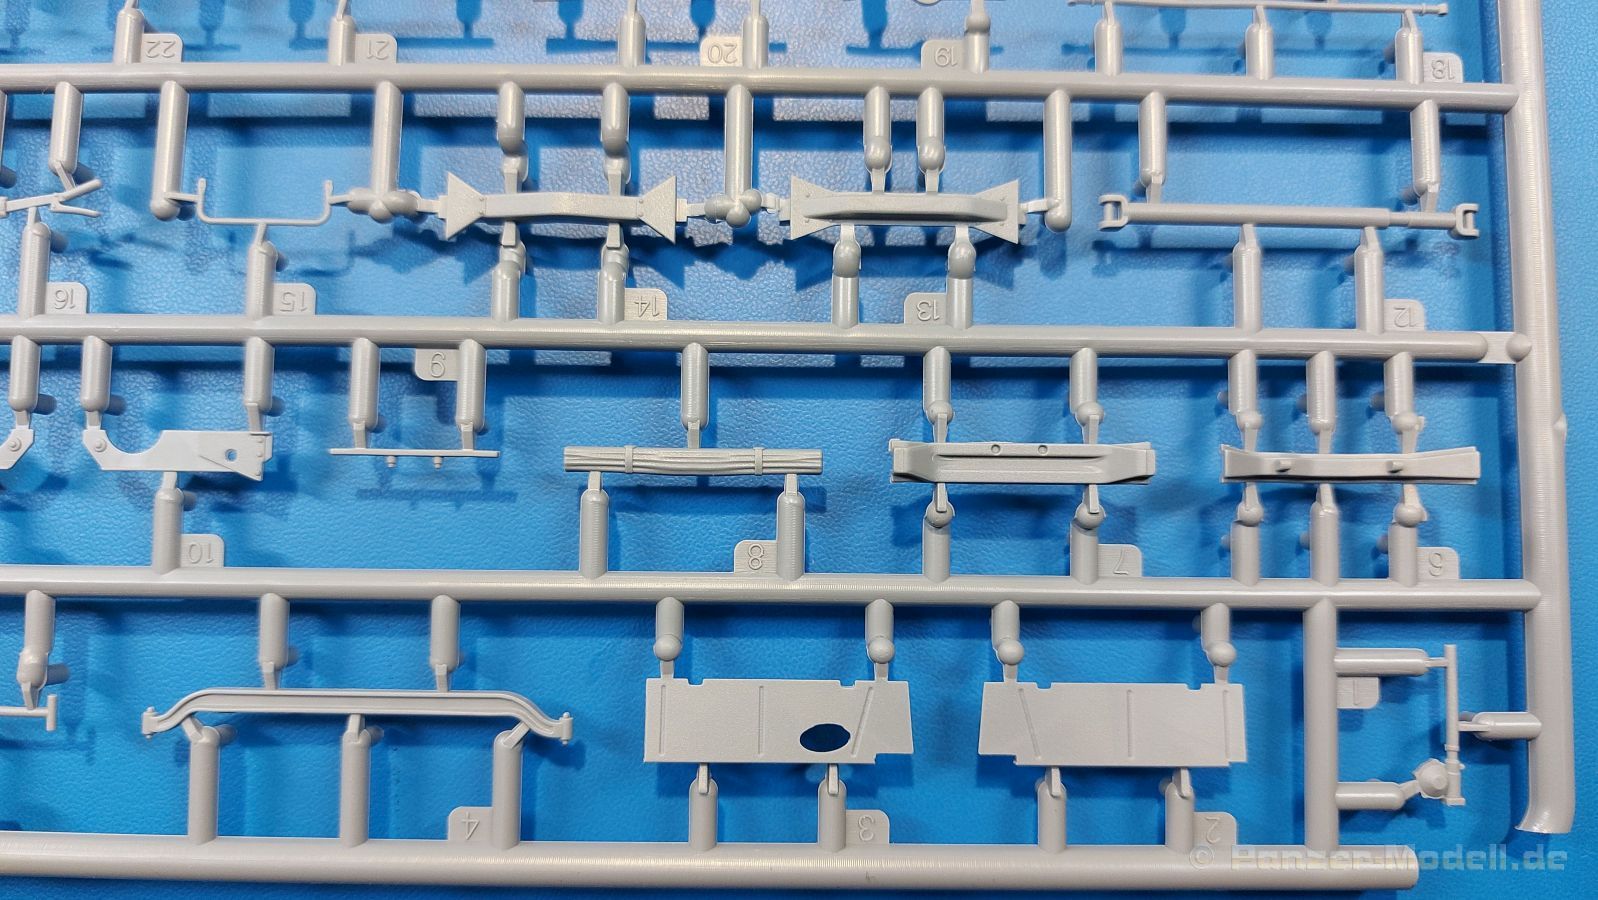
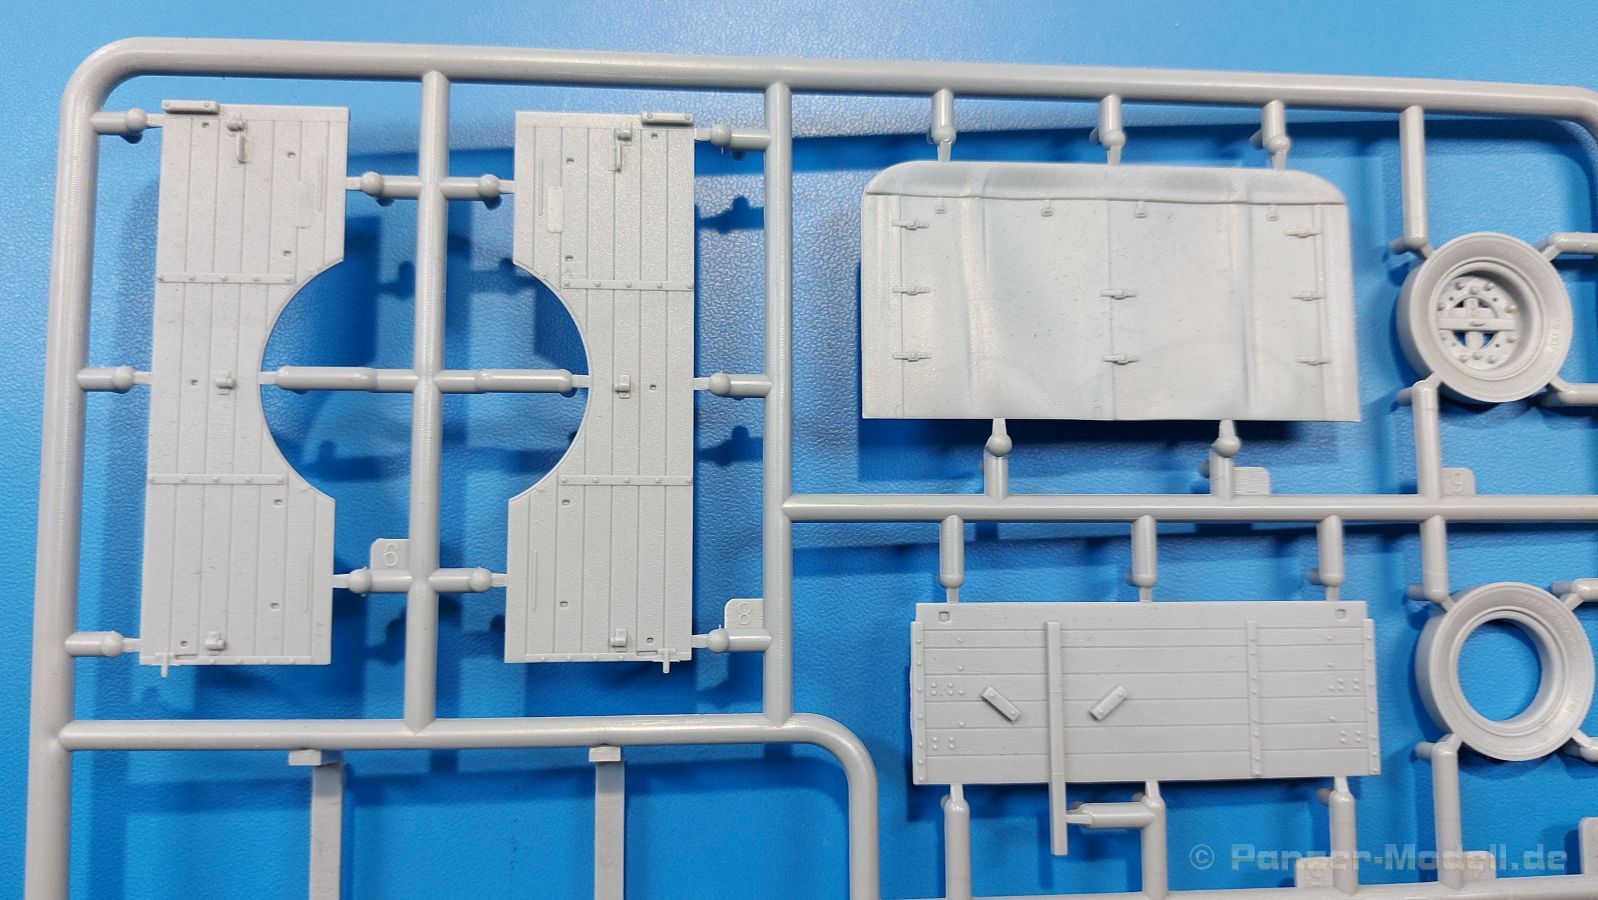
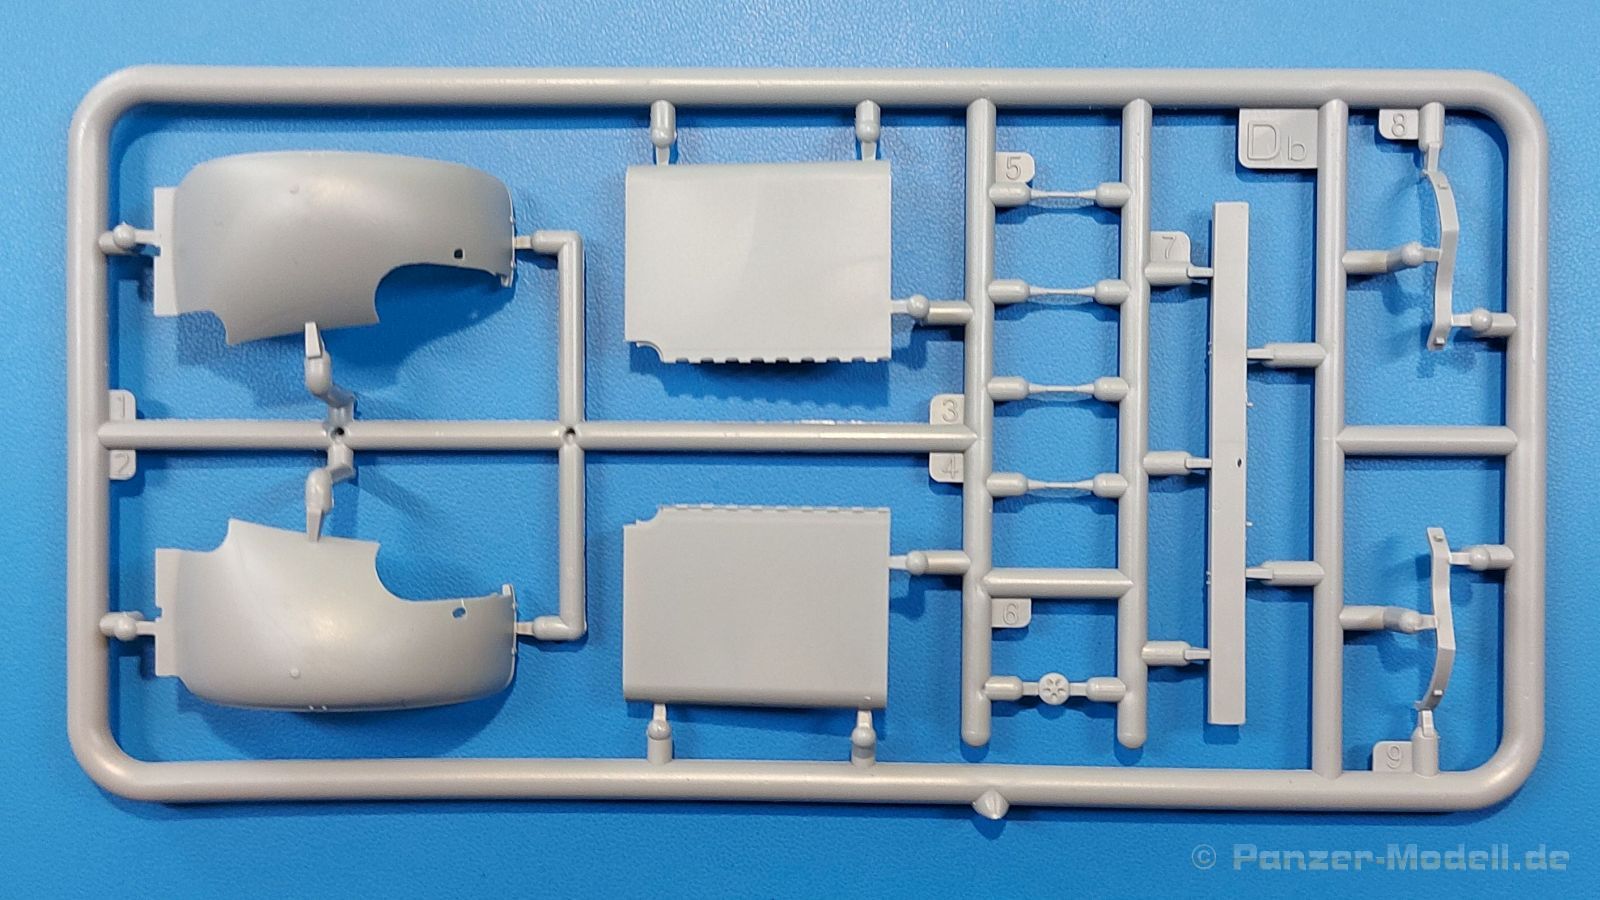
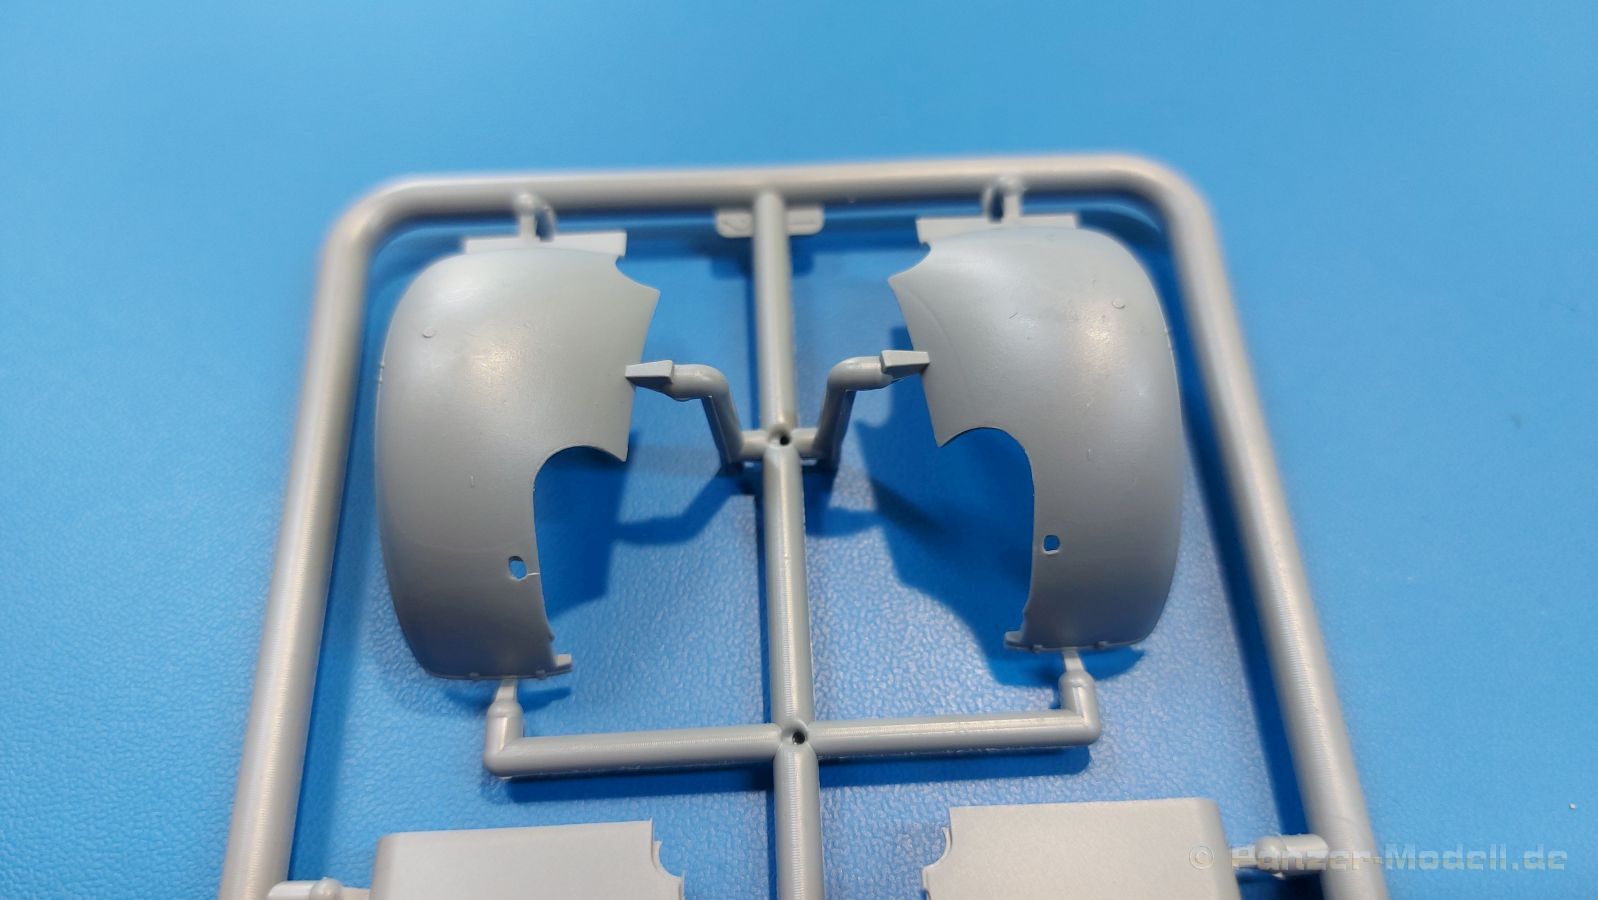
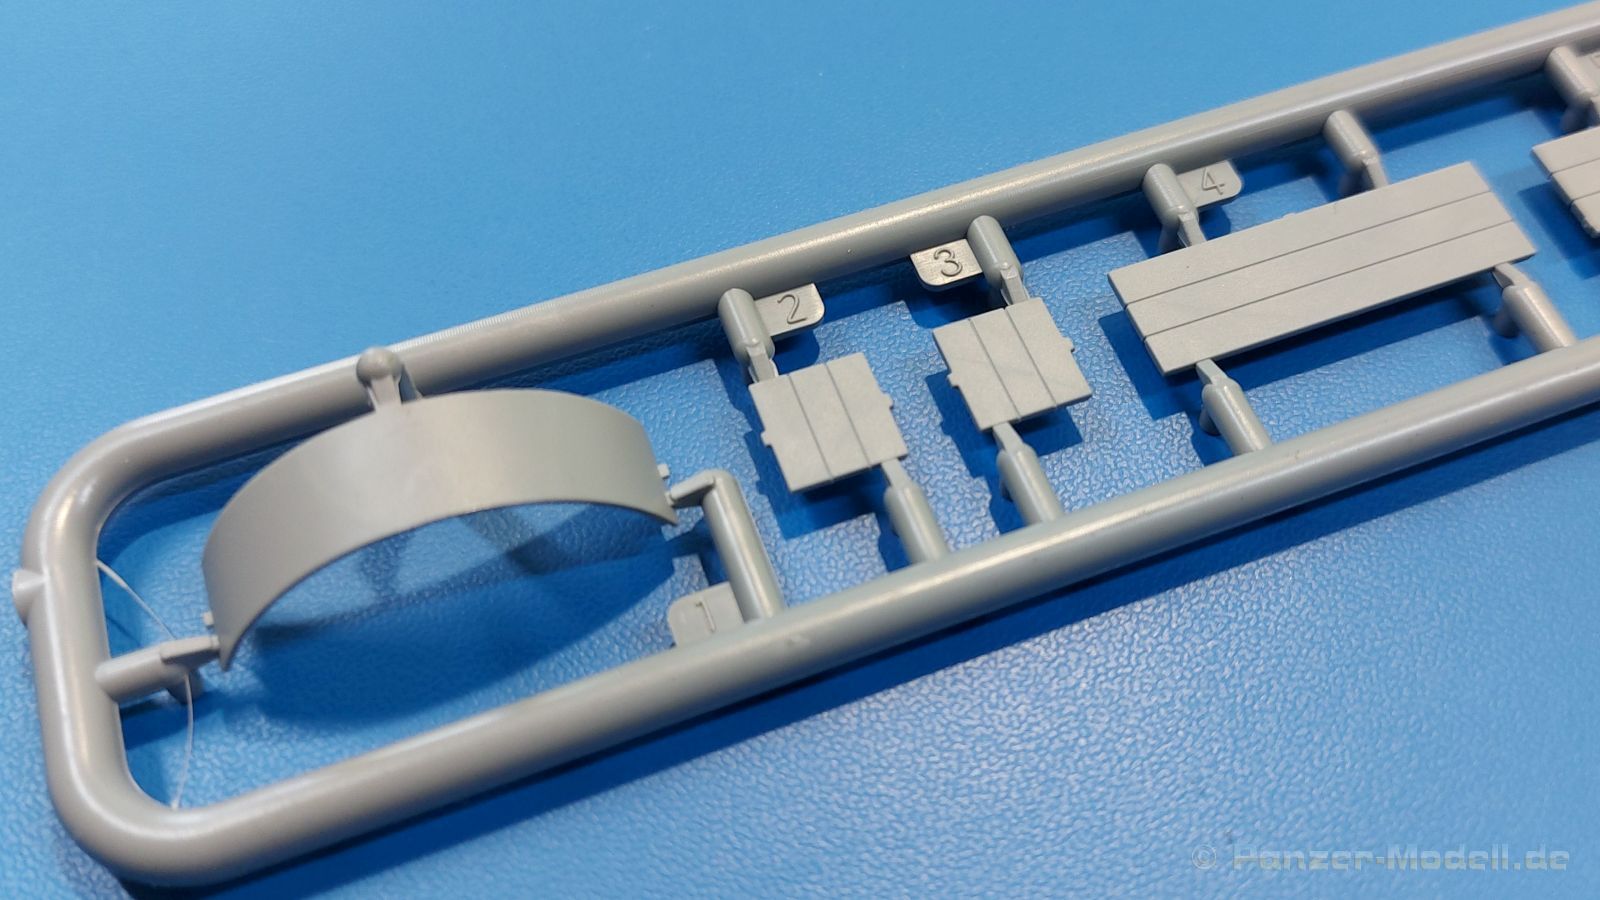
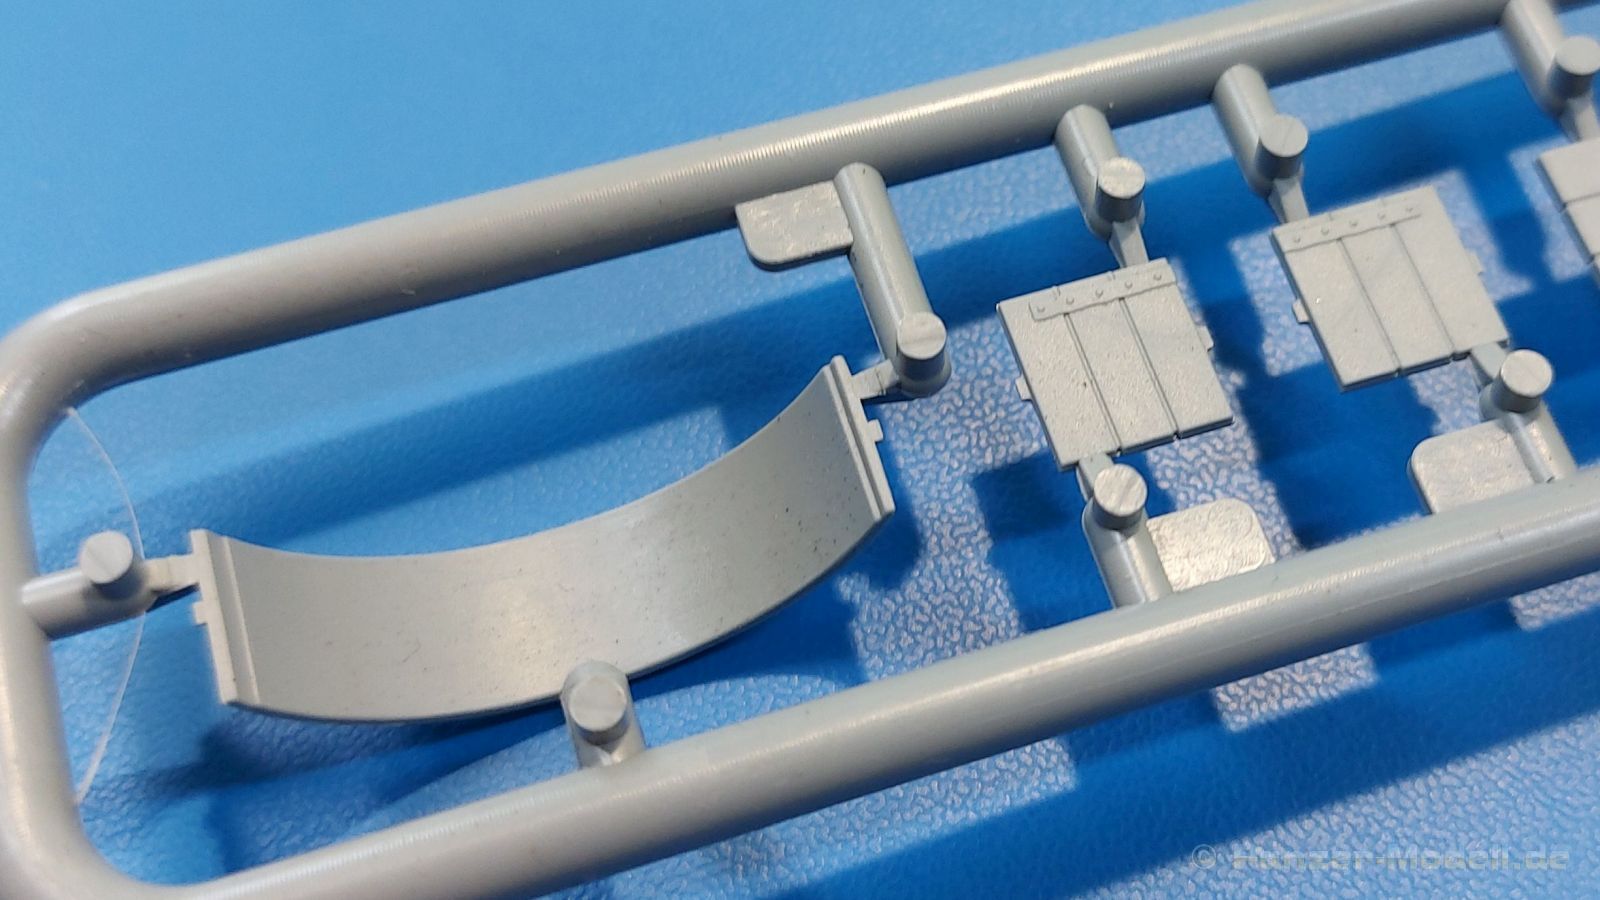
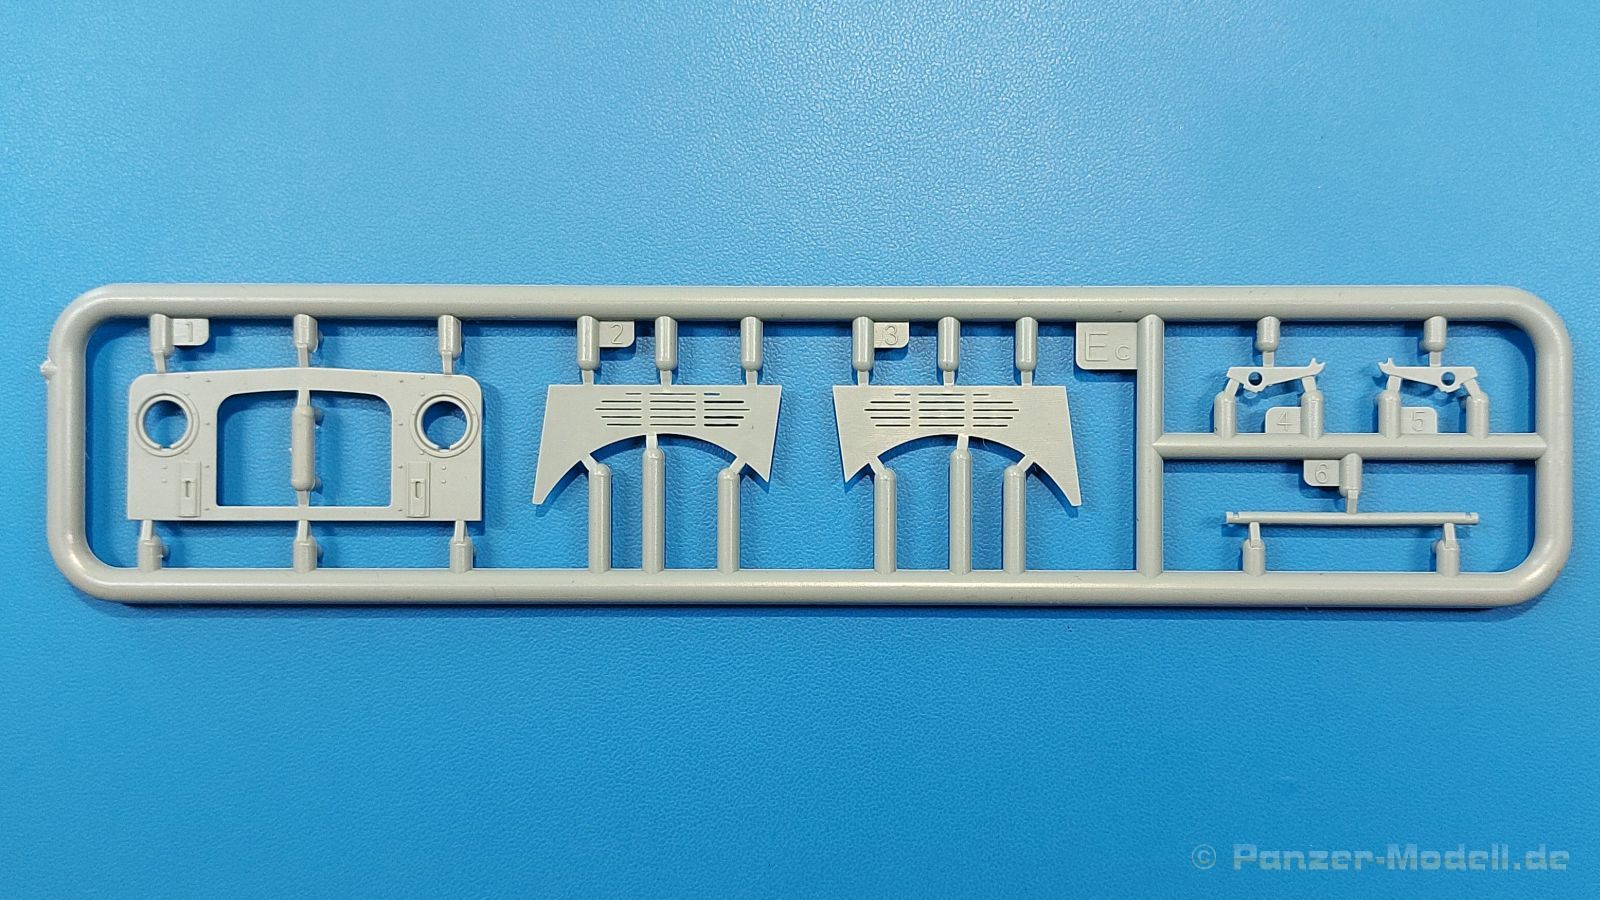
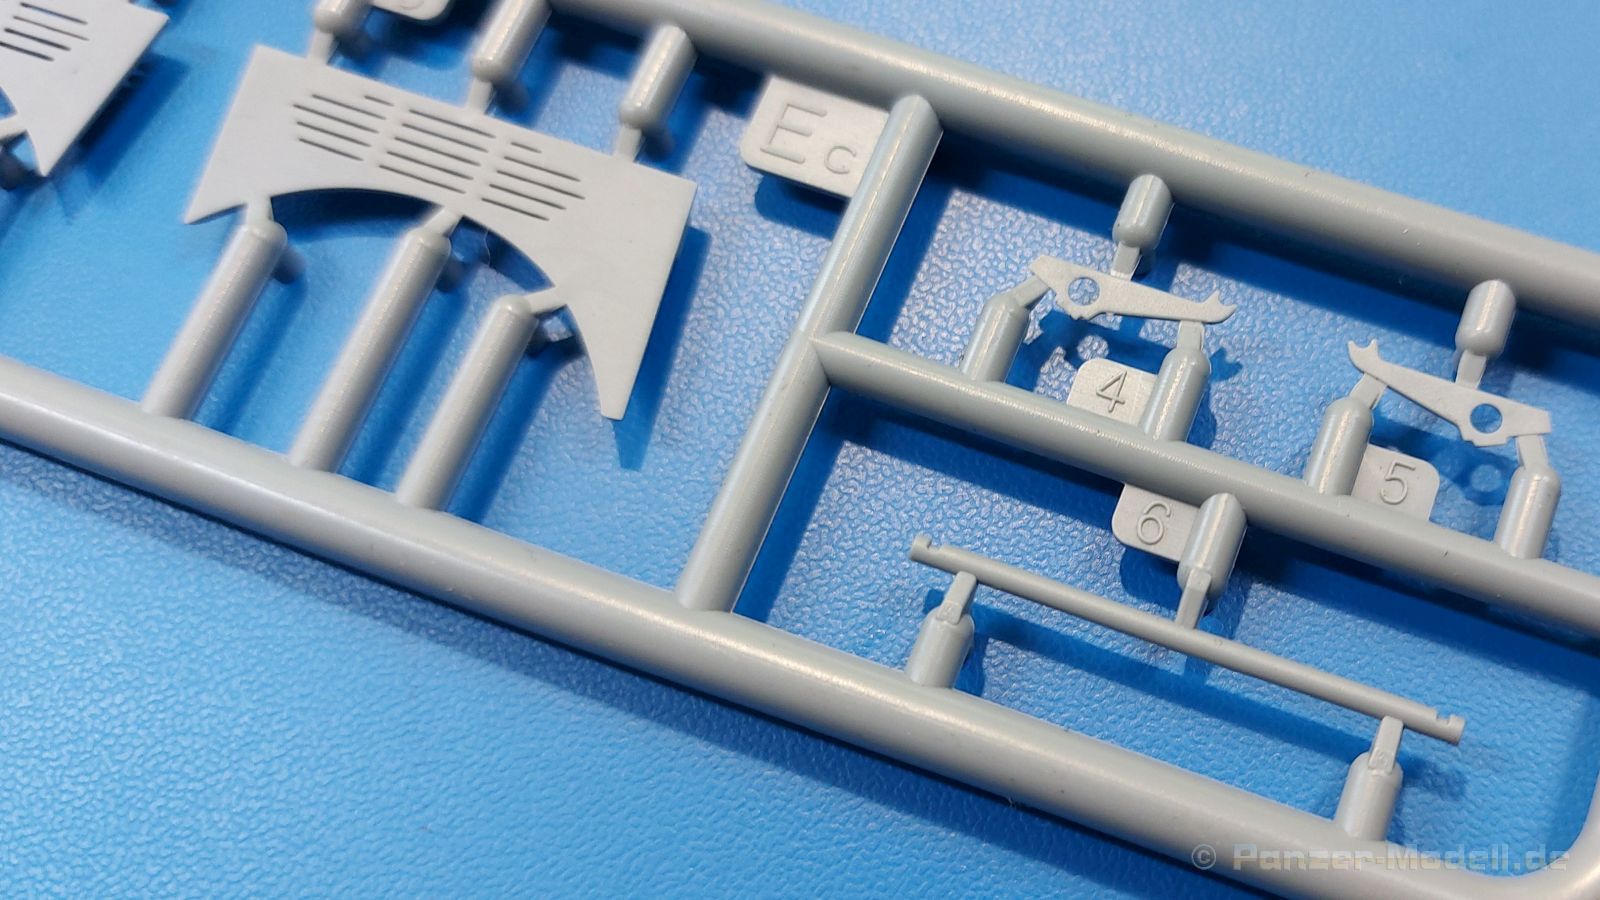
At first, I was a little annoyed that one of the headlight lenses on the sprue was missing from the review sample, but when I looked at the decal versions, I could see that the lenses were not needed. So, you do not necessarily have to worry about which headlight version you want, because only one is provided, namely a normal headlight on the right with a round PE cover and a camouflage headlight on the left. However, there are original photos showing the MWD with the cab closed and the headlight glasses exposed. In such a case, the round metal plate (PE part P48) would also be used for the loading class marking. The headlights and brackets are built into the hood front, which is detailed on both sides. The cooler opening will be closed with a fine PE mesh. The manufacturer's logo, also made of PE, has its place above it. The rolled-up radiator tarpaulin for use in cold weather is placed on the bumper. Another bumper is attached in front of the radiator grille. The side parts have perforated ventilation ribs. They can also be left out, as was probably the case in warmer regions or if the parts were damaged. If you attach them, they are held by 2 springs each, each spring with 4 PE parts. The radiator cap is glued to the radiator. The two bonnet flaps can be built closed or open. The piano hinge of the two lids is very fine. The assembly instructions show a somewhat strange angle of the open flaps. In photos, one cover is usually completely folded over on top of the other, but maybe it is only shown in the instructions for illustration purposes?
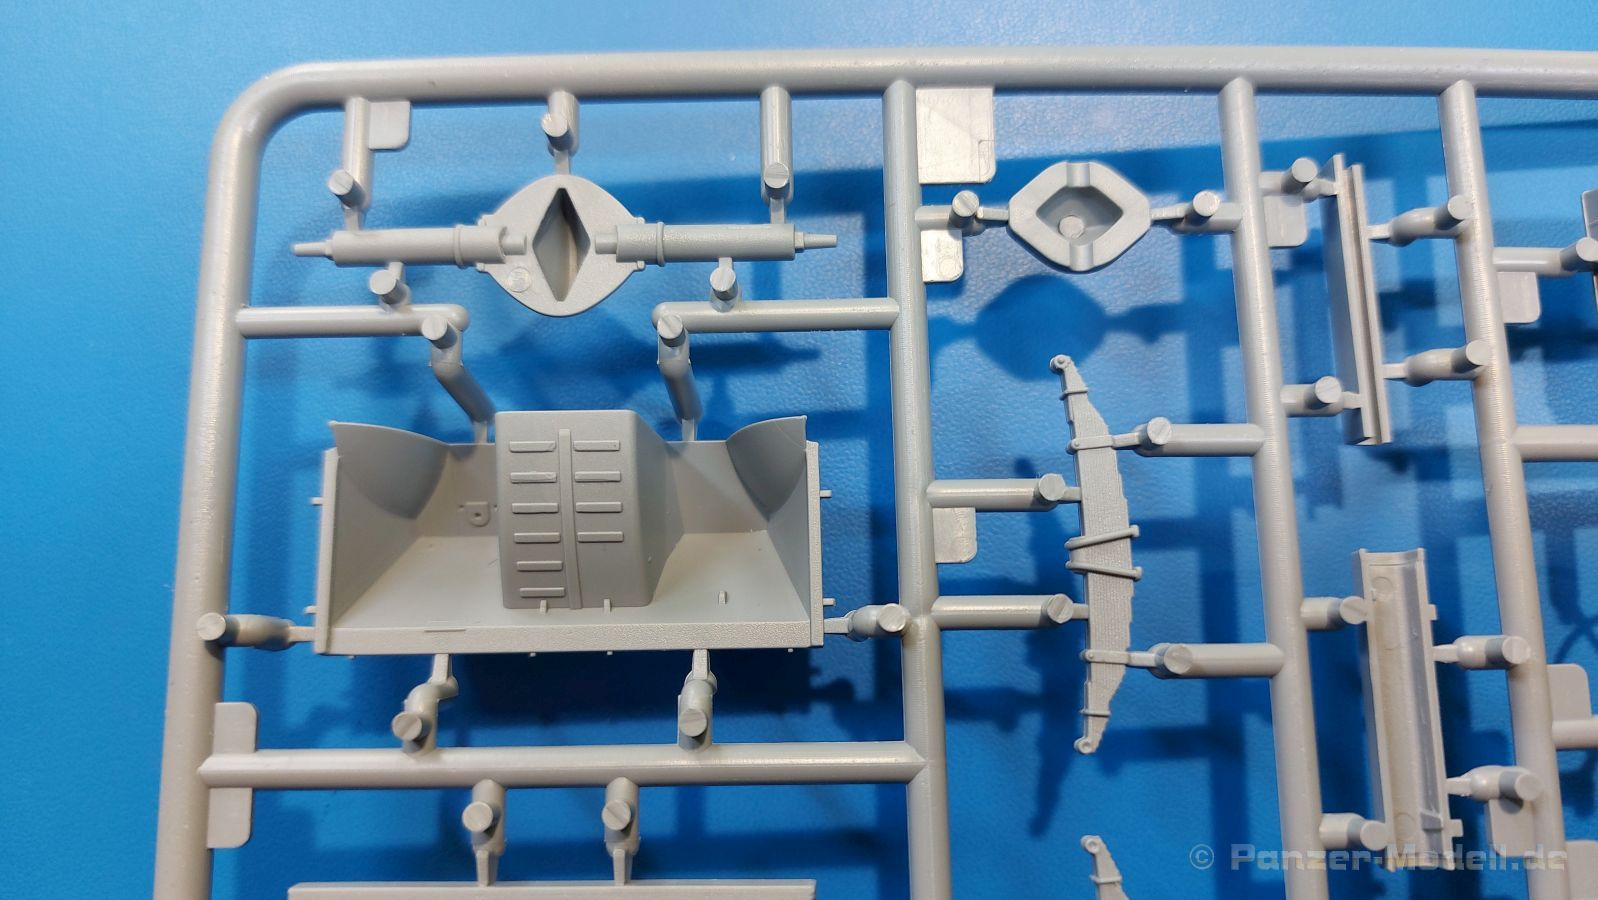
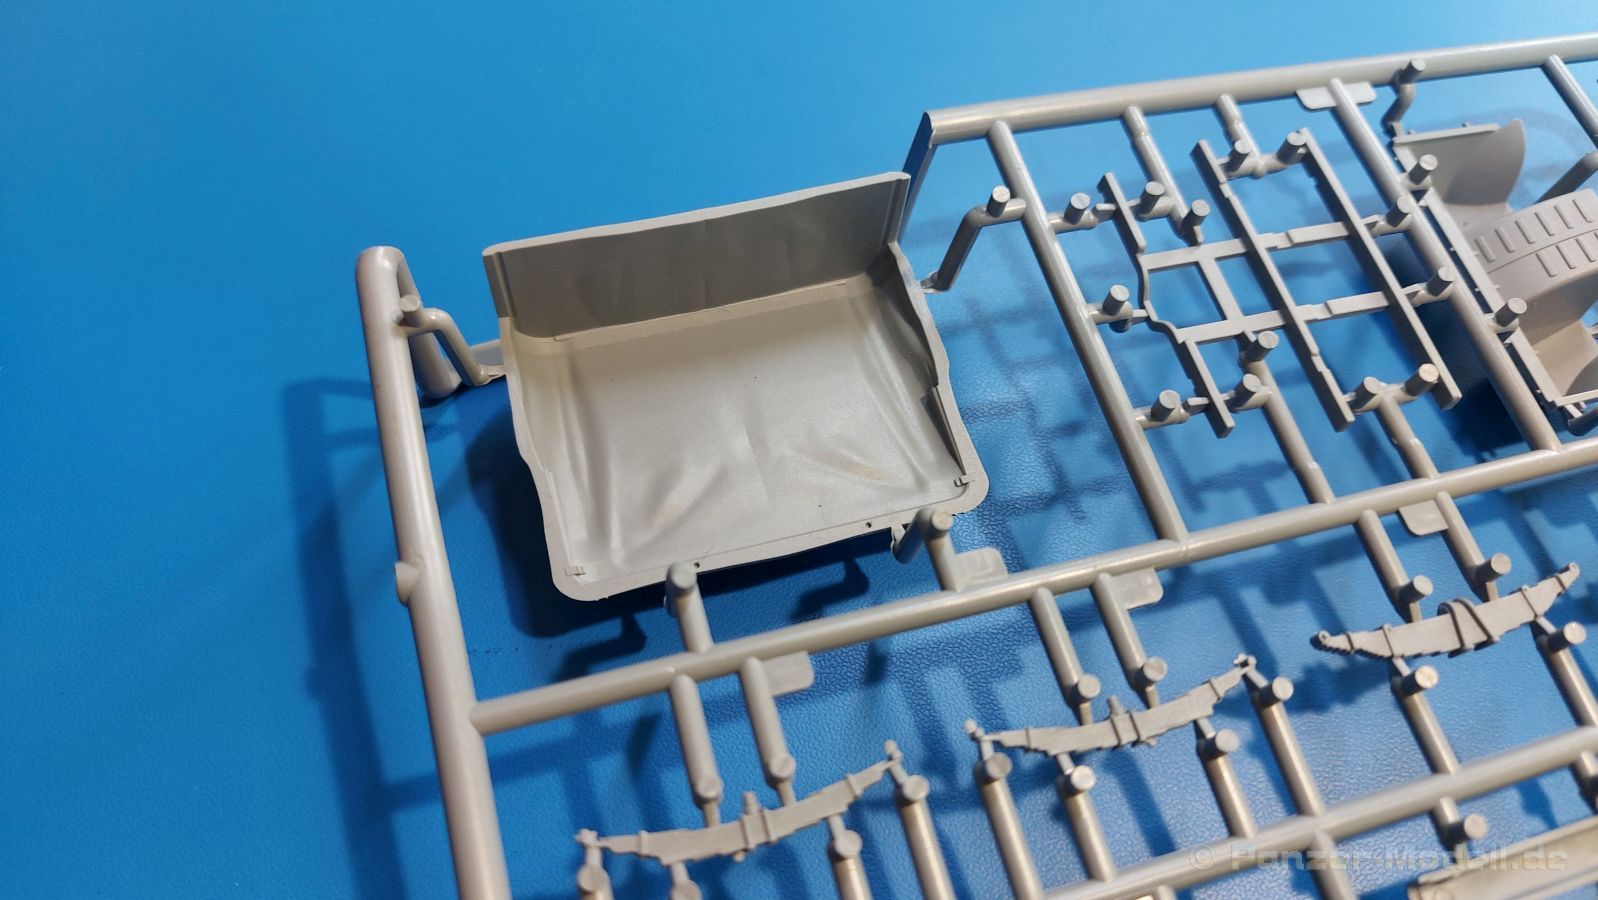
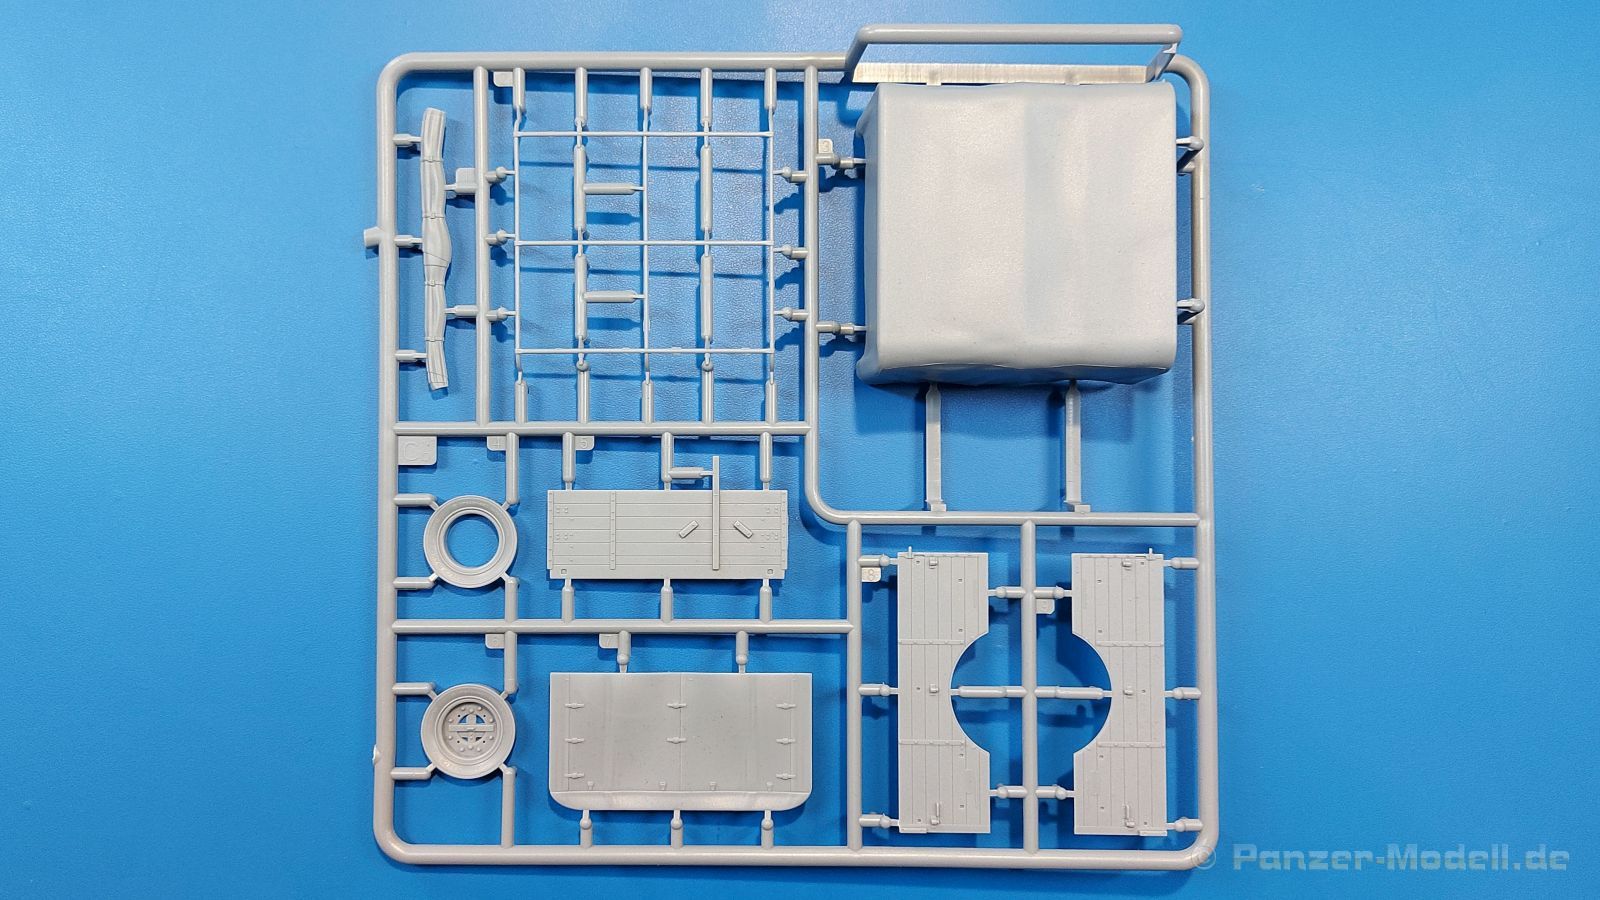
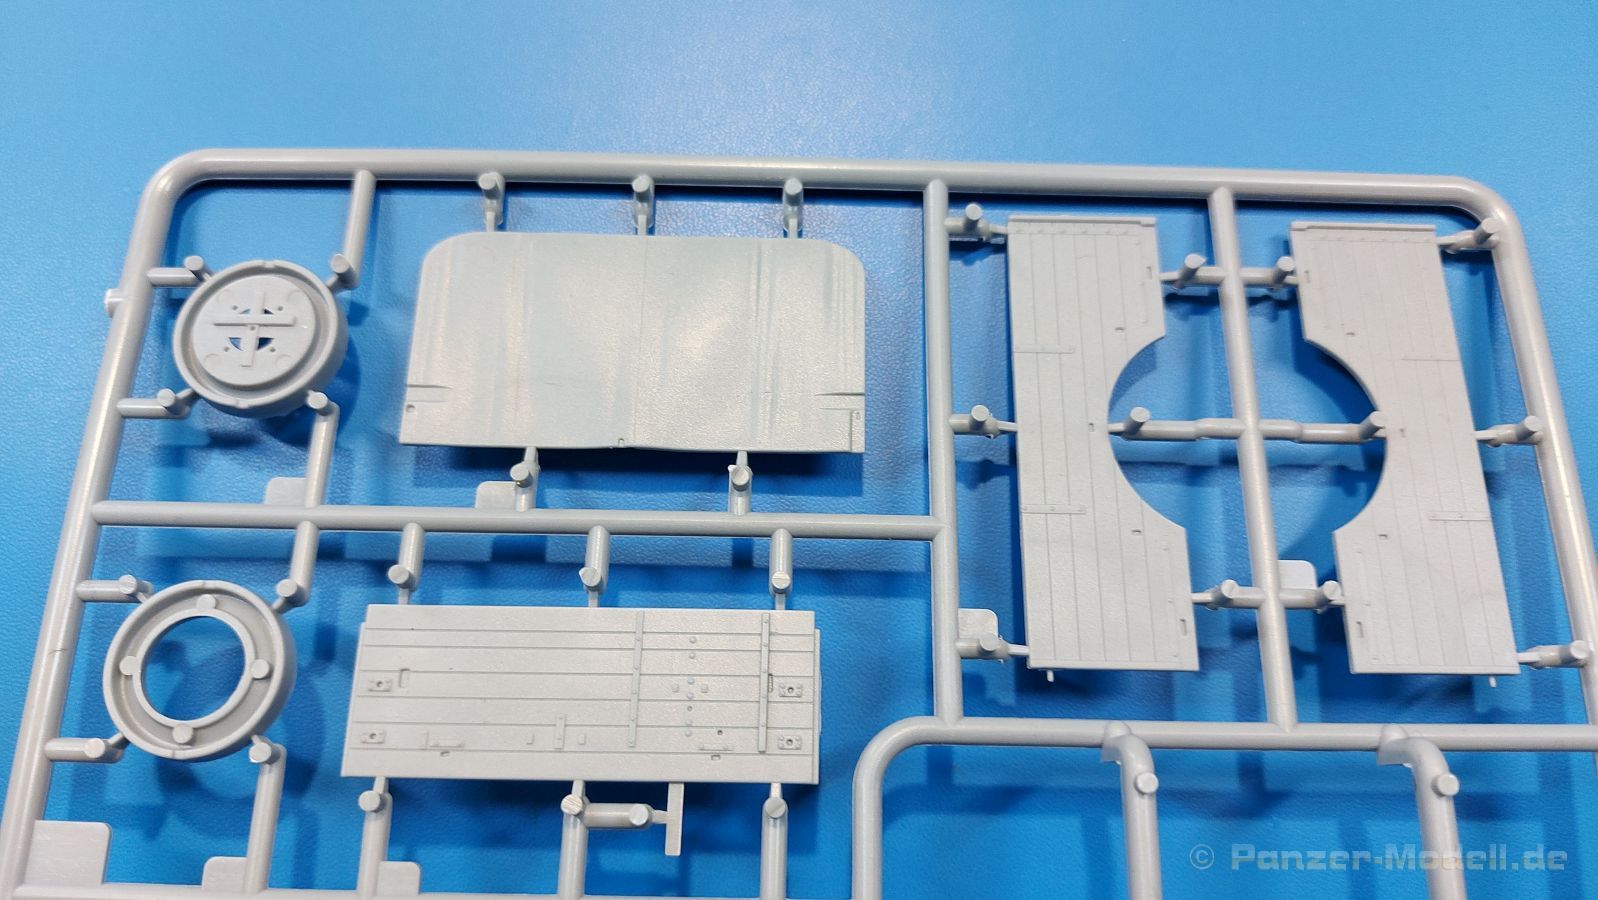
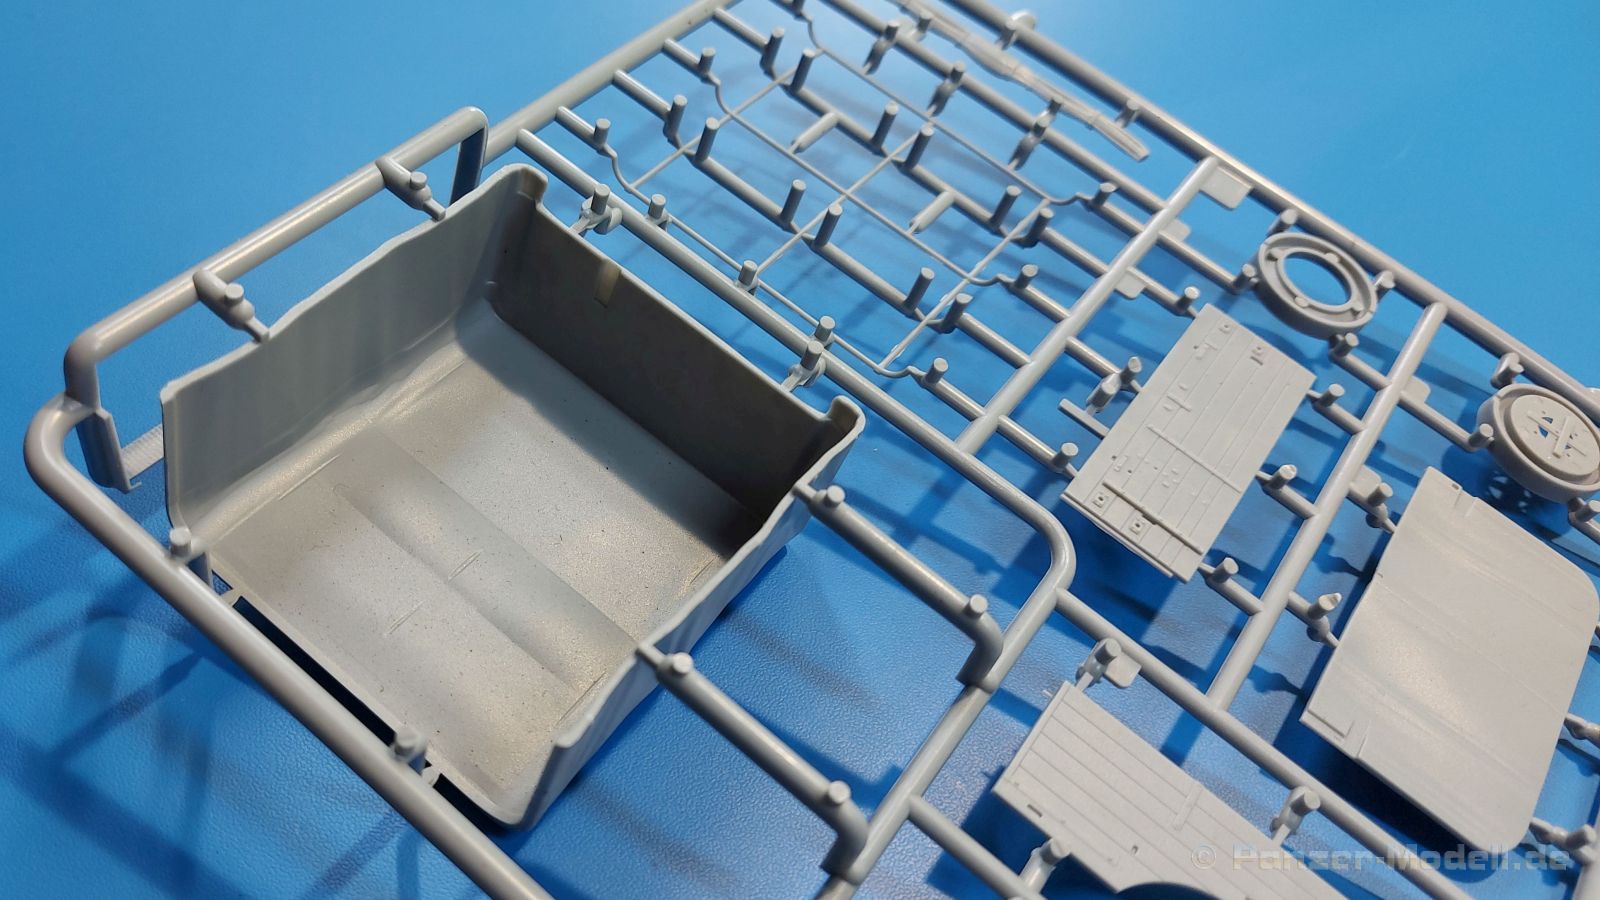
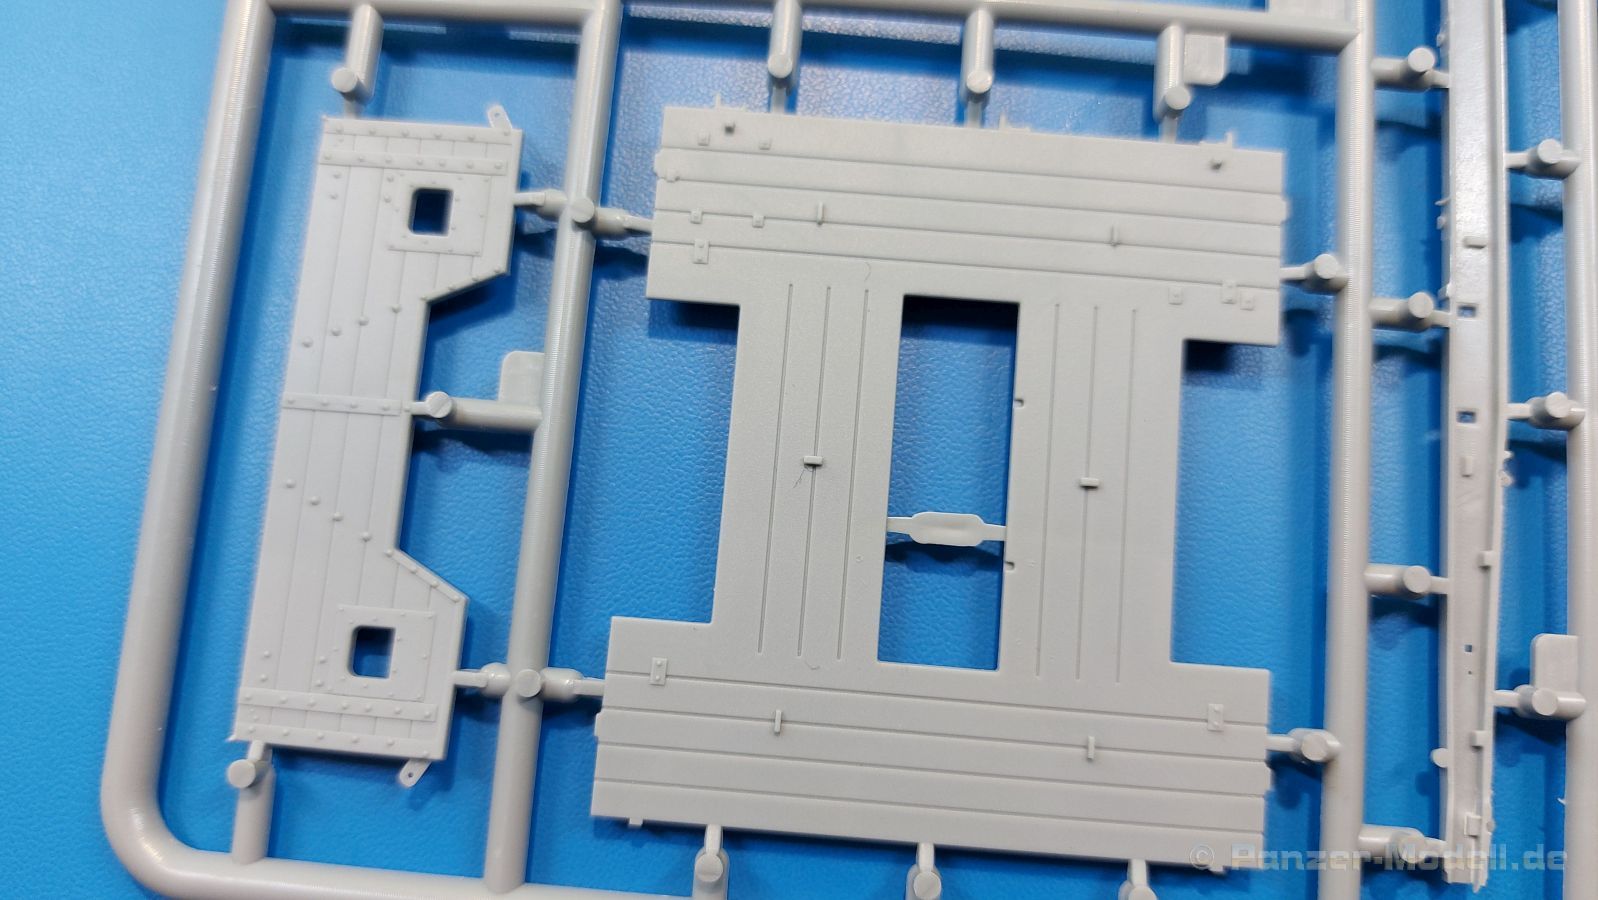
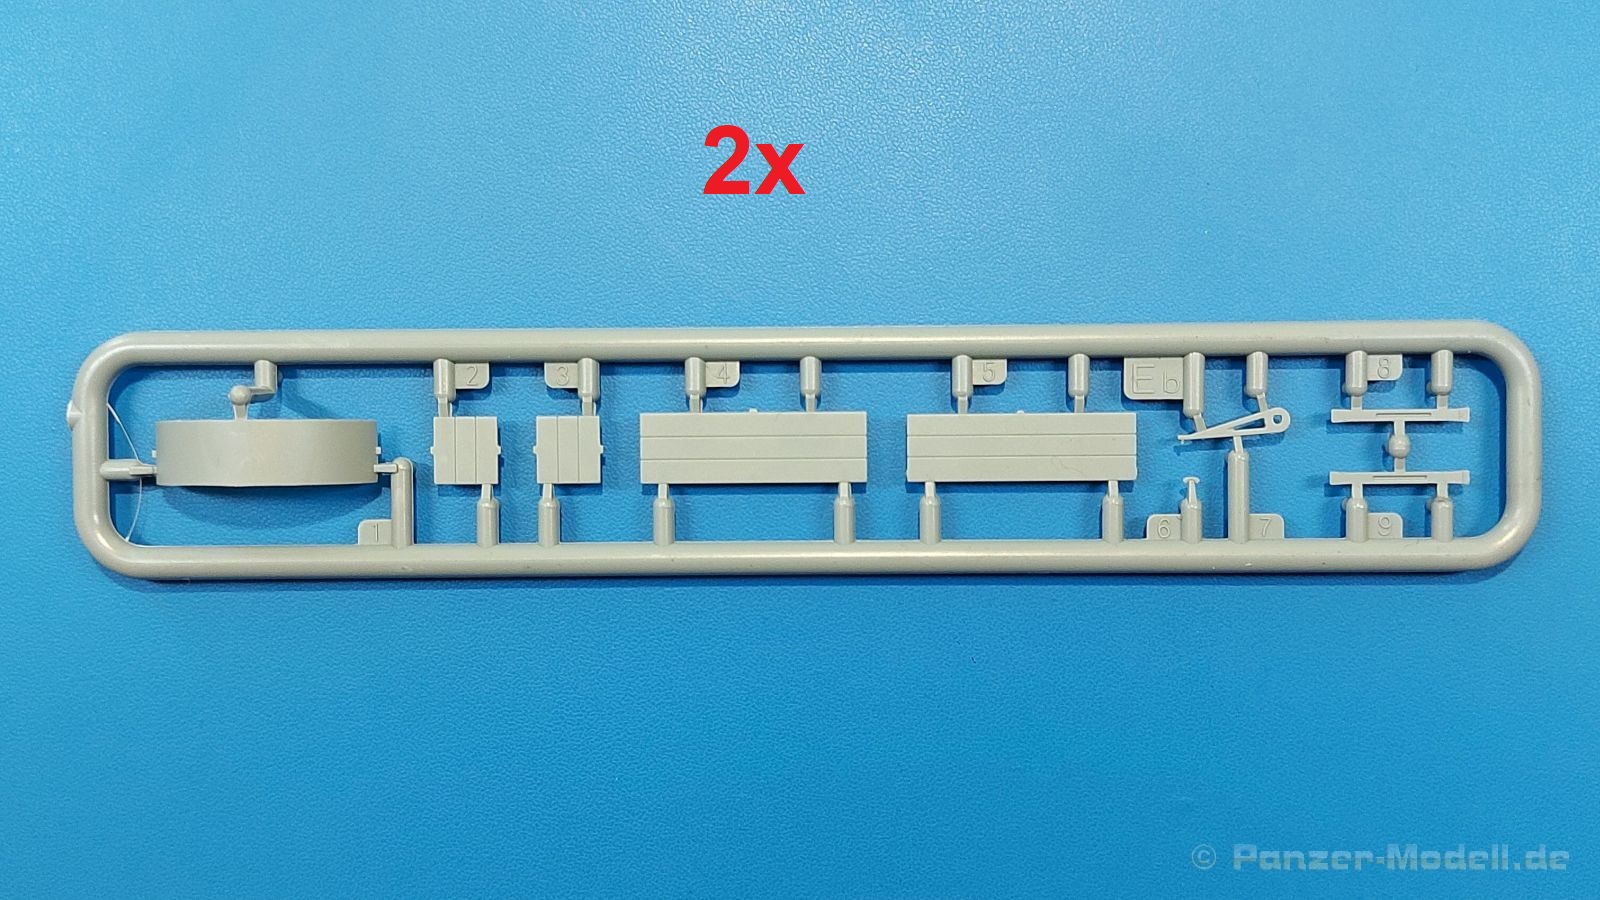
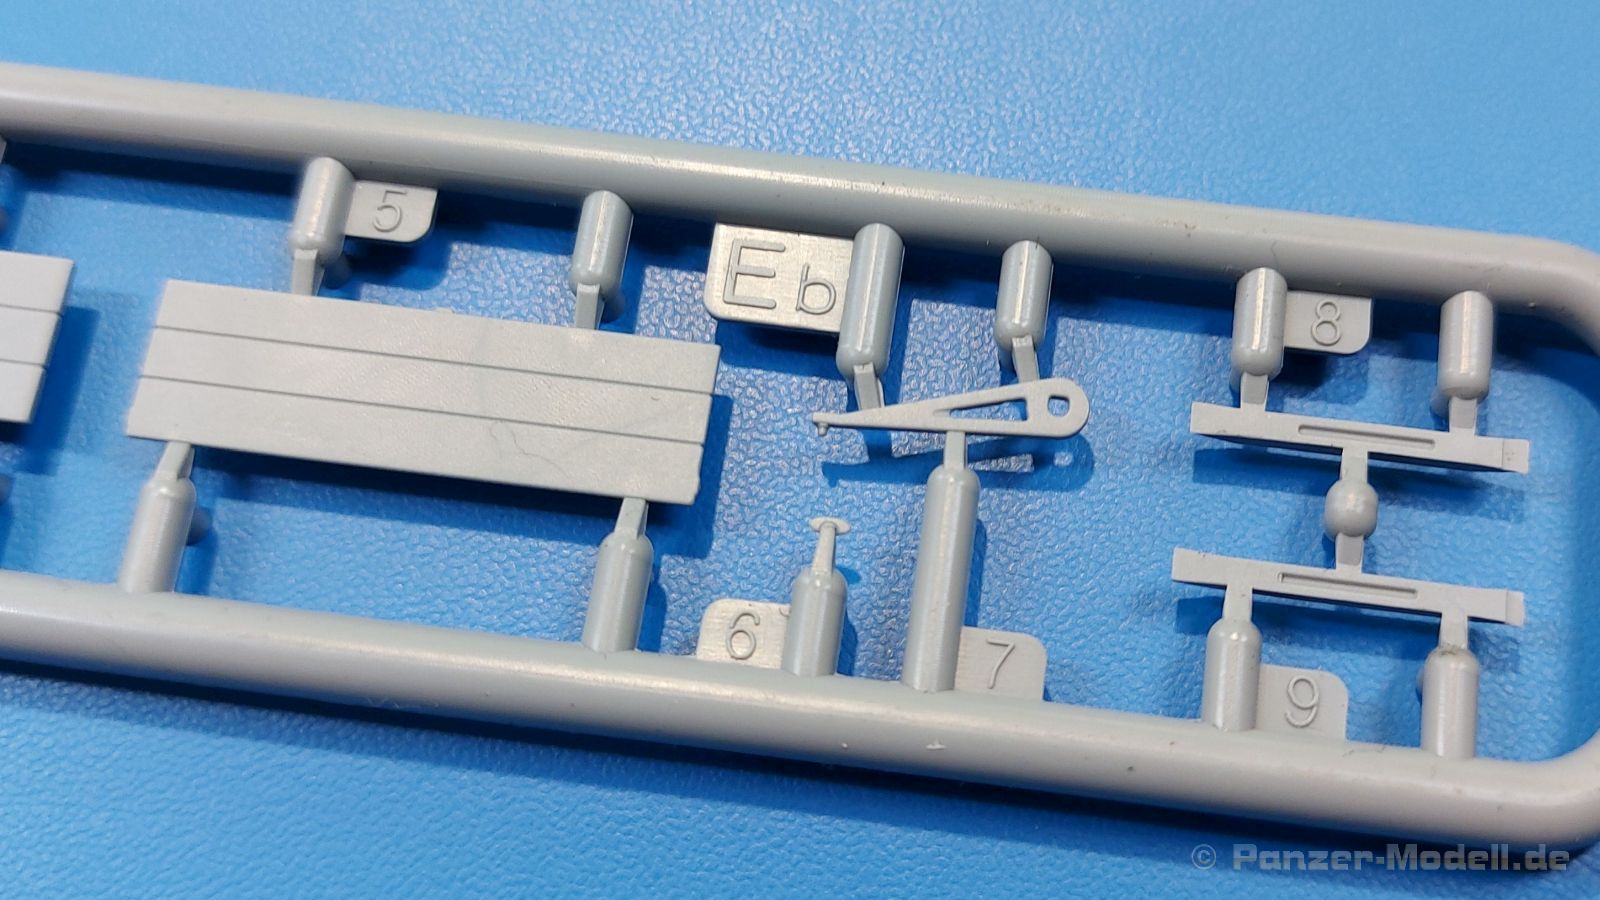
The platform structure is almost the same as that of the MWD with an open cab. There are a few differences that I will come to later. The flatbed subframe with the fenders for connecting to the frame is the simplest part. There are 4-part bench seats on the inside and protective rails on the outside on the side walls. The front side gets a shovel and forms a storage box and the rear wall of the driver's cab. This time a spare wheel with a mounting cross is attached to the rim on the inside of the front. The tailgate with openings as a climbing aid can certainly also be folded down. Many PE parts are used on the platform - chains for the tailgate latch, brackets, and mud flaps. The hooks for the tarpaulin rope are made of tiny plastic parts. The platform floor gets a floor flap, the meaning of which is not accessible to me. A storage box and a canister holder including Flimsy (thin-walled fuel canister) are attached to the underbody. The bows are completely present. And this time you can cover it with a tarpaulin made of plastic parts. There are alternative parts for the rear of the tarpaulin - closed or rolled up so that you can see the loading area. Holes are drilled in the sides of the tarpaulin so that the enclosed tarpaulin rope (string) can be pulled through.
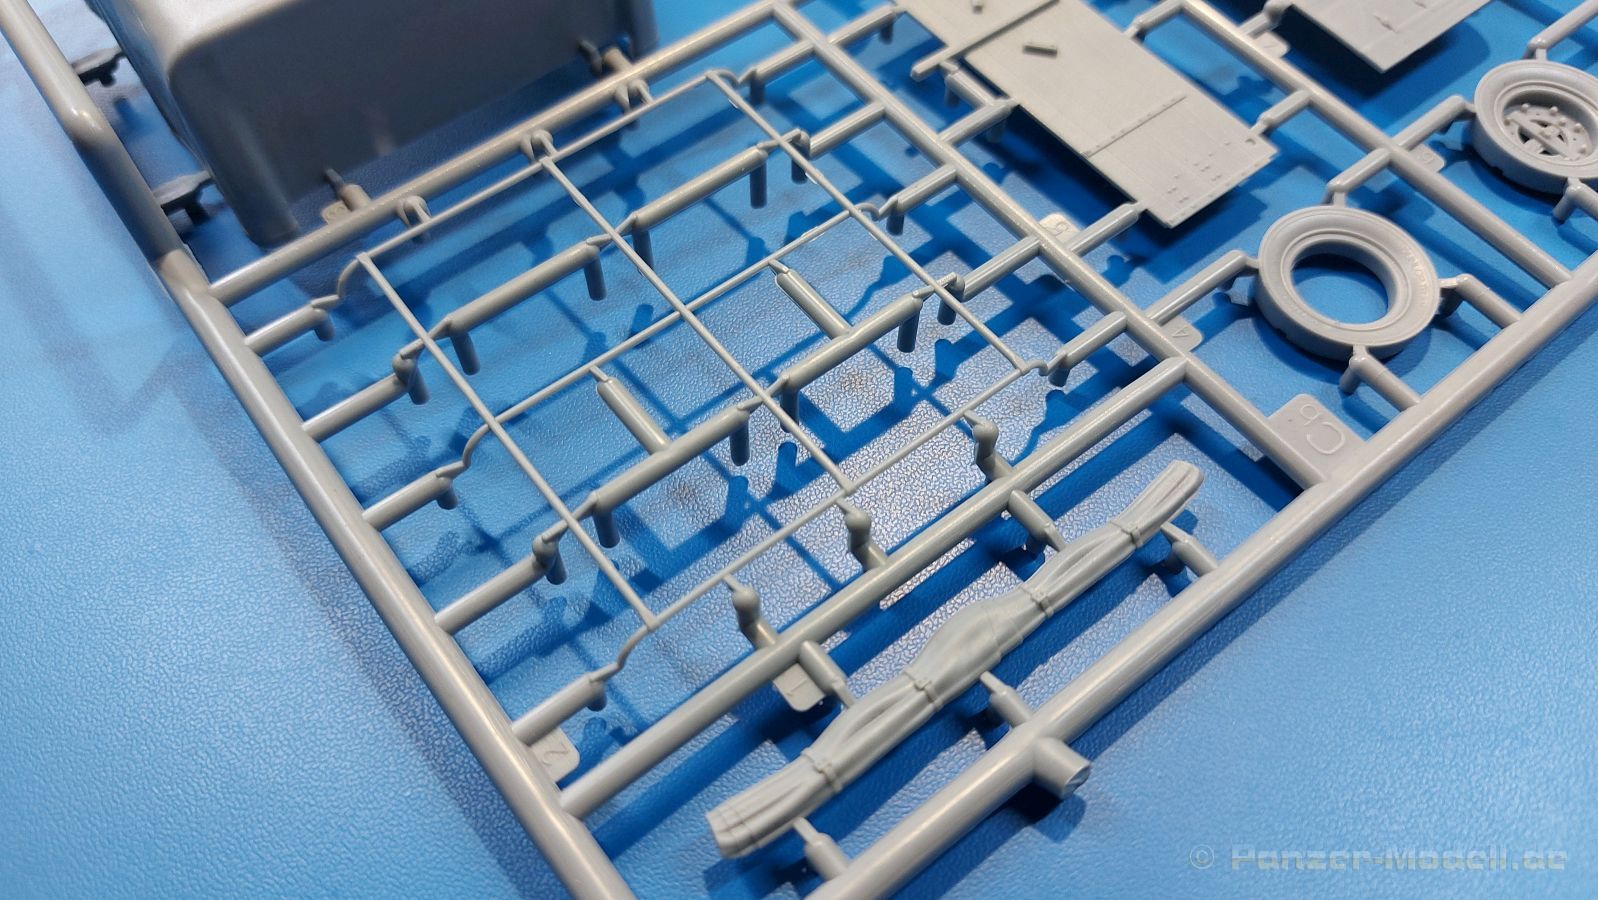
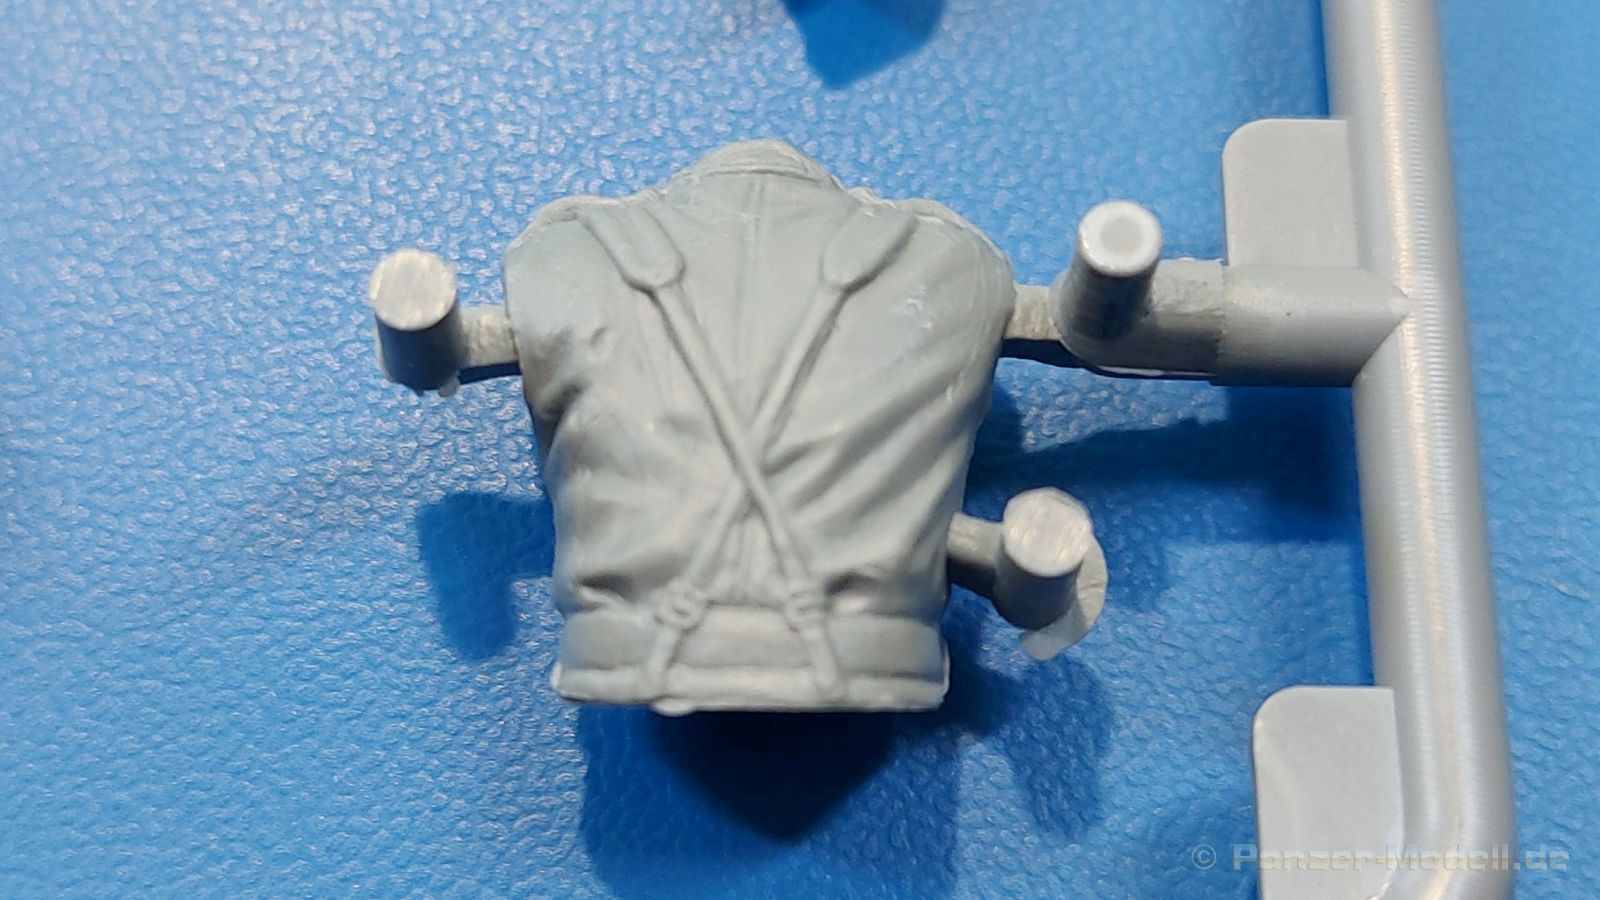
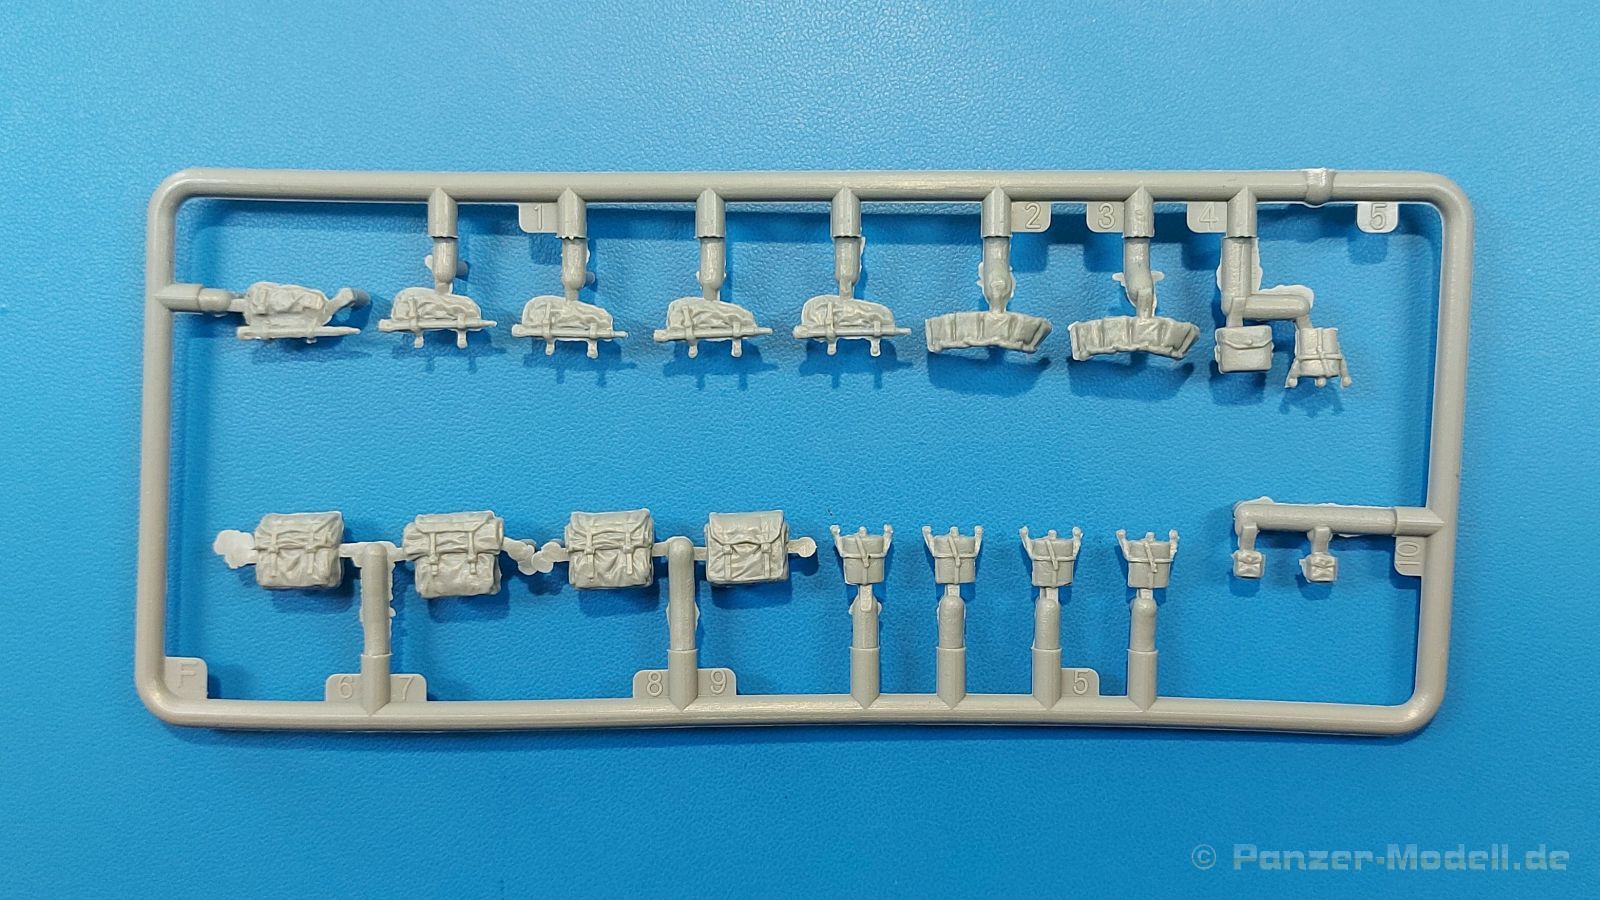
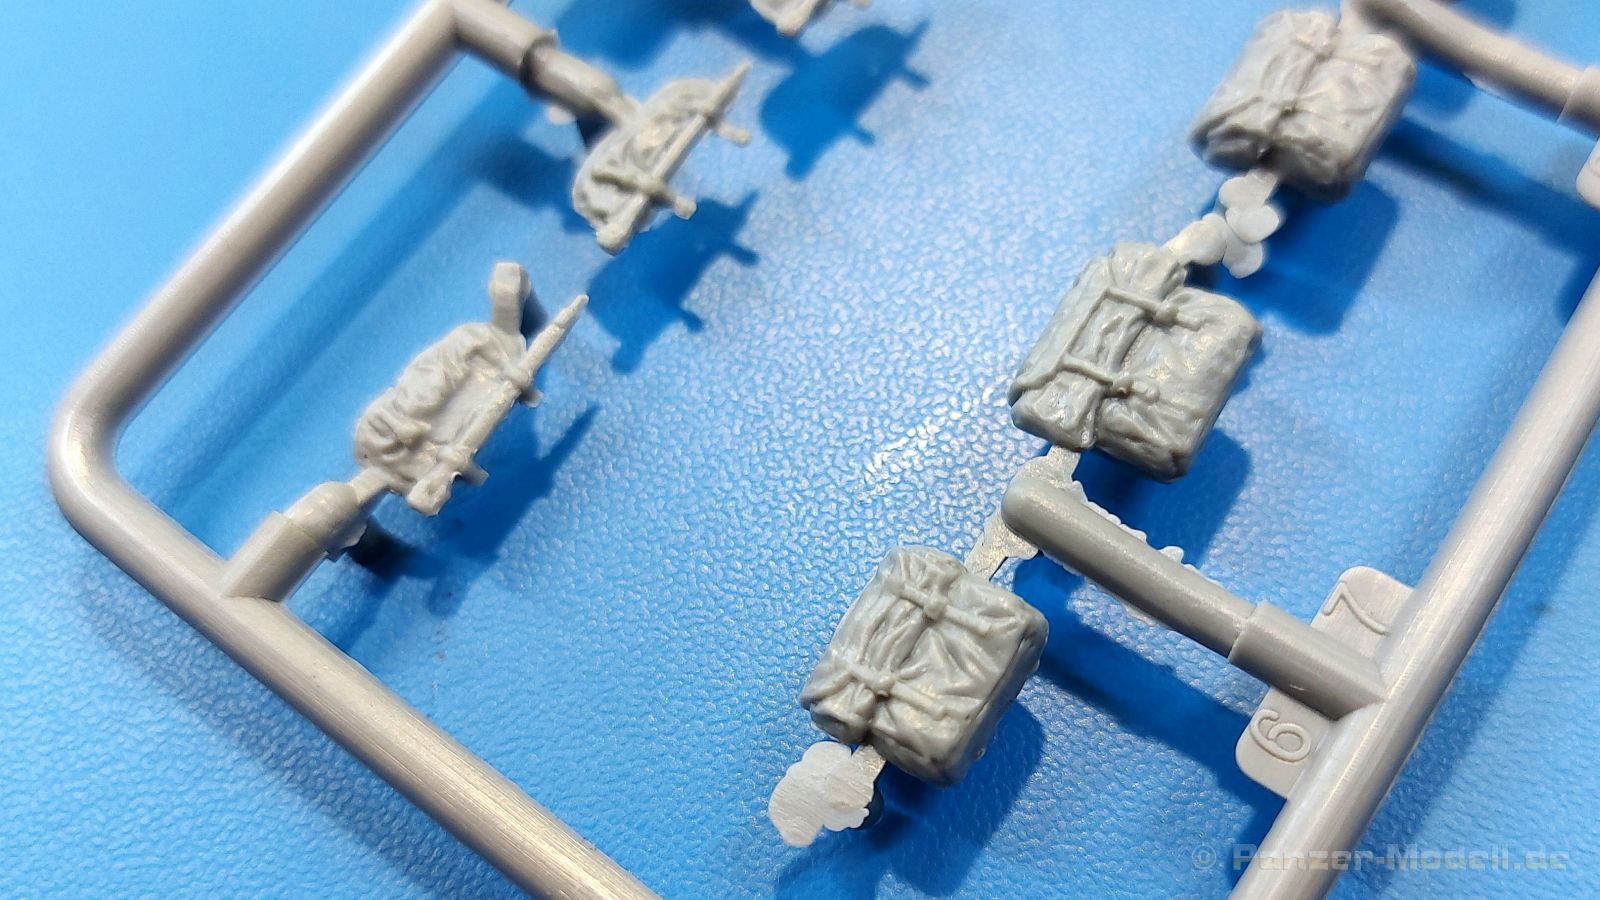
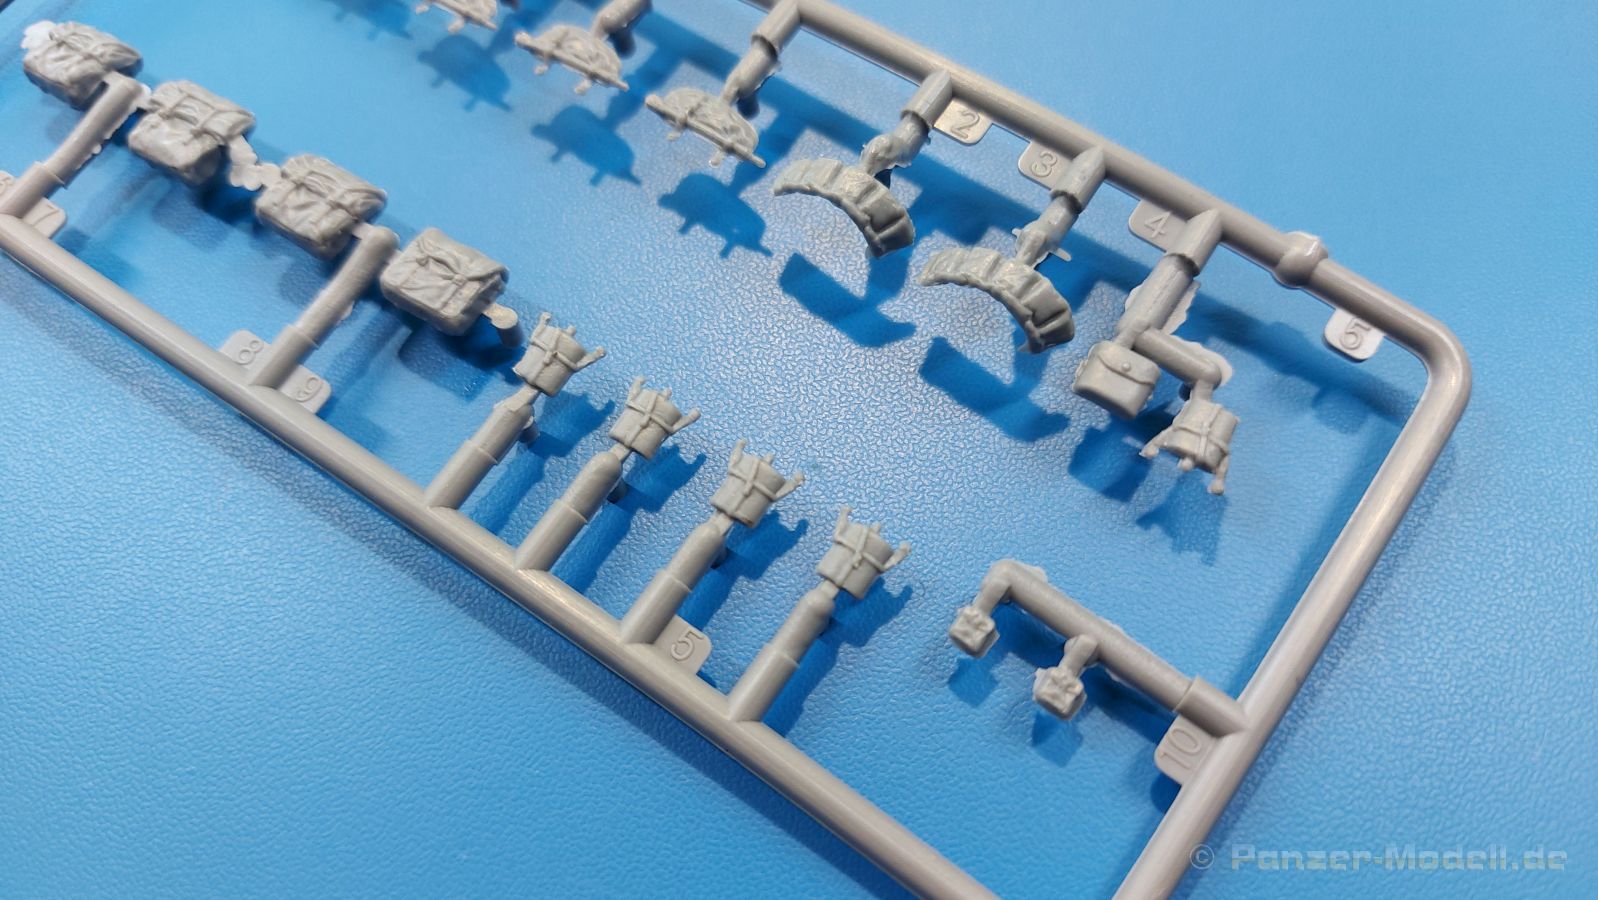
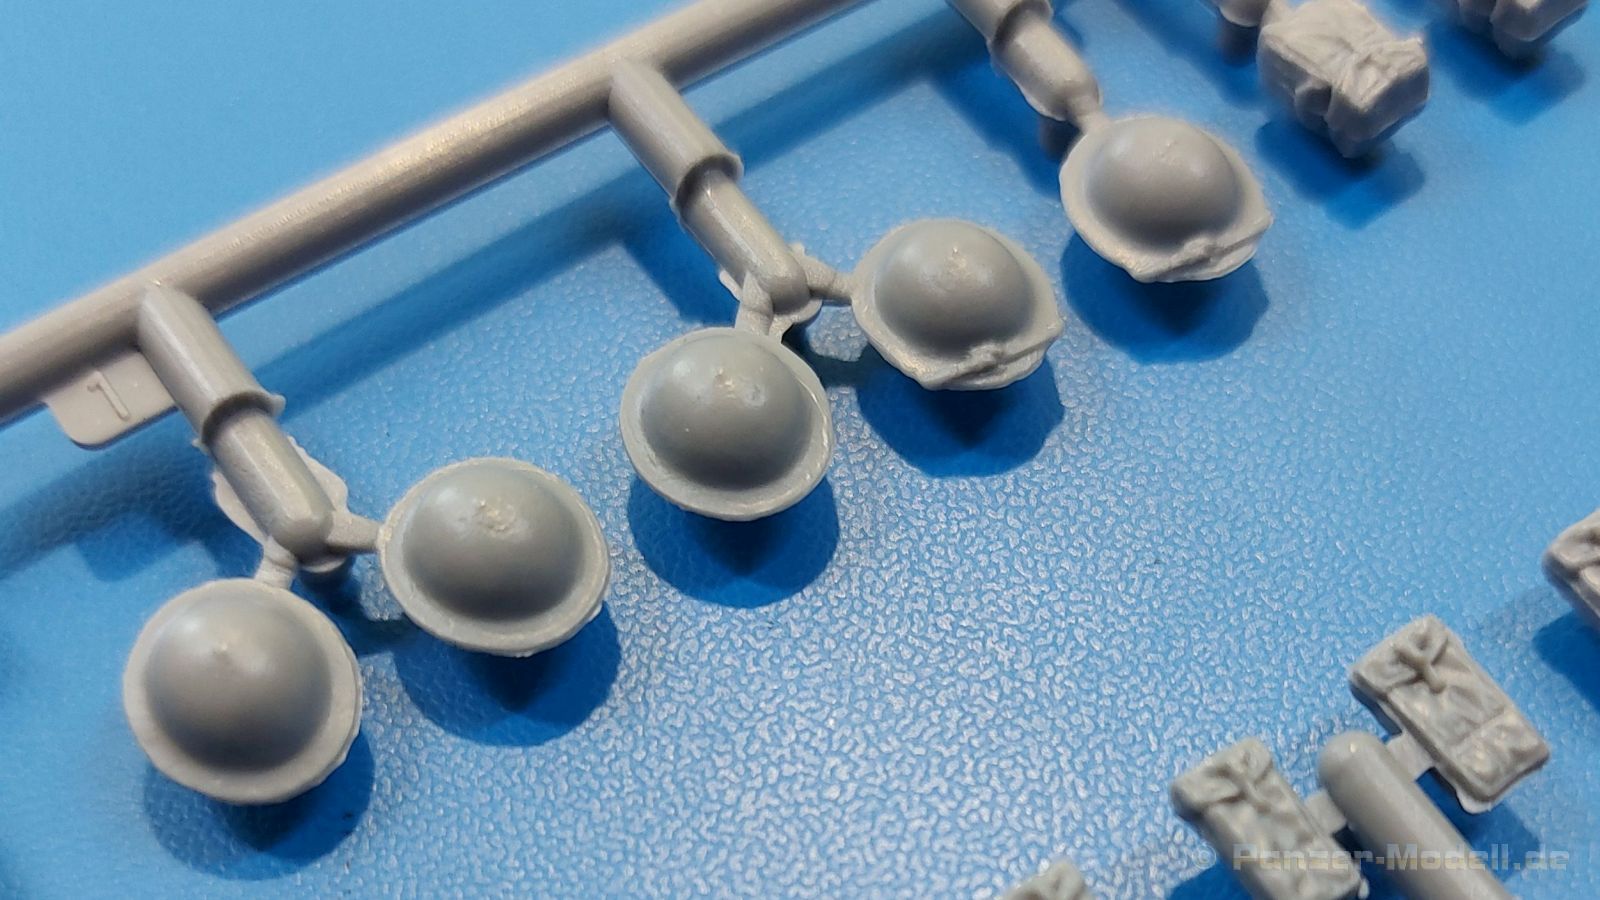
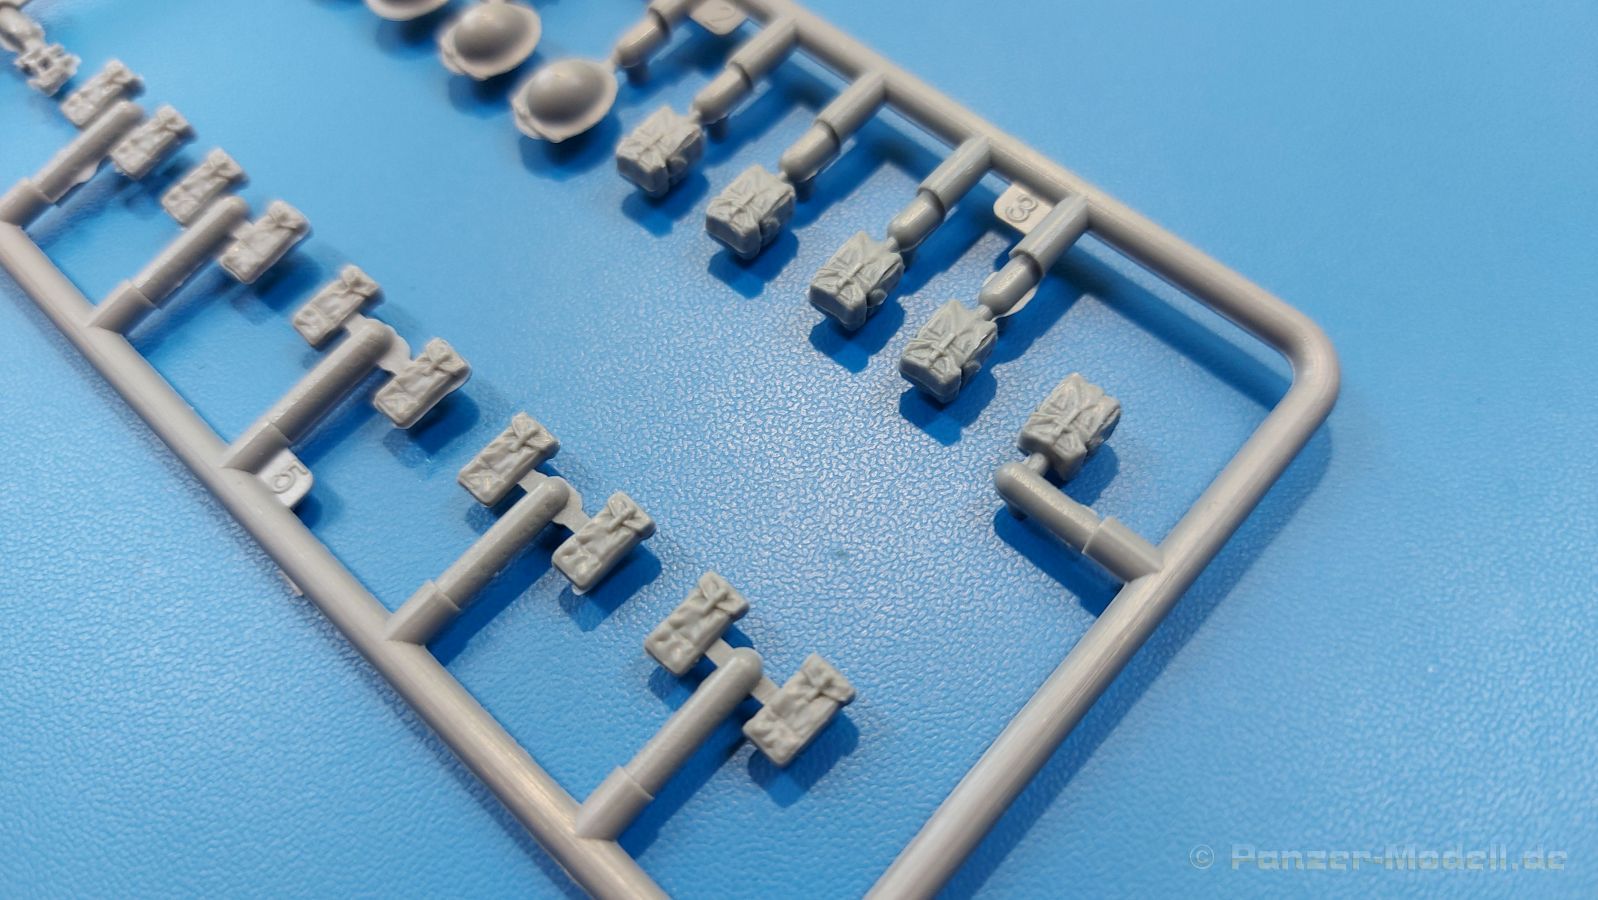
A driver figure, seated, with his hands on the steering wheel and, according to his uniform, more suitable for the European theater of war, consists of a head, torso, arms, and legs. For the head you have the choice between one with a Barrett and one with a cap. You only need 2 ammunition pouches from the injection molded parts with the figure accessories. The rest of the helmets, water bottles, digging tools, bags, etc. go into the spare parts box or some of them are attached to / in the vehicle.
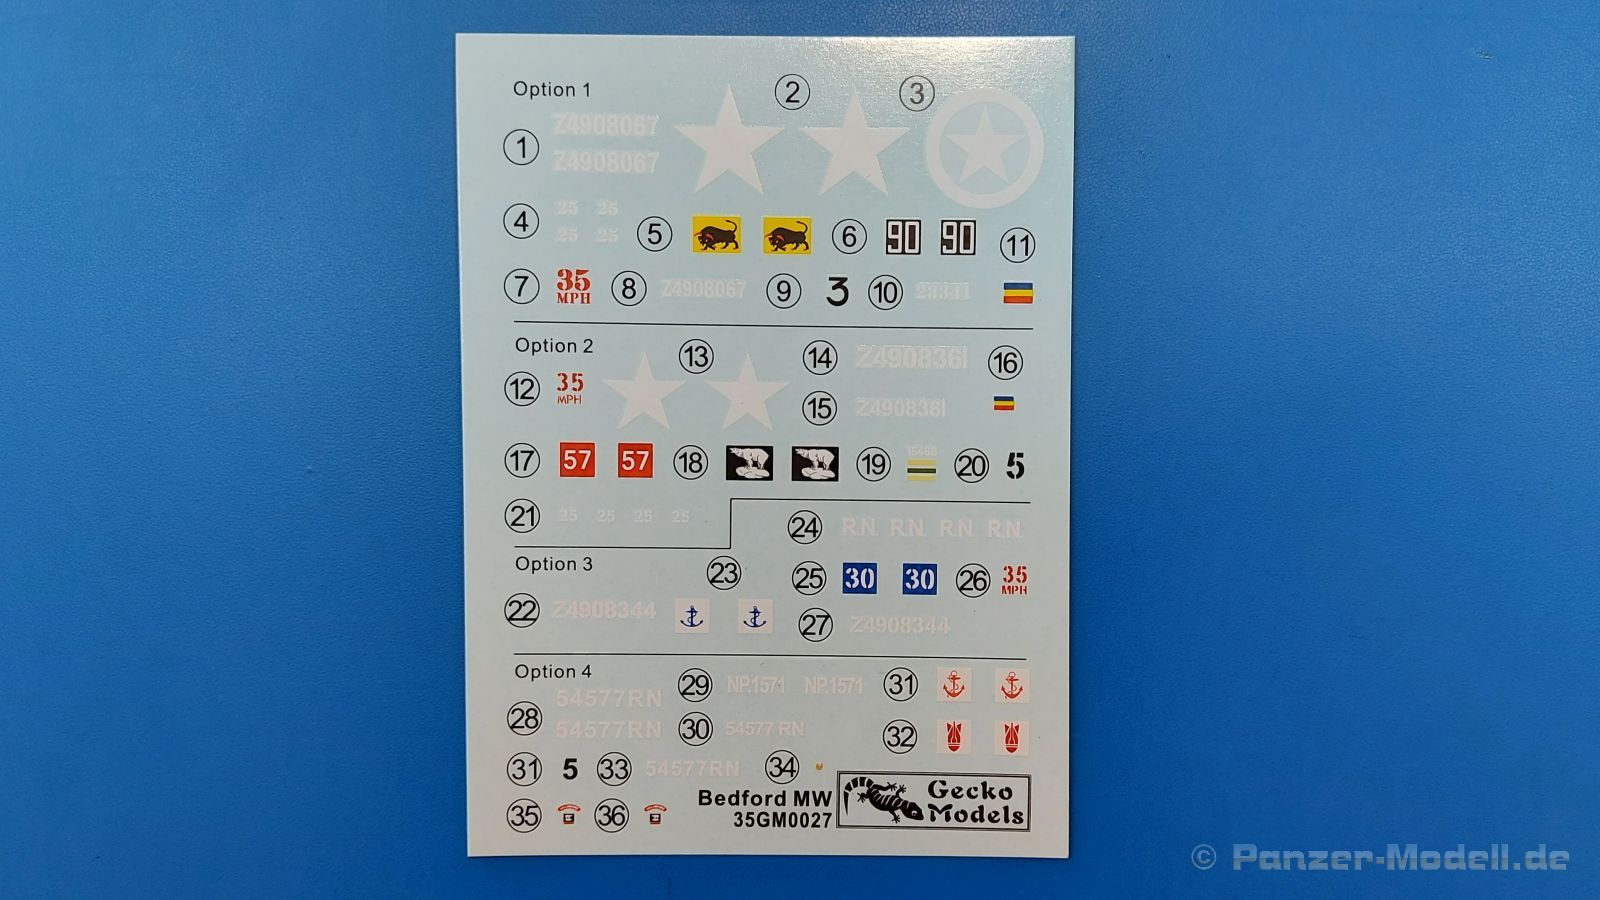
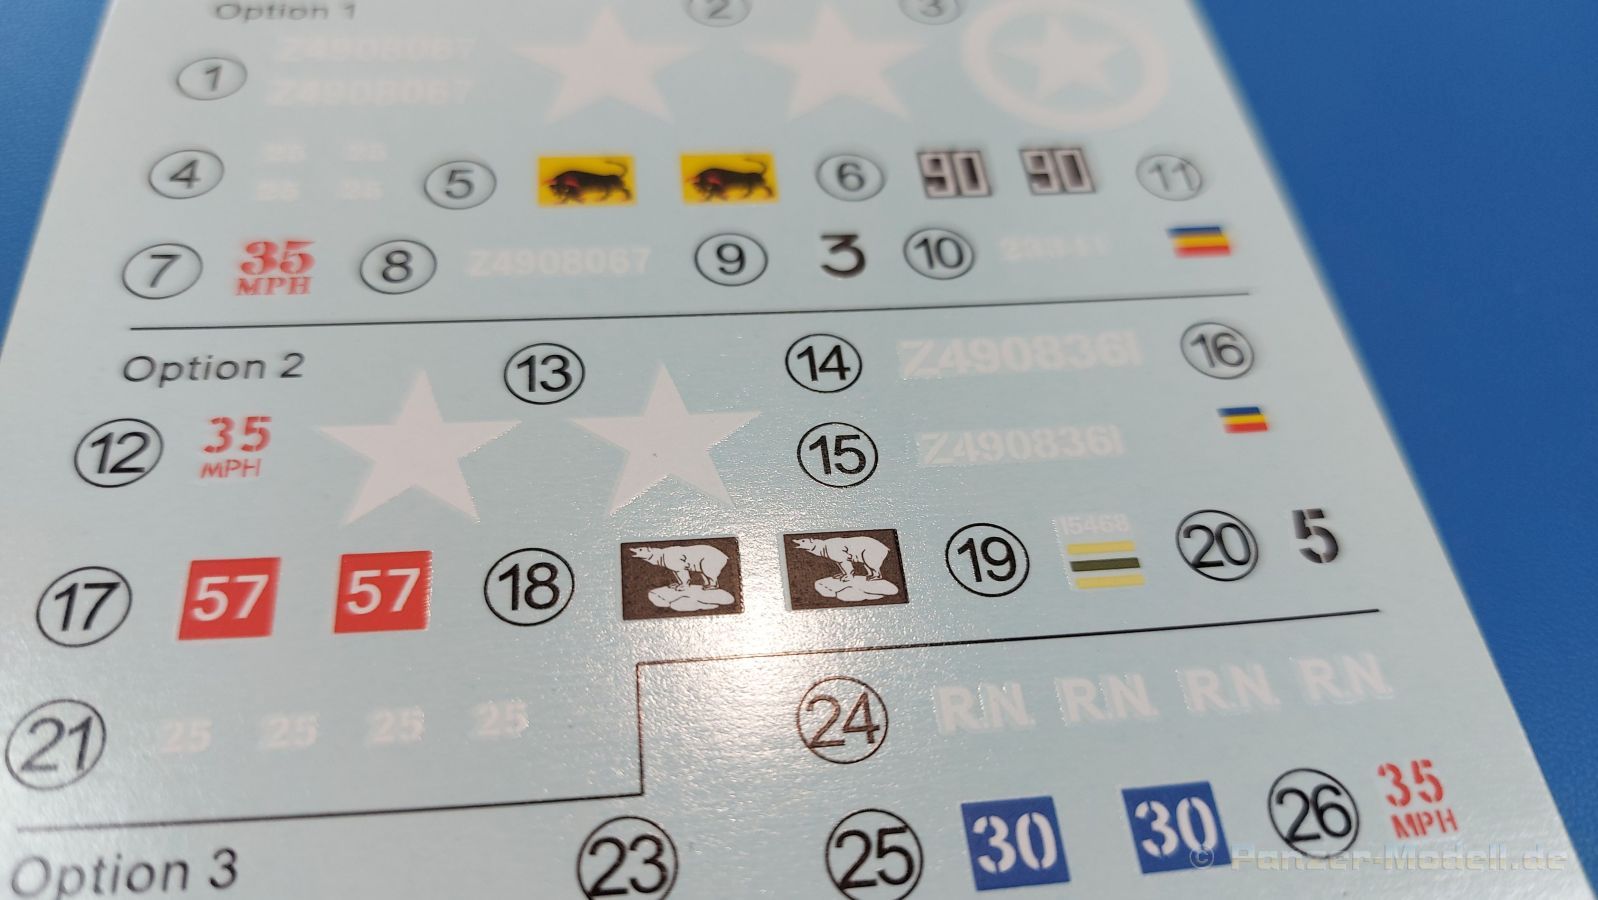
In the decals you can find the sleeve badges 35 and 36 for the figure in option 4, but I could not find a mention in the instructions. With the rest you can represent 4 vehicles:
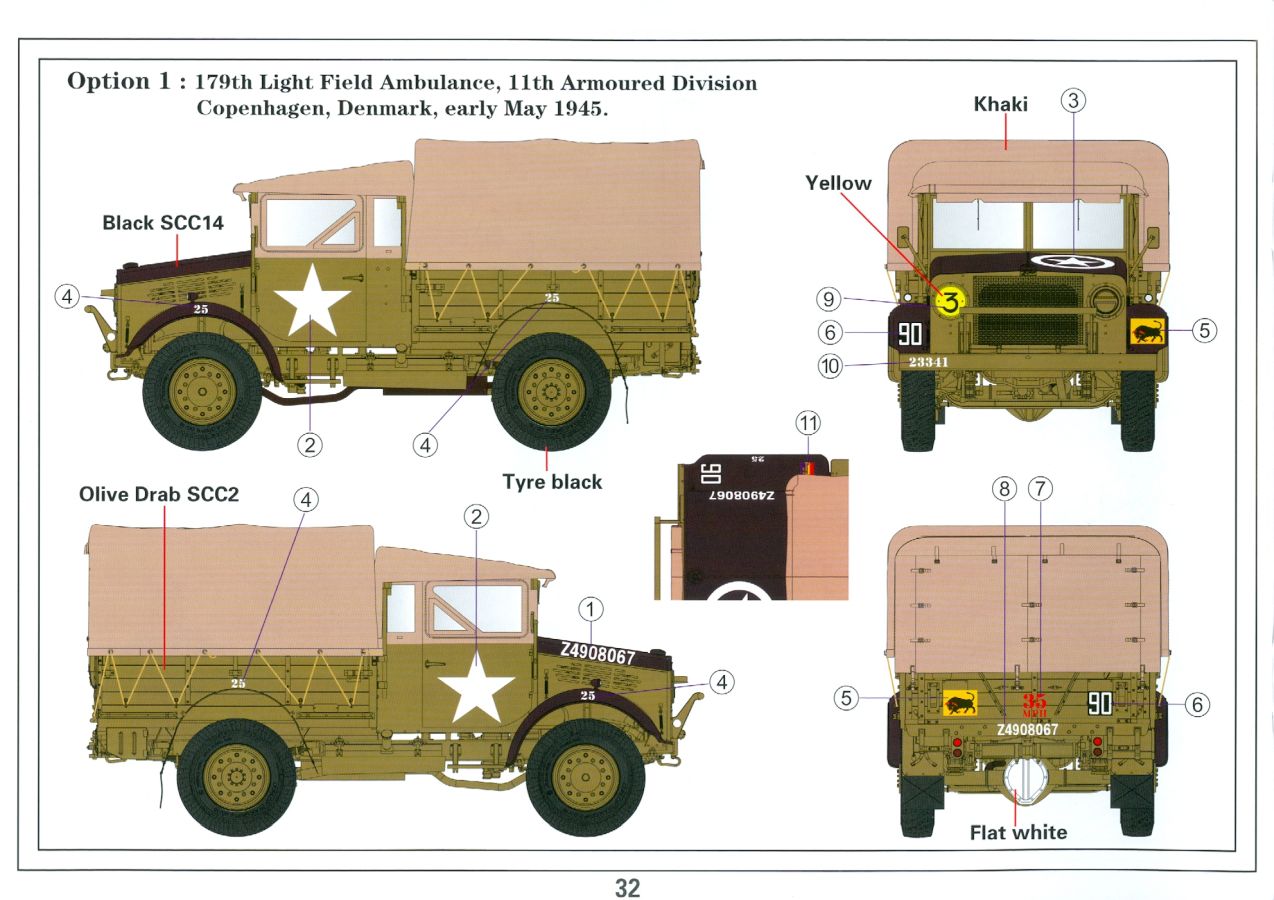
- No. Z4908067, 11th Armored Division, 179th Light Field Ambulance, beginning of May 1945 in Copenhagen / Denmark
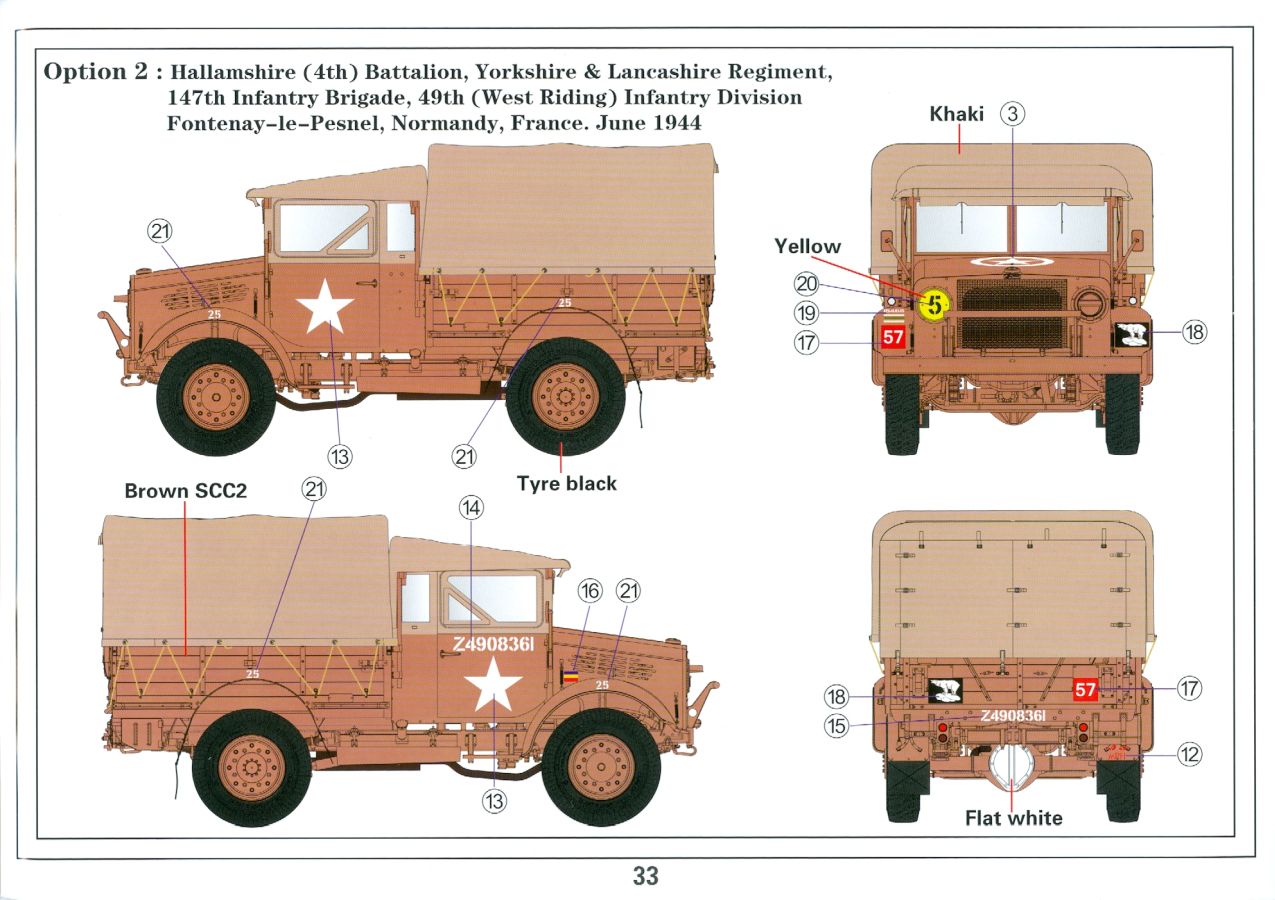
- No. Z4908361, 49th (West Riding) Infantry Division, 147th Infantry Brigade, Yorkshire & Lancashire Regiment, Hallamshire (4th) Battalion, June 1944 in Fontenay-le-Pesnel, Normandy / France
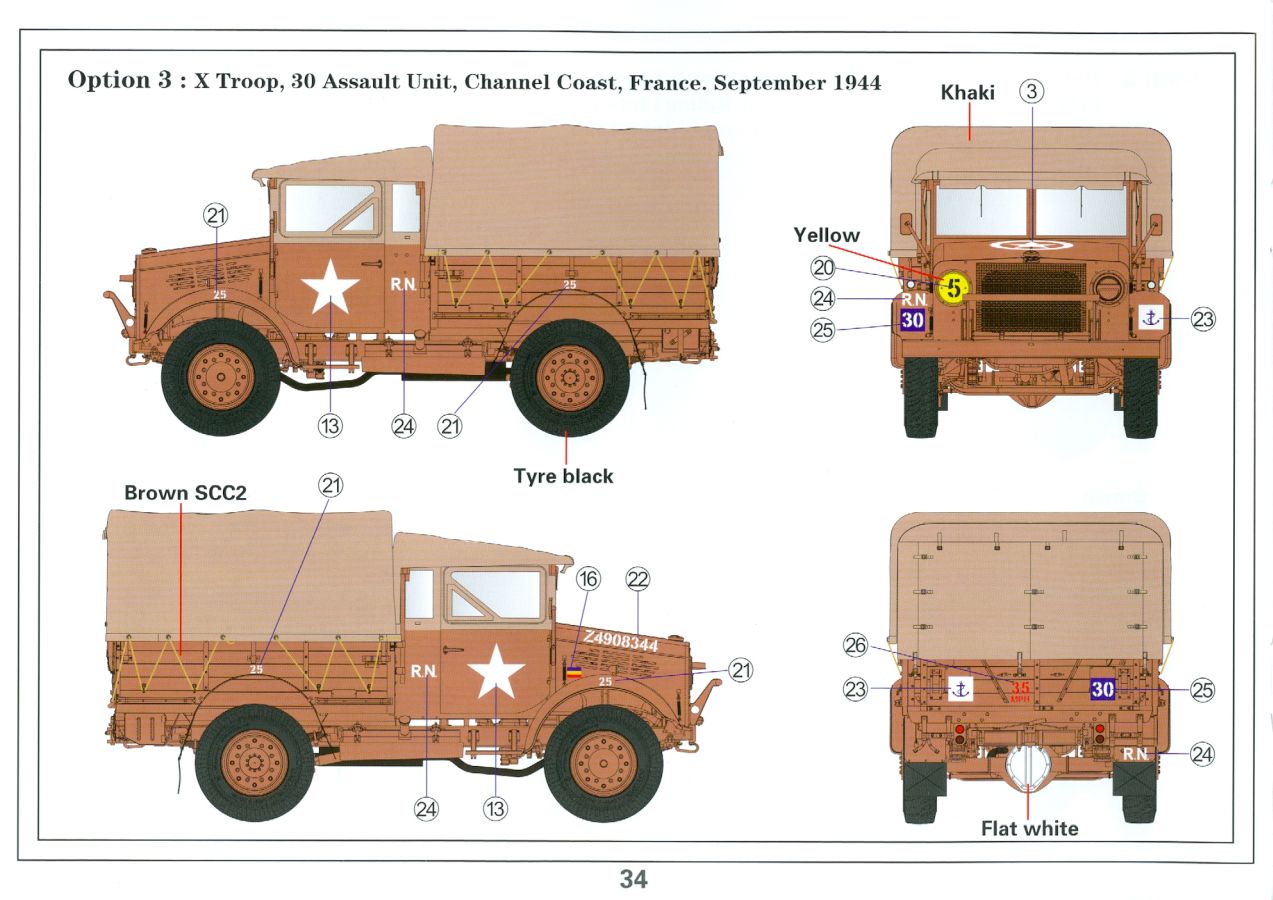
- No. Z4908344, 30 Assault unit, X Troop, September 1944 on the Channel coast in France
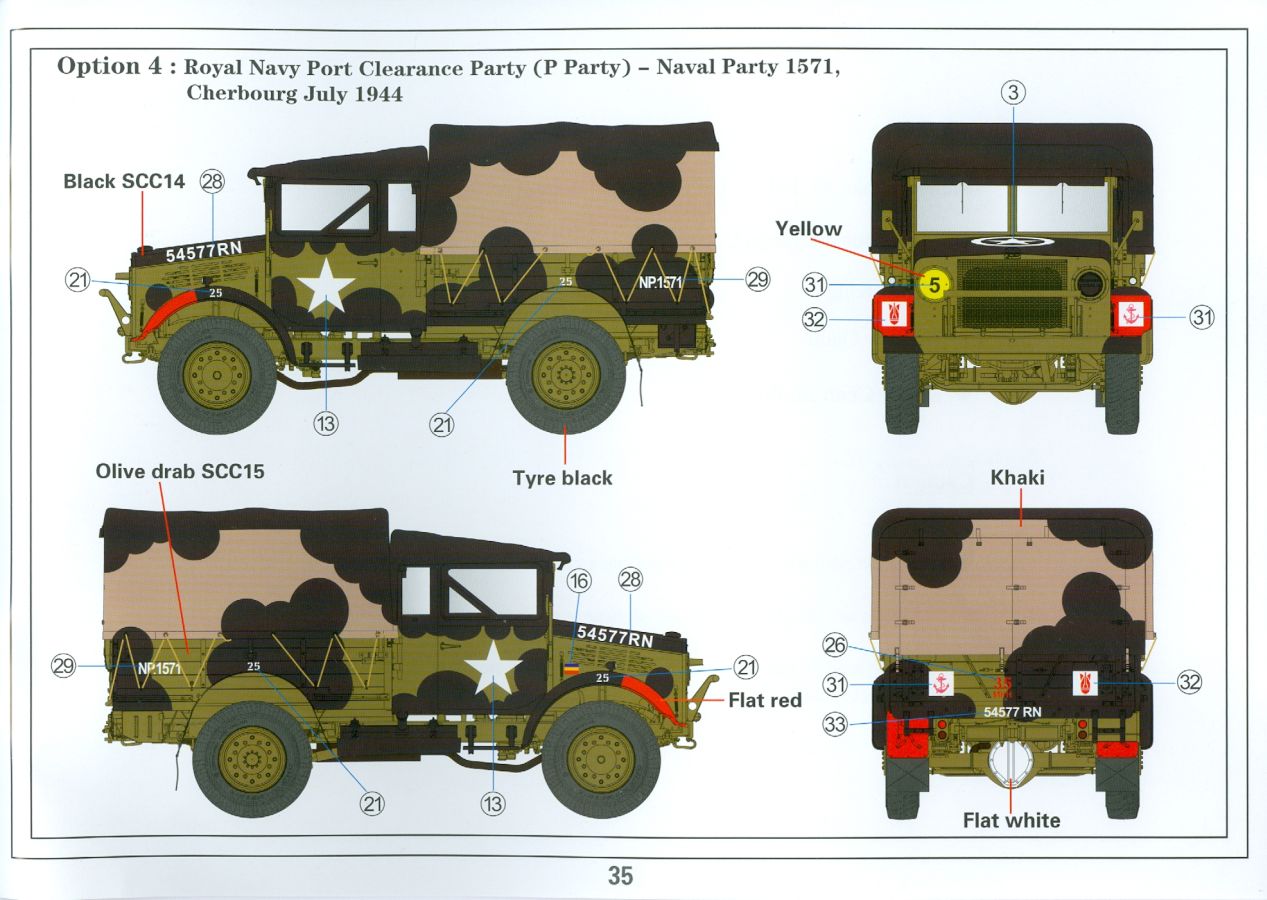
- No. 54577RN, Naval Party 1571, Royal Navy Port Clearance Party (P Party), Cherbourg July 1944
The partly colored assembly instructions begin with the short history in Chinese, English, Japanese and German. This is followed by a page with warnings, required tools and explanations of symbols. Another page shows the contents of the box. The assembly is explained in 52 main construction steps, in which intermediate steps are integrated. We find the basic and detailed painting including the attachment of the decals on the last pages. The color information is general without reference to specific manufacturers.
Nothing for beginners because of a few small and PE parts. The kit is very complex, so it is recommended that even experienced modelers carefully study the instructions.
In the end, however, you get a detailed piece of jewelry at a reasonable price of around 43 euros!
| Overview: | |||||
| Item No: Item type: Material: Scale: Published: |
35GM0027 Full Kit Injection mold, PE 1:35 Mai 2021 |
Manufacturer: Country: Price when published: |
Gecko Models China ca.42 Euro |
||
Suitable for: Price/Performance: Overall impression: |
 |
 Review of: Frank Krause |
|||
Photos: