|
|
Seitenangaben beziehen sich auf "In Fahrtrichtung gesehen"
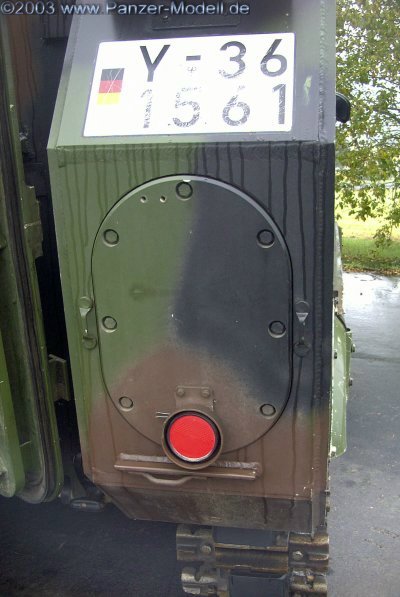 Der rechte 180 Liter EFT |
 Antennenschutz und Blick auf die MG Lafette |
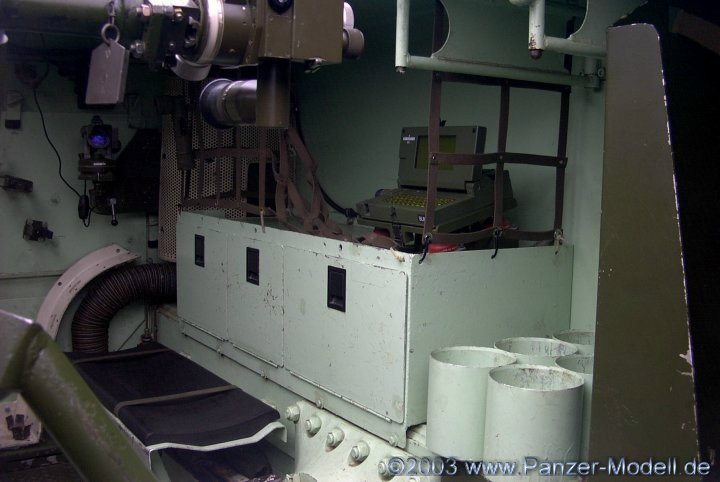
 Blick in den Innenraum |
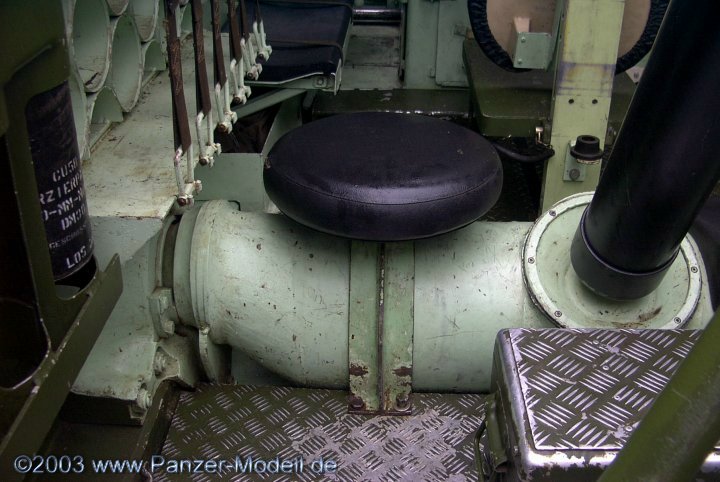
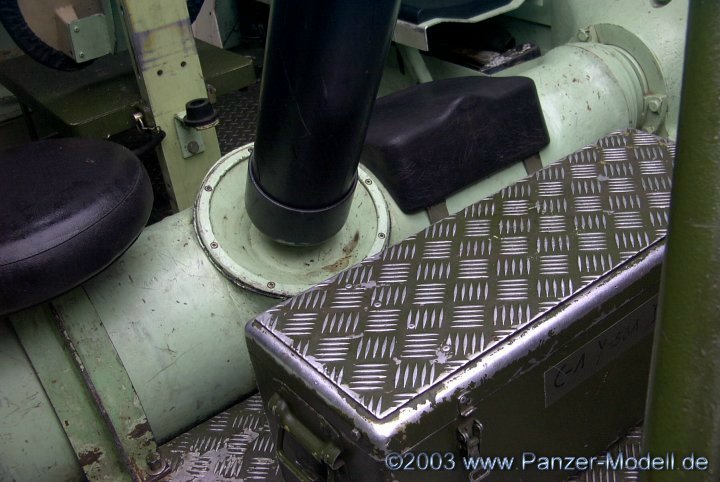
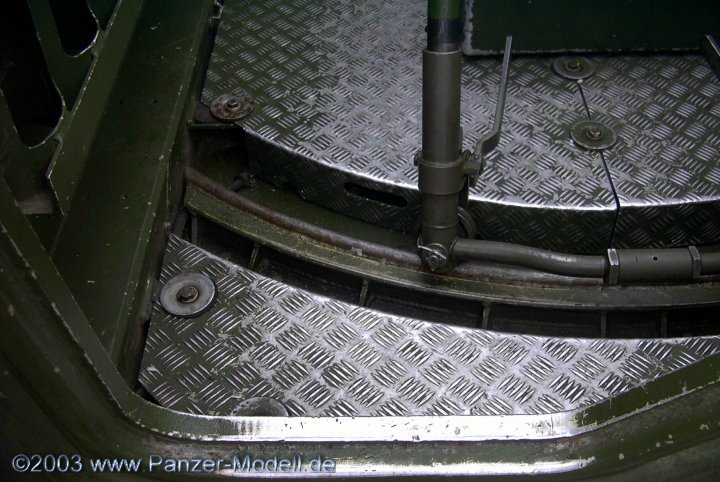 Rollenwagen des 120mm Tampella Mörsers |
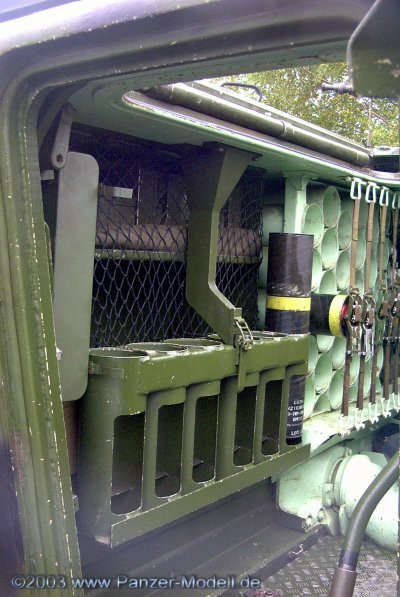
 Munitionshalterung hinten rechts |
 Rechte Innenraumwand |
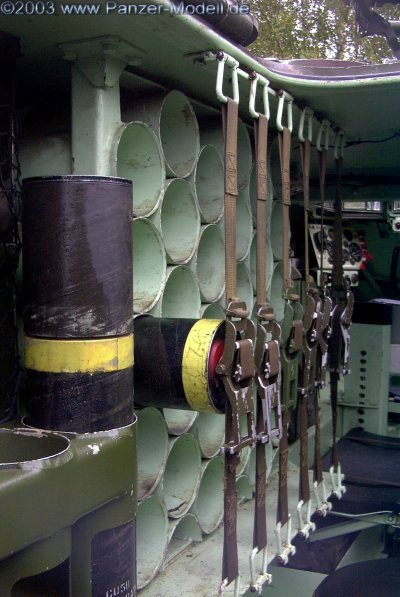 Munitionshalterung links |
 Sitz des Munitionsschützen |
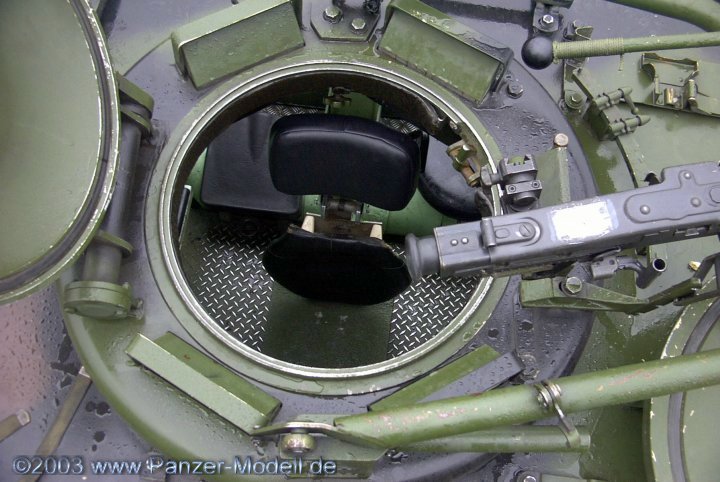
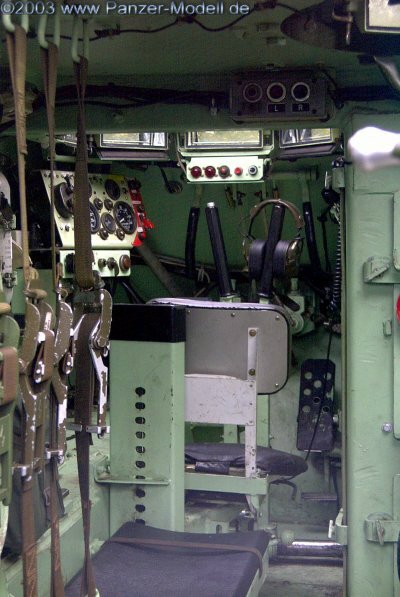 Blick zum Fahrerplatz - gut zu erkennen die Lenkhebel. Dieses Fahrzeug ist demnach noch nciht mit dem neuen (verkehrssicheren) ZF Lenkgetriebe ausgestattet. |
 Die Motorschottwand |
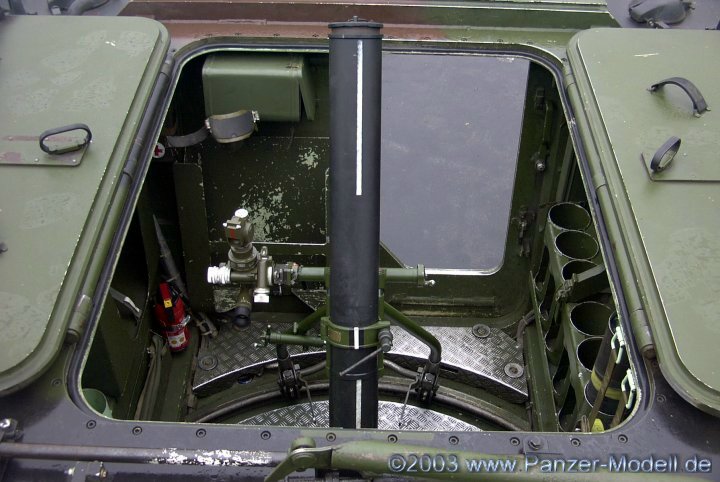
 Blick aus der Mörseröffnung auf das Kommandantenluk |
 Mörserlafette |
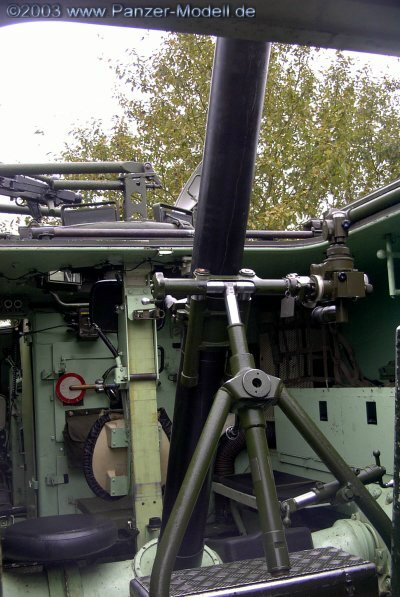 Blick auf den 120mm Mörser von hinten |
 Blick auf Mörser und Traverse von oben |
 ...und nochmal komplett |
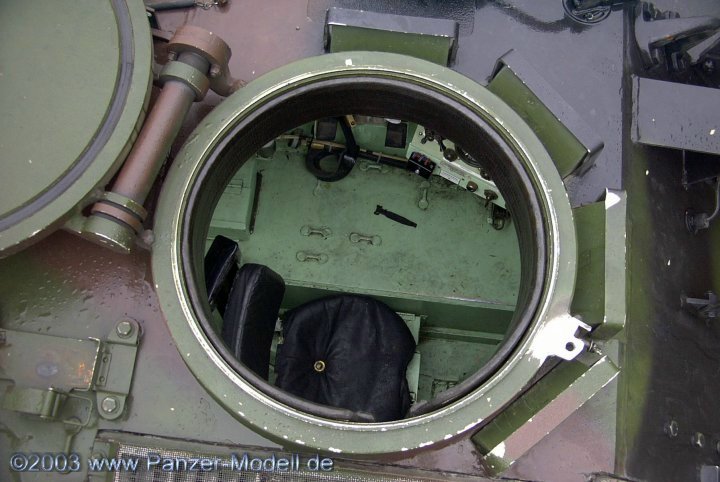 Blick von oben auf den Fahrerplatz |
 Kommandantenluk |
 Lüfterkitter des Motors |
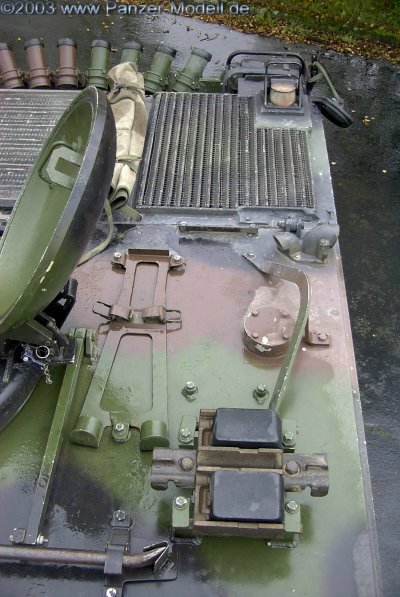 Das rechte Fahrzeugdach |
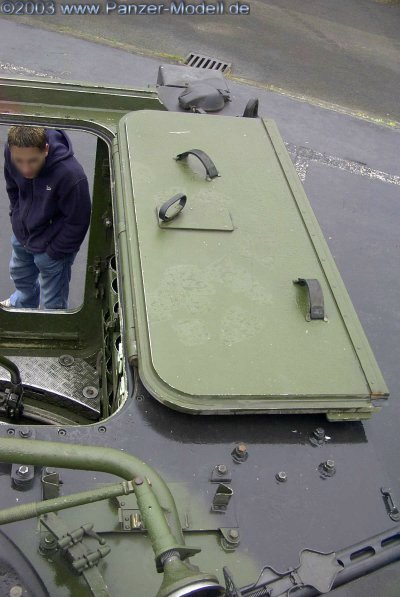 Kampfraumabdeckung |
 Kampfraumabdeckung |
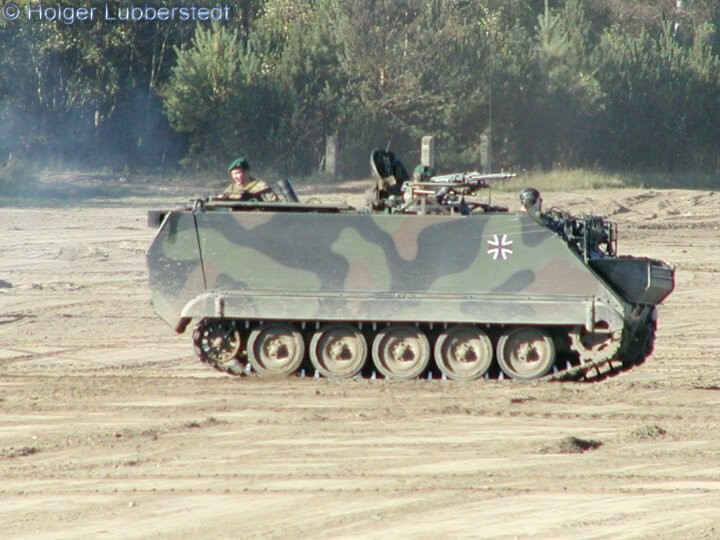
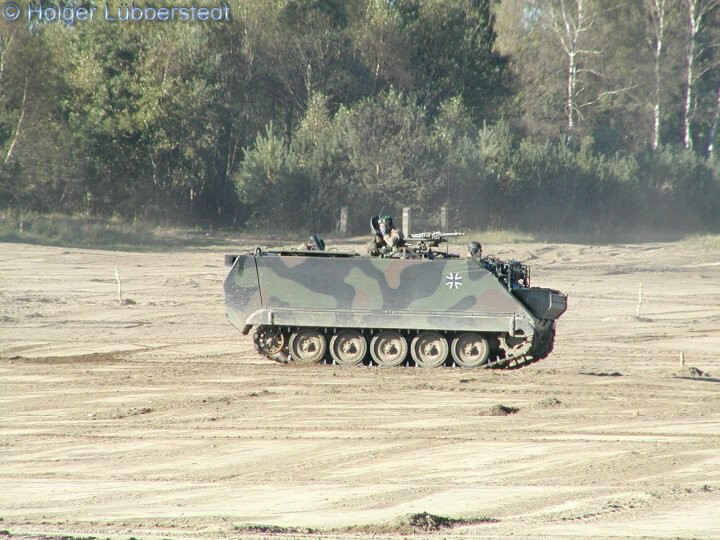 Herstellen der Feuerbereitschaft |
 Ladeschütze lädt den 120mm Mörser |
 Nach dem Abschuß |