|
|
|
Deutsch verfügbar |
 |
| The original |
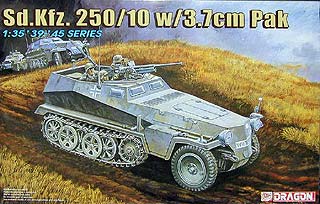
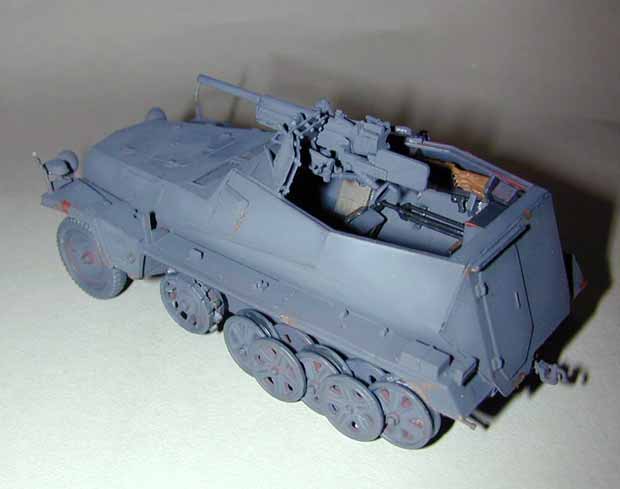
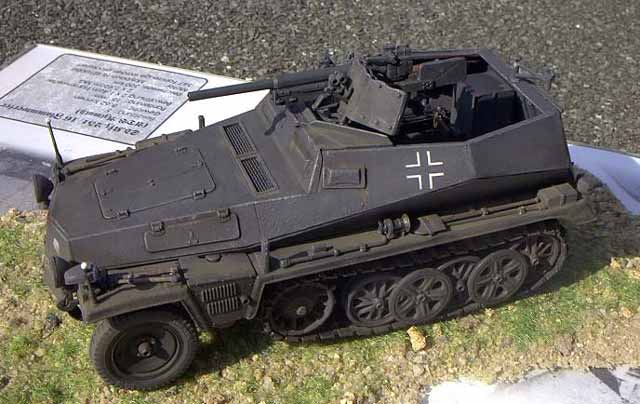
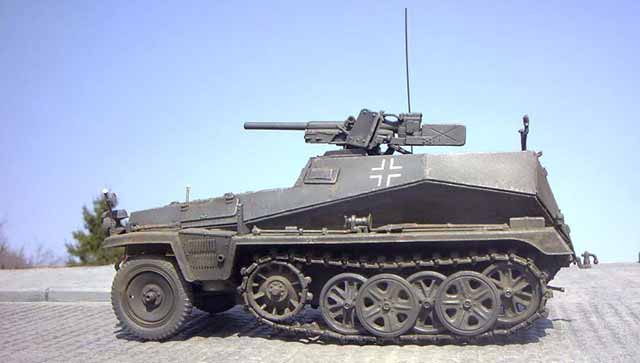
The Sd.Kfz.250/10 is based on the 1t Zugkraftwagen (Sd.Kfz.10) and was fitted with the 3.7cm PaK35/36. There were several variants of the gunshield. The Sd.Kfz.250/10 was produced only in small numbers and assigned as platoonleader vehicle from 1940 on. It is said that 151 of this variant were produced, which were phased out relative fast as it was seen that the 3.7cm PaK was obsolete. In this small vehicle 216 rounds of ammo for the PaK were carried.
| The kit |
After the 250/11 which came out 2001 again a new variant of this small halftrack.
The box holds 348 parts on 16 sprues from which four are filled with track links and another four for the running gear. Even a drivers figure is in this set. All in a well known manner. New is the instruction where Dragon has changed to a new type of instruction where all steps are shown in colored photos of the completing kit. Looks useful as it gives a good idea of shape and place of parts on the kit.
The parts are in good quality as always and even more nice detailing (especially the nuts on the lower hull or even the Notek-light), as well as the PaK is looking good. Many parts have extra "flow-outs" to get all parts with the right amount of plastic when injecting the sprue, which gives more quality with finer details, on the other hand you have more points to clean up on each part. The track looks good, even as I was afraid of the work with a track link and a pad to connect to a workable track. A good idea which was made well.
Only the ammo and ammo boxes lack the good quality, since they seem to have a wrong scale. The ammo would be only 200mm long if calculated to 1:1 and would have a calibre of 28mm, while the original has a length of 305,5mm and calibre of 37mm so the scale would be more like 1:48.
The decals are only for one version for a motorcycle/reconnaissance unit of the "Großdeutschland" Division. I wonder why the manufacturers can't put some more divisional or tactical markings in as such are only small things. With the actual prices this would be nice as the kits costs more than 30€.
| The construction |
The construction begins with glueing together the hull parts where the side parts fit good to the lower hull. The suspension arms need good aligning, 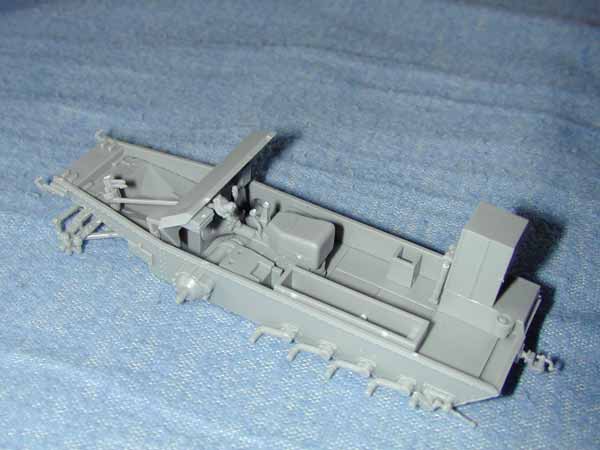 which takes some time, as they have much room to move in all directions. The next step makes the front wheel suspension which can then fitted to the hull. The suspenison is made from a few parts and makes no problems. Unfortunately it is not movable like those from Tamiya.
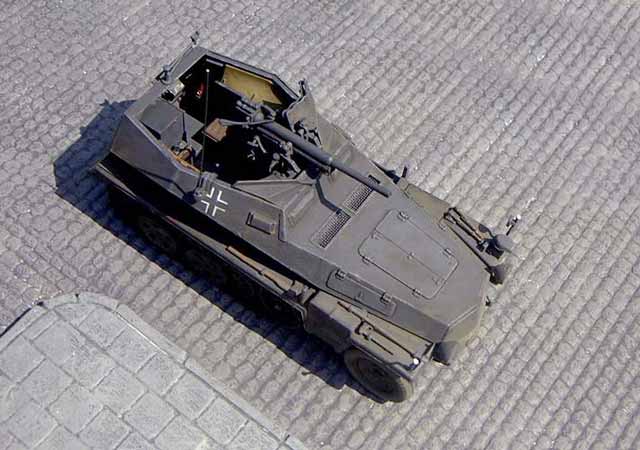
The interior parts are wonderfully detailed and with only a few parts relatively fast finished. Before you glue the seats, you should paint the interior at first. The floor plate was painted in metalized color and was then drybrushed a bit. Part A39 is not so easy to set as it is not clear how it is correct so you better check with side and rear parts before you glue it. Also part C8 should be checked with its correct position cause it happens that the side parts collide with this part!
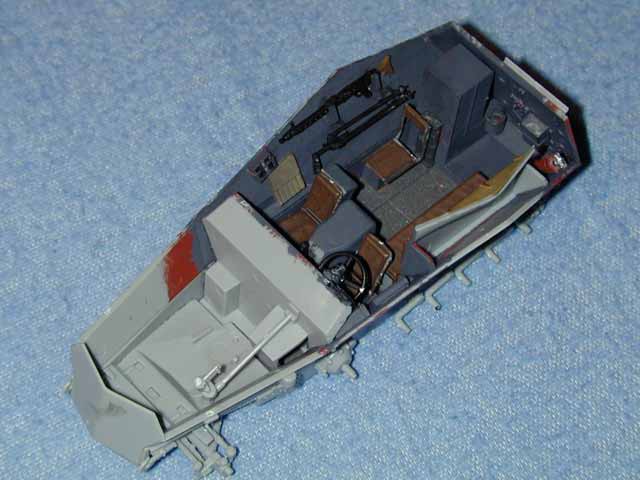 Next the painted seats can be fitted to their places. The side parts which should be painted from the inside and accessories put to their places before can then be glued to the hull. This is not as easy as it seems, as the fitting is not so good, so you better put the rear wall and engine plate also to the hull in this step, so you can correct the alignment of all parts without getting unwanted big gaps at some place (which you always note when it's too late!). Now it's the last chance to put the drivers figure in place, cause the next step is to put the upper hull to the lower.
 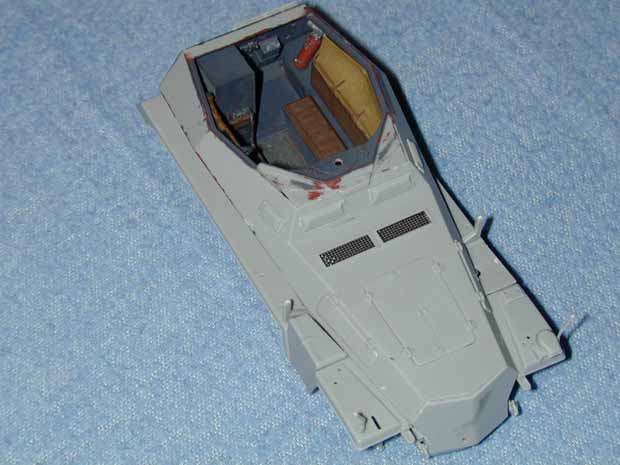 Also here my tip to make it quick after the glueing of the other hull parts to have the chance to move all parts before the glue sets because the fitting quality is not best at this point. Of course you should paint the upper hull from the inside and put the accessory parts to it before you glue it to the lower hull. Important is also to put the engine grilles from inside in place and glue them very good so they can withstand the pressure of airbrush and brush because when they fall off you have no chance to put them in place again.
In the next step the mudguards get their accessory parts which also can painted in hull color and then glued to the hull. Here the fitting quality is excellent! The rest of the tools will be placed on the mudguards at the end when the whole vehicle is finished.
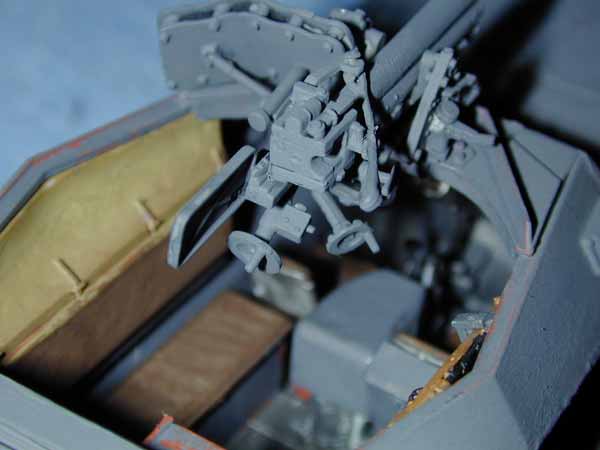 Next the PaK is to be constructed. This is made of 30 parts and looks very good. The details as well as parts fitting make real fun! The pictures of the instruction look confusing in the first (especially the positioning of small parts) and it's easy to forget one part, but with a bit carefulness it's no problem. The placement of the gun between parts C11 and C9 is a bit loose but not really a problem, just a little patience. Then the PaK can be put in place where it holds without glueing. The parts of MG-mount and antenna holder need our attention ... first because the hole is missing (drill yourself), the last because the correct position is not clear but a view on original pics shows everytime different positions so put it where you like on the right hand side.
 At this time the whole vehicle and wheels should be primed and then painted in grey which is described in "painting".
Now we come to the interesting part ... the running gear. First I was sceptical about the track which should get workable with seperate track links and pads as well as on the wheels which are made of two halves. The wheels are great ... no gap and they have good markings ... a feature which is lacking on wheels from most of the m anufacturers.
The tracks make only some work when cutting from the sprues ... the they get together relatively easy and the pads are fixed with a SMALL drop of glue to prevent the track to fall apart. The movability of the track links is not fantastic because of some uneveness, but the track IS movable. After the wheels and drive sprocket 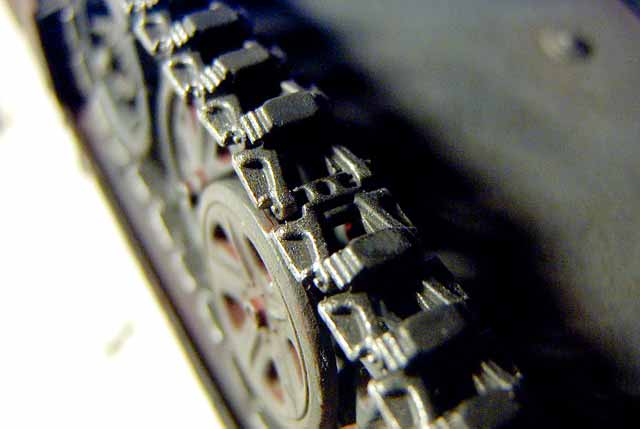 (look for correct alignment) are glued to the suspension arms you can put the track on without problems. Another good point is that each side has really 38 track links like the original and can be closed very easy.
| Painting/weathering |
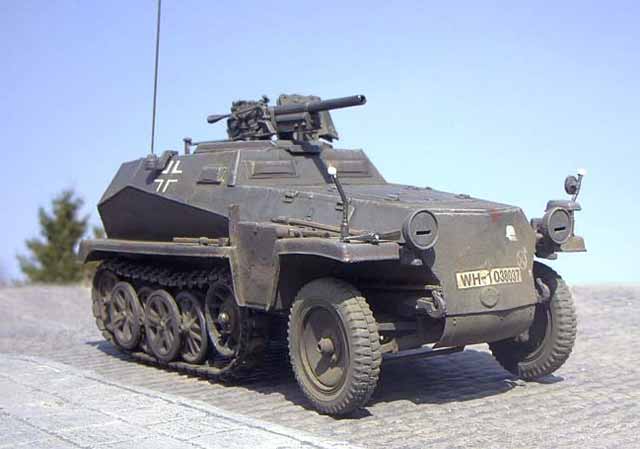
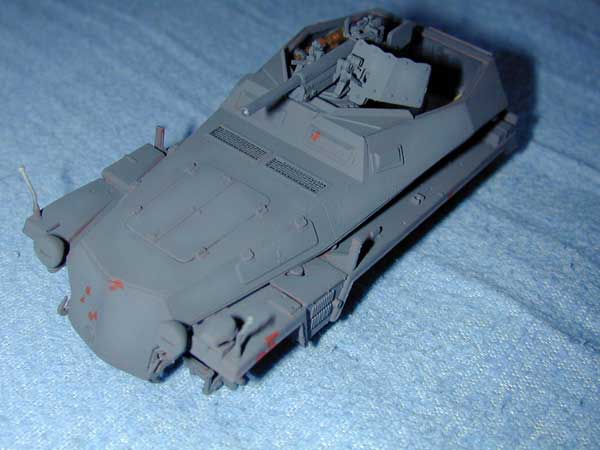
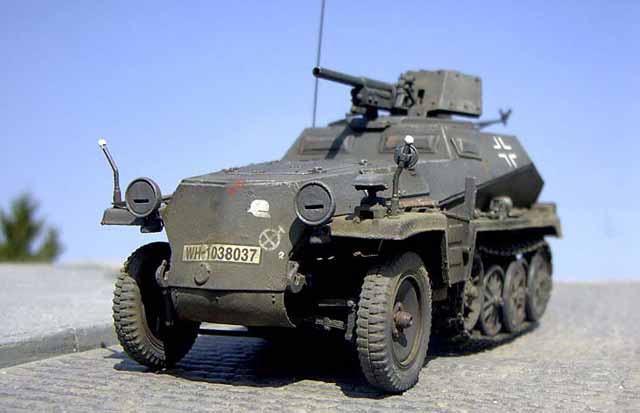
First of all I primed the whole model with anti-rust color (mixture of Revell #37 and #78) and put some small blops of masking fluid at places where later the color would look worn off.
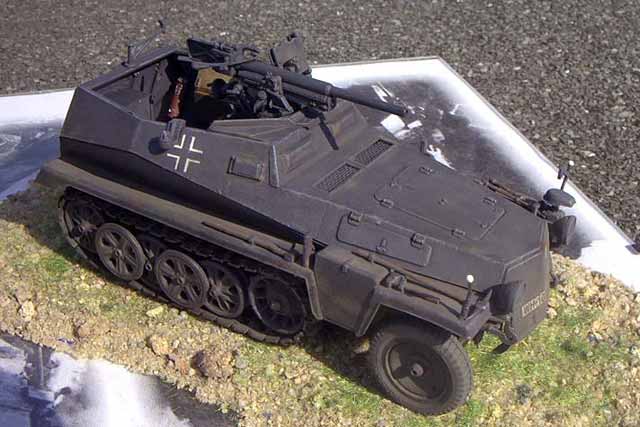
 Before you put the tracks on, the whole vehicle should be painted in Tamiya XF-63 grey and then highlighted with grey mixed with a bit white. The interior was covered with some paper to prevent the grey to come to the inside.
After that I rubbed off the masking fluid so the primer color comes back ... unfortunately the grey color was a bit too thin so the effect doesnt look like worn off color ... maybe next time.
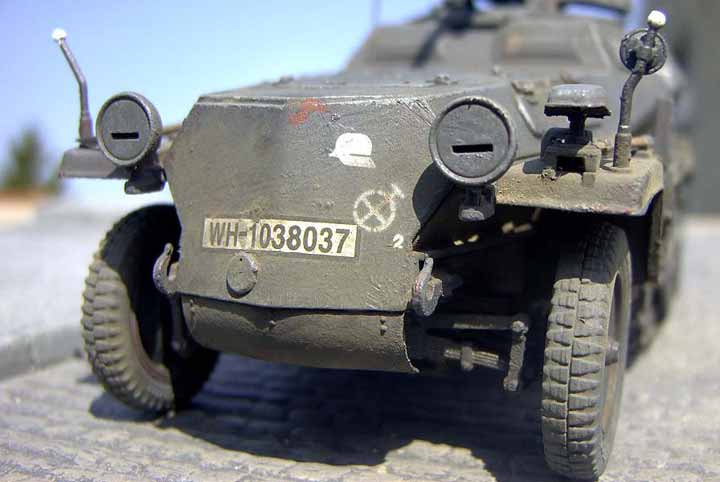
From the decal sheet of the box I only used the plates and for divisional and tactical markings as well as german crosses I used Eduard stencils. These give a more realistic look to the vehicle.
For the finish the whole vehicle got a wash from black/brown oil-colors to work out the deepenings. Edges and corners were drybrushed with lighter grey.
The track was primed black and airbrushed shortly with modelmaster metalizer steelblue and then the edges polished.
After the track is on the vehicle all got a bit dusty with pastel chalks especially the area of the running gear!
| Conclusion |
A nice little kit, especially for fans of the halftrack family a new member for a cpmplete collection.
Here and there the parts fitting should be better, but the details are very good and also the tracks are great. Like ever the decal sheet is poor and also the absence of a matching crew for this vehicle (except for the driver) is a disadvantage.
The instruction is a bit strange at first but shows the advantages with placement and view of parts.
All in all a good kit which is very expensive due to unrealistic pricepolitics.
| Price /value: | ***** | Parts fitting: | ***** |
| Details: | ***** | Skill level: | ***** |
 |
 |
 |
 |
 |
 |
Recommended literature:
© 4/2002 Thomas Hartwig